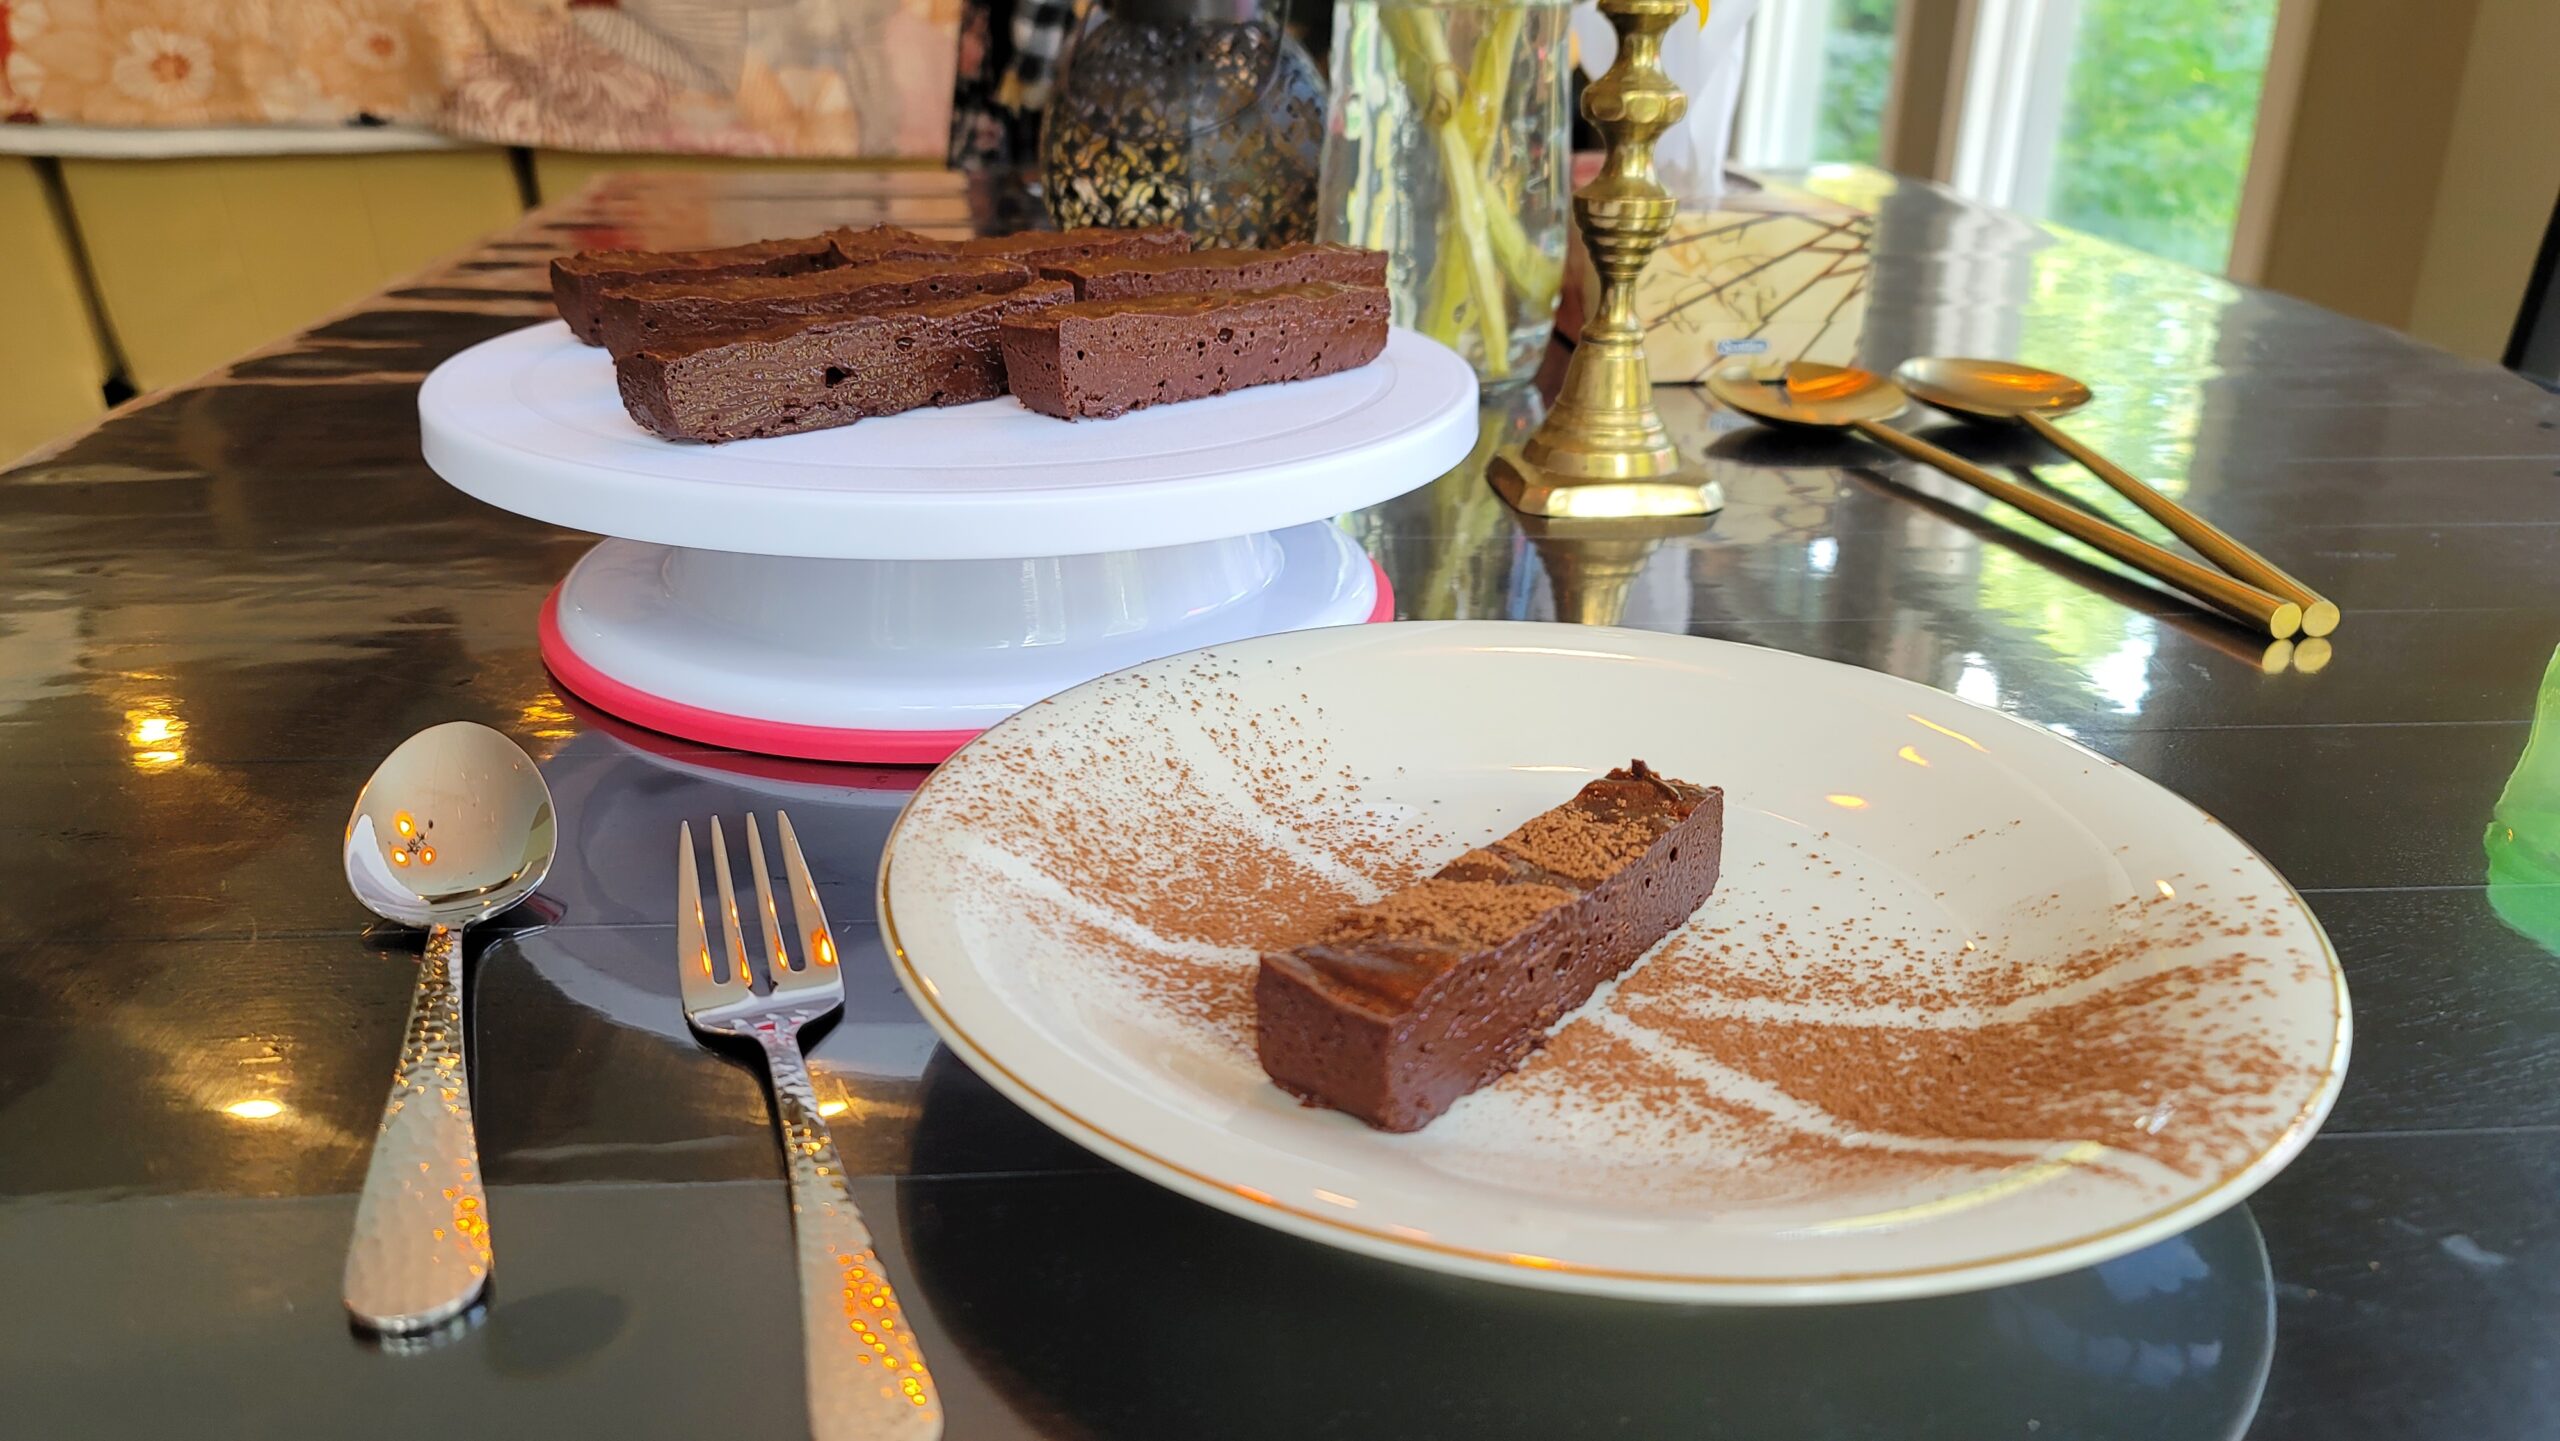
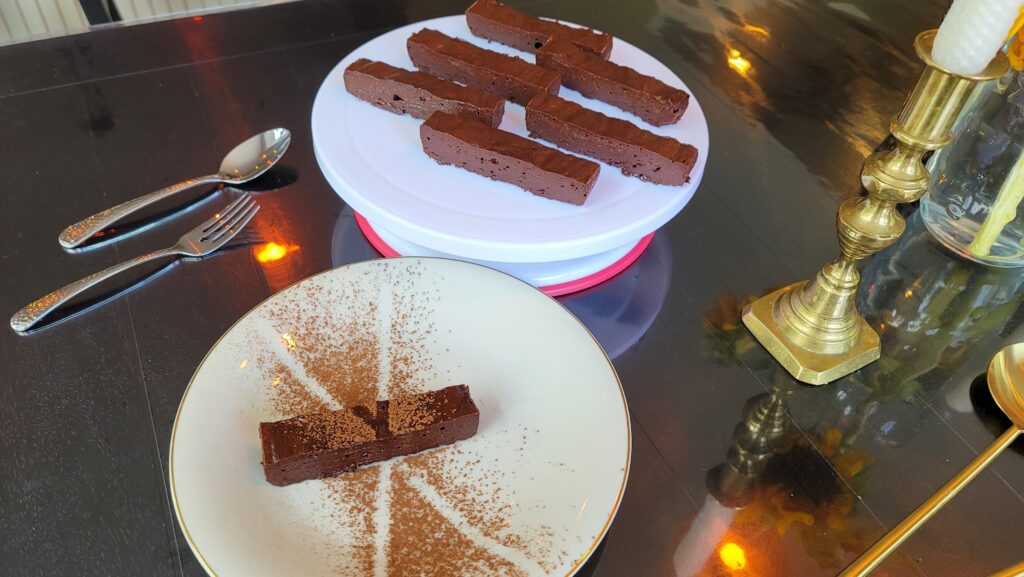
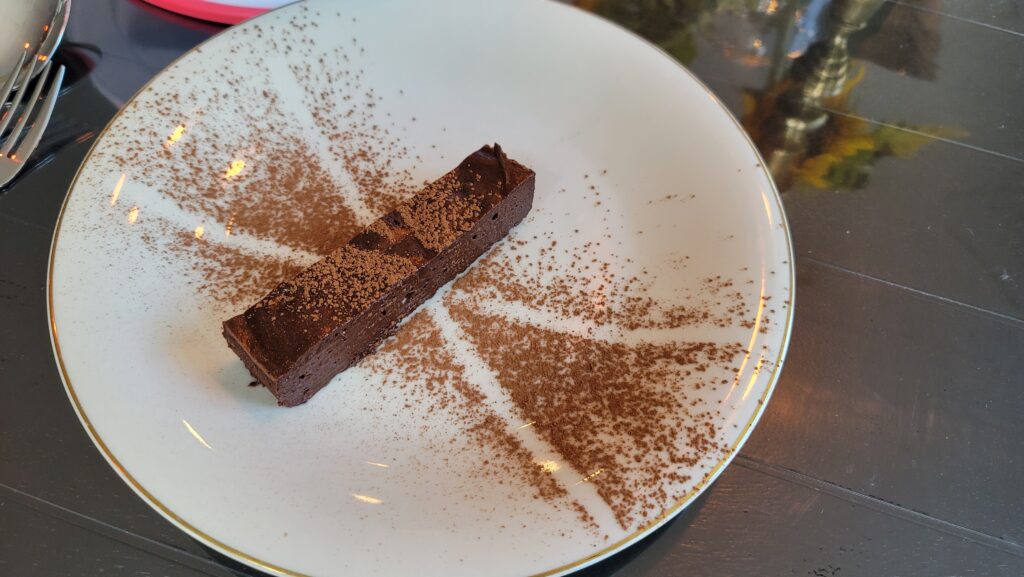
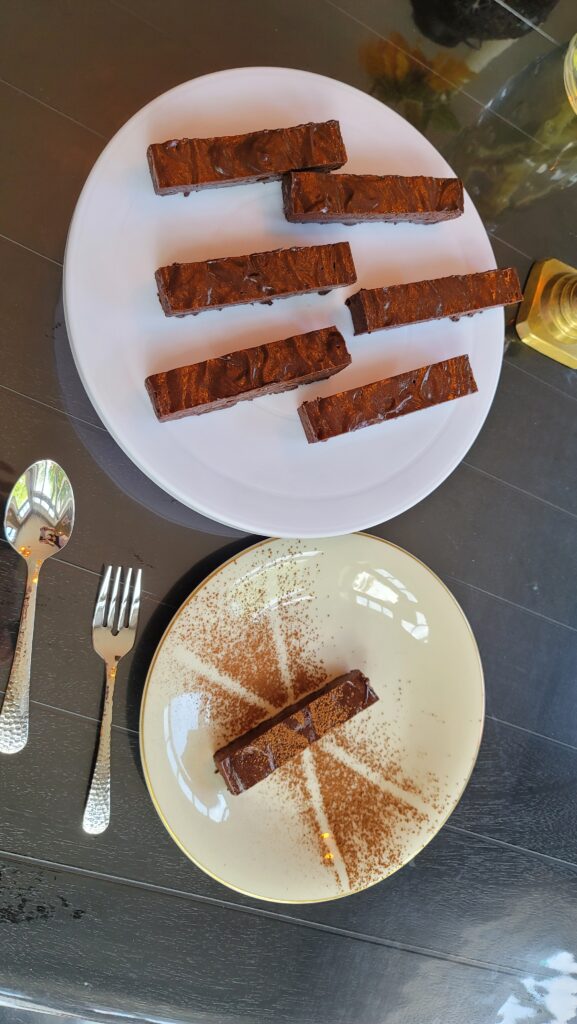
Easy to make, 3 ingredient chocolate perfection! This torte is sure to please everyone. It’s exceptionally rich, chocolatey and not too sweet.
This recipe is adapted from Rose Levy Beranbaum, who came up with this recipe in an attempt to avoid dry crispy edges on a cake by employing the use of a water bath, the same way cheesecakes do. She described this cake as a “better and purer vehicle for chocolate than chocolate itself.”

A lovely as the cake sounds, I’m turning it into a bar for a couple of reasons. I love entertaining and bars always work better for that purpose. The cake is very rich, so cutting it in smaller pieces instead of larger/longer cake pieces may work better. Last but not least, it’s nearly impossible (or at least very hard,) to not let the water seep through into the cake in a springform pan, when you bake it in a water bath; but using a solid square pan fully eliminates that problem.
At first, when I just made the cake I thought it was good but not excellent. I suppose I’m biased because I have my own recipe that is quite close to this cake that I developed a long time ago after much trial and error (chocolate truffle torte with almond/walnut crust.) I developed that recipe in accordance to my personal taste, so I tend to prefer it. But cooking this much for so many people, everyone has different preferences when it comes to food. That’s why I have a variety of incredible recipes!
However, as I tasted the leftover cake the next day, I thought Rose Levy Beranbaum’s description was spot on. It truly was a much better delivery system for the chocolate than chocolate itself. It was very very difficult to stop eating it.
Good one day and absolutely unbelievably irresistible the next day this recipe is now one of our favourites. I hope you give it a try!
In addition to changing the shape of the torte, I add salt to this Rose Levy Beranbaum classic, as I believe it brings out the taste of the chocolate. I ran out of espresso powder, but next time I make this recipe, I might add that also!
This cake is exceptionally rich and delicious. A small piece goes a log way. For this reason, if you wish to half the recipe - go ahead and do so! Simply bake your cake in 8x4 loaf pan. The baking time will not change and it will still take 15 minutes (5 uncovered and 10 covered.)
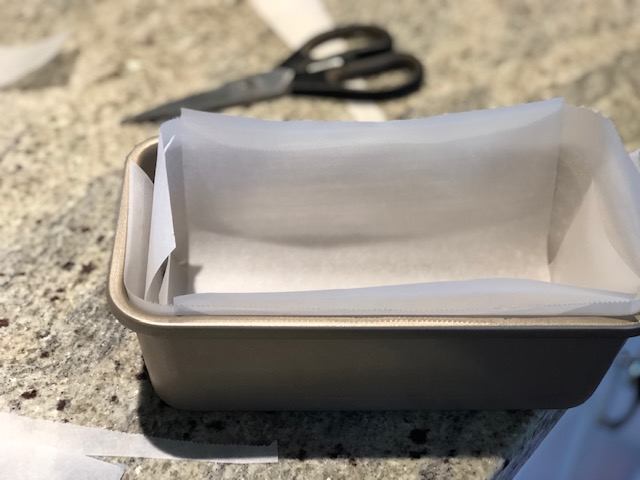
Preheat the oven to 425. Butter an 8x8 square aluminum/steel baking dish and line it with the parchment paper. Let some of the parchment paper overhang for easier removal. Ensure to line with the parchment very well covering all sides of the dish. I attached a picture - for easy removal, properly lining the pan for this recipe is key.
Bring a pot of water to a boil. After it boils, remove from heat. In a heat-proof bowl combine chocolate, salt and butter and set over hot water. Allow the mixture to sit undisturbed, then stir gently until melted and smooth ganache has formed. If for any reason the mixture did not melt (for example if the chocolate wasn't chopped finely enough,) return the pot back to heat while stirring the chocolate mixture until melted. Removed from heat and allow to cool.
In the meantime, use the same pot of simmering water and set a bowl of your stand mixer with eggs in it over the simmering water. Stir eggs constantly until they become just warm to touch; stirring constantly is essential to avoid scrambling them. The goal here is not too cook the eggs to any specific temperature - the goal is to warm them up, as doing so results in them expanding more when we beat them in the next step.
As soon as the eggs are warm bring the bowl to the mixer and whip them on high for about 5 minutes until lighter in colour and the eggs triple in volume and are cool to touch. Fold half of the eggs into the chocolate mixture to lighten it. Then fold the rest gently with a rubber spatula until no streaks remain. Scrape the mixture into a prepared pan.
Set the prepared pan inside another larger pan and pour enough hot tap water to surround it with 1 inch of water. Take great care not to splash any water into the cake as it will ruin it. Place into the preheated oven.
Bake for 5 minutes. After 5 minutes, loosely cover with lightly greased aluminum foil and bake for another 10 minutes.
Resist the temptation of overbaking. The mixture will wobble quite a bit and seem not quite done. The edges however, will look firm and if you very gently touch the middle - it will be extremely soft but not raw. This cake will set and firm up as it cools. I have to admit I personally baked it for 17 minutes and it came out good, but seeing how much it set in the fridge, 15 minutes as stated by Rose Levy Beranbaum should be sufficient. (having said that, if your oven runs cooler you may need that extra minute or two, so as with all recipes, look for the described texture and use your discretion.)
When finished baking, remove from the oven and remove from the water bath. Allow to sit at room temperature and cool for about 45 minutes. When no trace of warmth remains, cover tightly with the plastic wrap and refrigerate for at least 3 hours. Or preferably overnight.
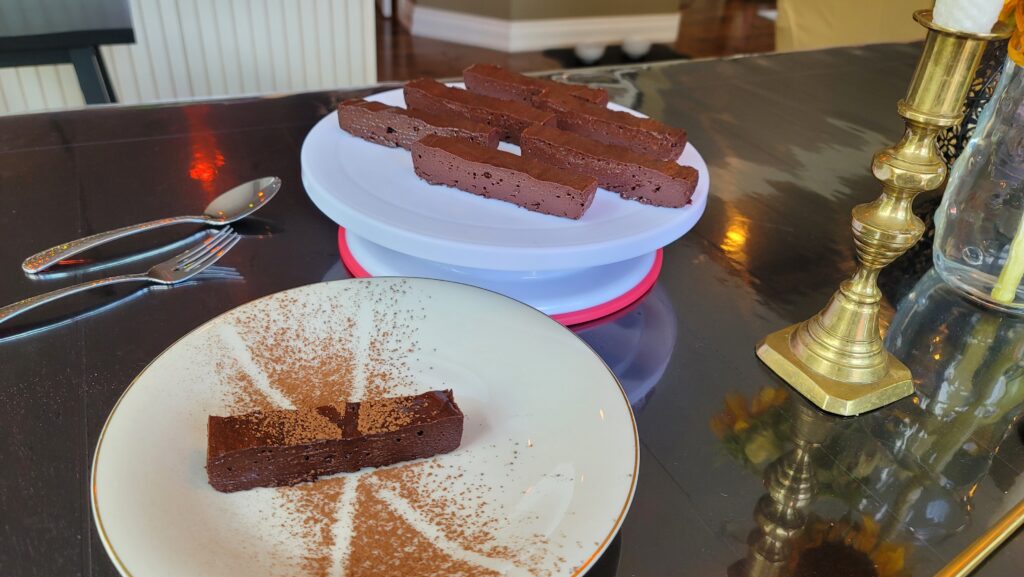
When the cake is chilled and firm, grab the parchment paper and gently lift the cake out of the baking dish. Hold a sharp knife over hot tap water, wipe it dry with a paper towel and slice the cake into bars. Hold the knife under hot water and dry with a paper towel after each slice for clean cuts.
Ingredients
Directions
Preheat the oven to 425. Butter an 8x8 square aluminum/steel baking dish and line it with the parchment paper. Let some of the parchment paper overhang for easier removal. Ensure to line with the parchment very well covering all sides of the dish. I attached a picture - for easy removal, properly lining the pan for this recipe is key.
Bring a pot of water to a boil. After it boils, remove from heat. In a heat-proof bowl combine chocolate, salt and butter and set over hot water. Allow the mixture to sit undisturbed, then stir gently until melted and smooth ganache has formed. If for any reason the mixture did not melt (for example if the chocolate wasn't chopped finely enough,) return the pot back to heat while stirring the chocolate mixture until melted. Removed from heat and allow to cool.
In the meantime, use the same pot of simmering water and set a bowl of your stand mixer with eggs in it over the simmering water. Stir eggs constantly until they become just warm to touch; stirring constantly is essential to avoid scrambling them. The goal here is not too cook the eggs to any specific temperature - the goal is to warm them up, as doing so results in them expanding more when we beat them in the next step.
As soon as the eggs are warm bring the bowl to the mixer and whip them on high for about 5 minutes until lighter in colour and the eggs triple in volume and are cool to touch. Fold half of the eggs into the chocolate mixture to lighten it. Then fold the rest gently with a rubber spatula until no streaks remain. Scrape the mixture into a prepared pan.
Set the prepared pan inside another larger pan and pour enough hot tap water to surround it with 1 inch of water. Take great care not to splash any water into the cake as it will ruin it. Place into the preheated oven.
Bake for 5 minutes. After 5 minutes, loosely cover with lightly greased aluminum foil and bake for another 10 minutes.
Resist the temptation of overbaking. The mixture will wobble quite a bit and seem not quite done. The edges however, will look firm and if you very gently touch the middle - it will be extremely soft but not raw. This cake will set and firm up as it cools. I have to admit I personally baked it for 17 minutes and it came out good, but seeing how much it set in the fridge, 15 minutes as stated by Rose Levy Beranbaum should be sufficient. (having said that, if your oven runs cooler you may need that extra minute or two, so as with all recipes, look for the described texture and use your discretion.)
When finished baking, remove from the oven and remove from the water bath. Allow to sit at room temperature and cool for about 45 minutes. When no trace of warmth remains, cover tightly with the plastic wrap and refrigerate for at least 3 hours. Or preferably overnight.
When the cake is chilled and firm, grab the parchment paper and gently lift the cake out of the baking dish. Hold a sharp knife over hot tap water, wipe it dry with a paper towel and slice the cake into bars. Hold the knife under hot water and dry with a paper towel after each slice for clean cuts.
Happens to be Gluten-Free: Just be sure the chocolate used is Gluten-Free, pay close attention to the label and the list of ingredients. As with all gluten-free recipes, ensure all your ingredients are gluten free and not cross-contaminated.