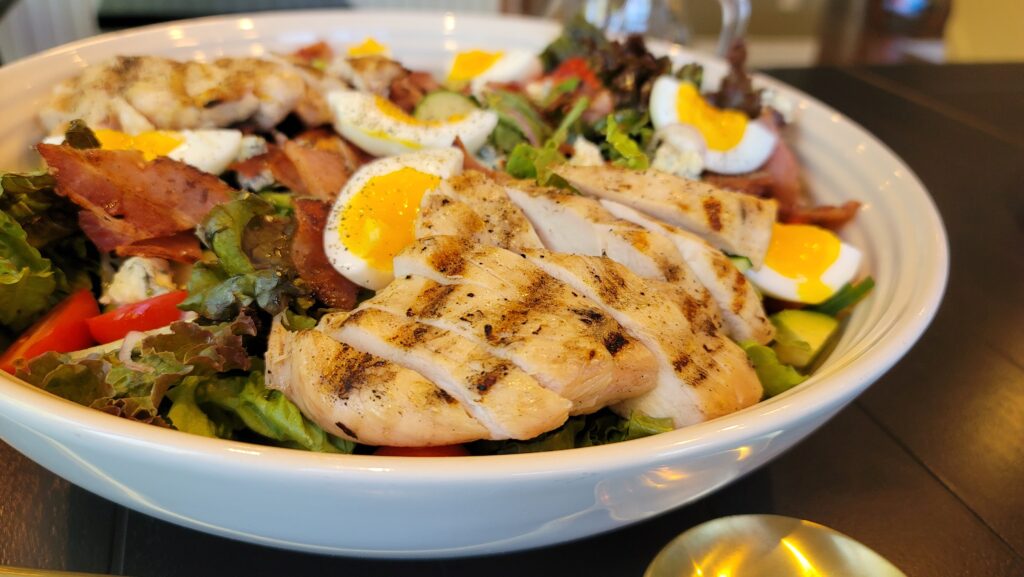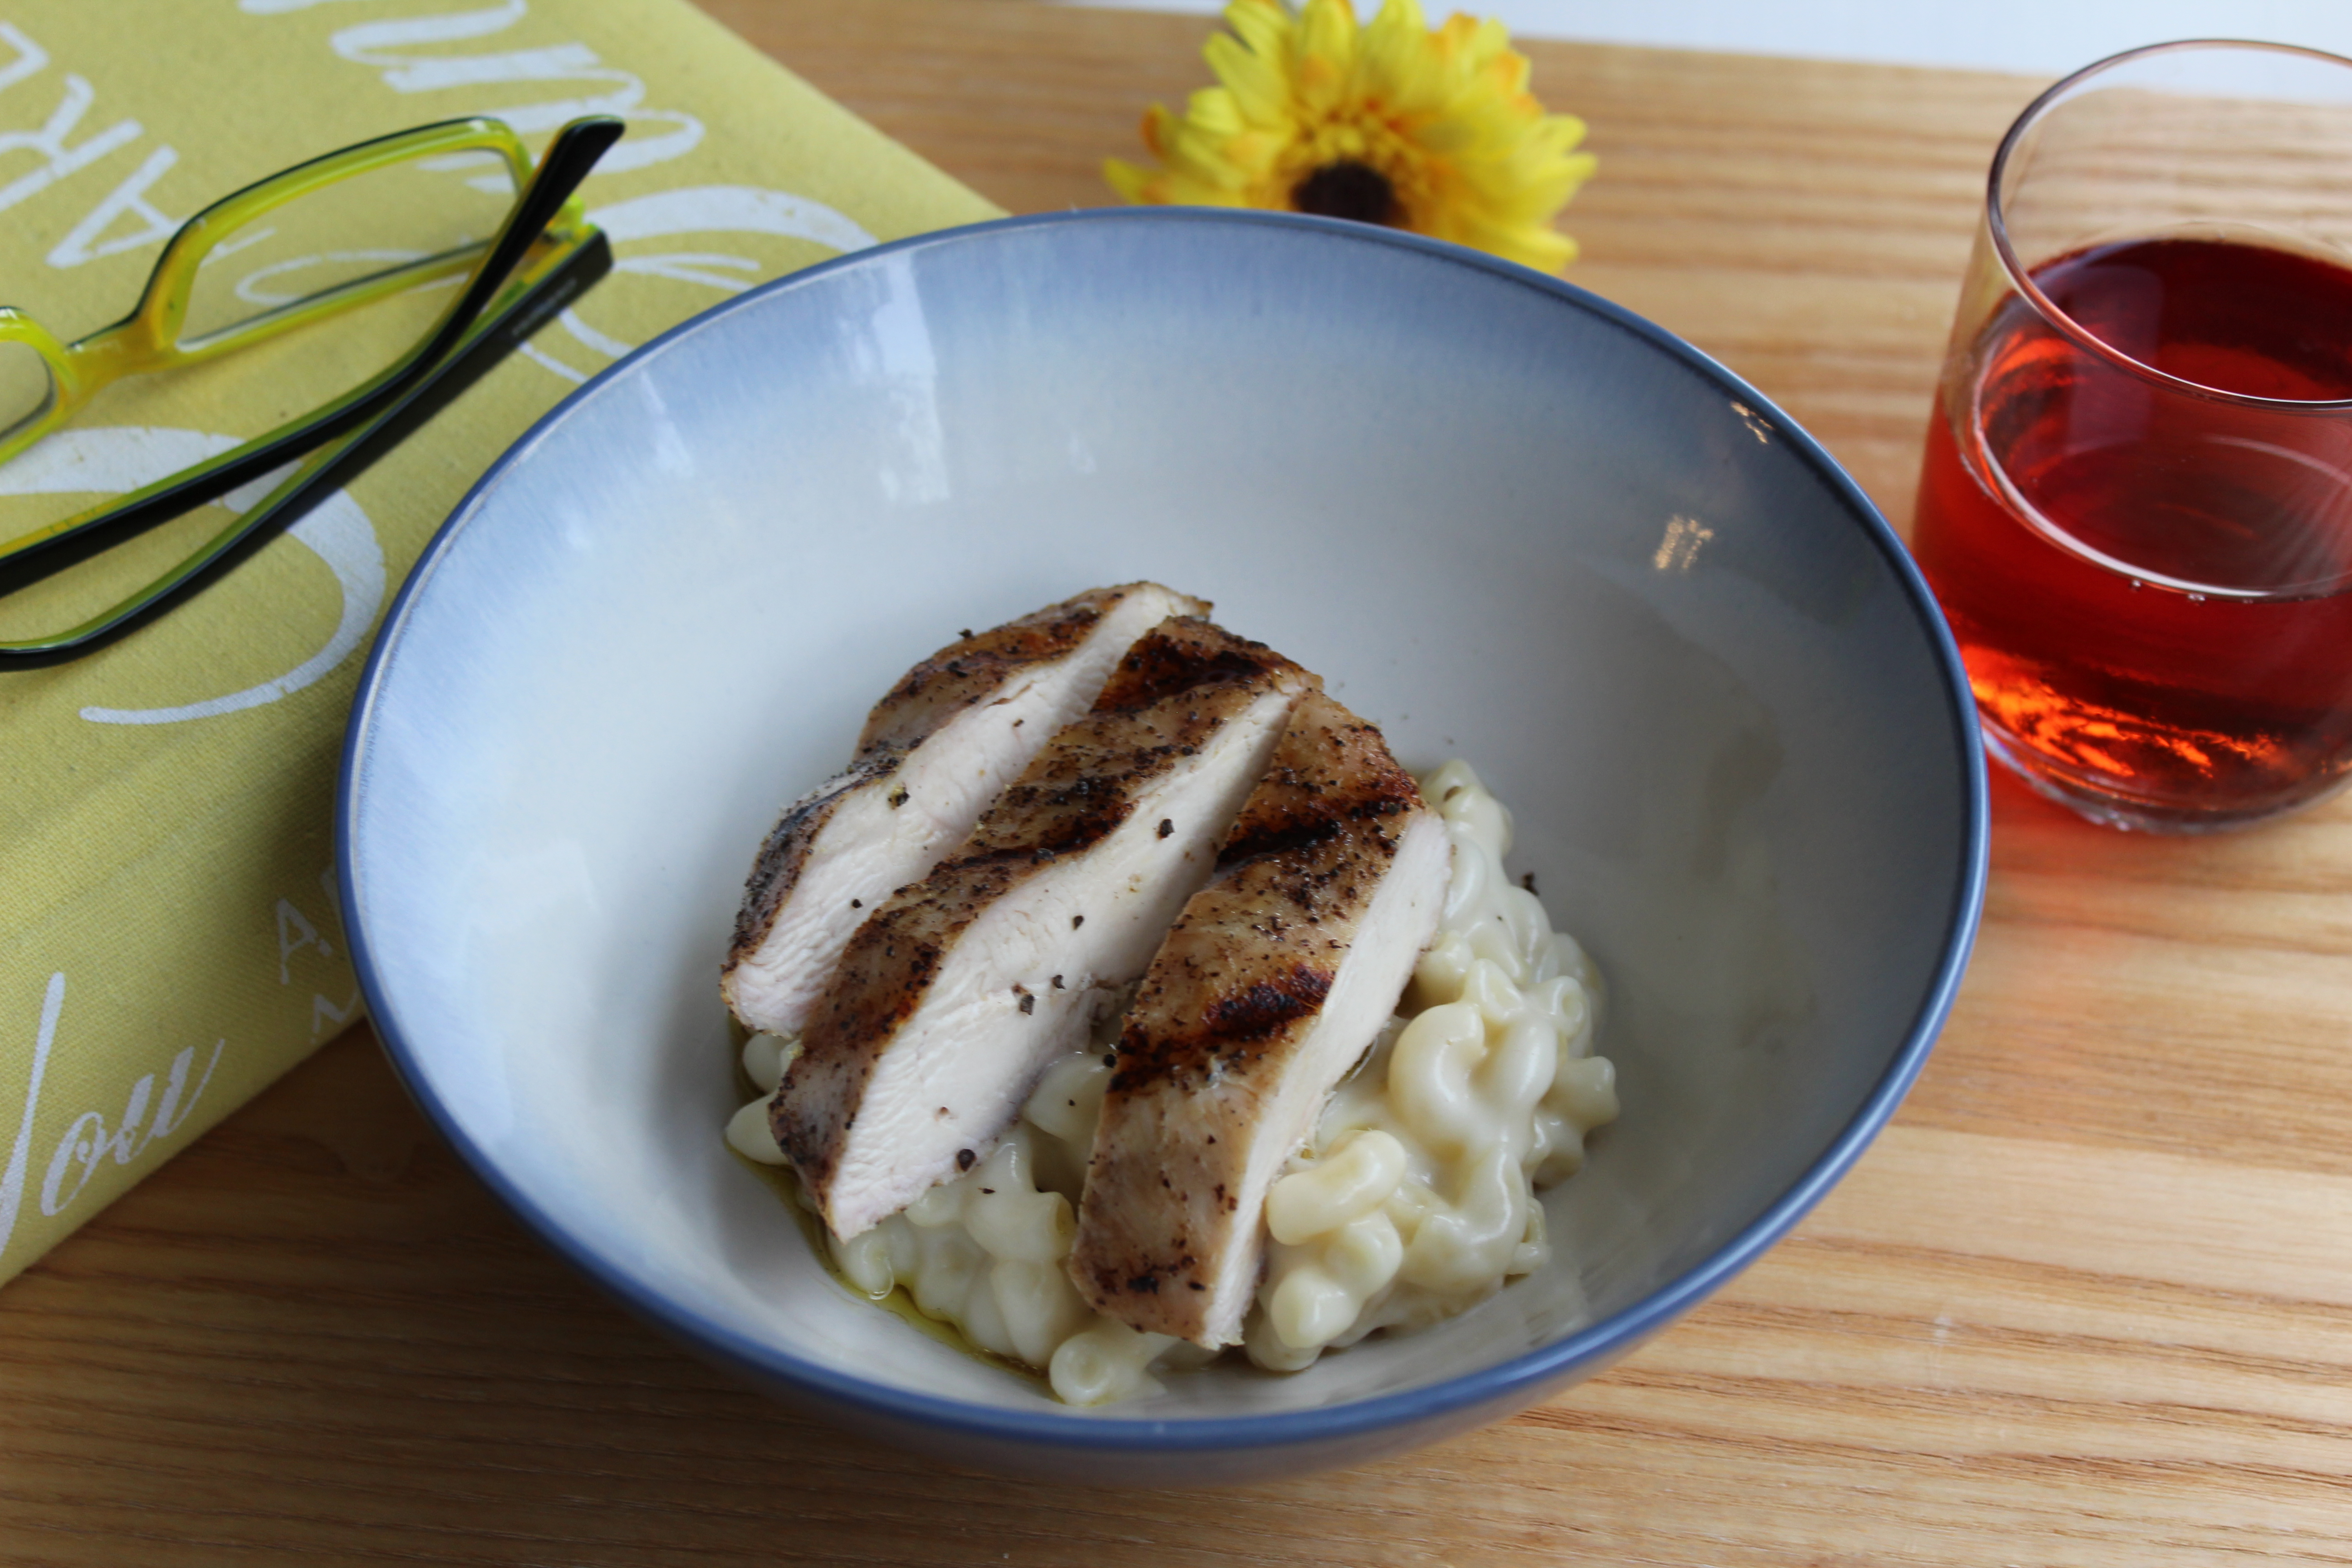
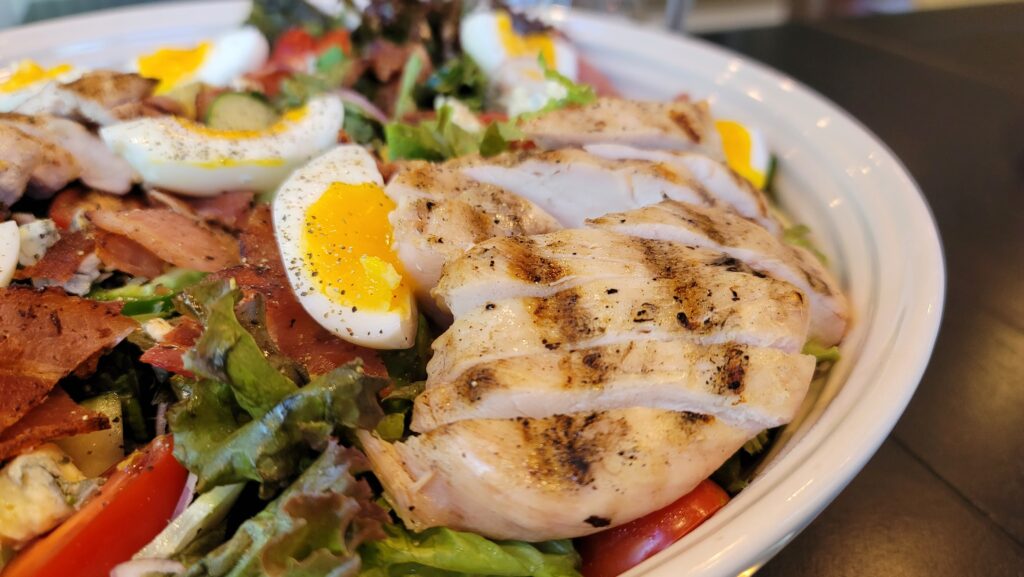
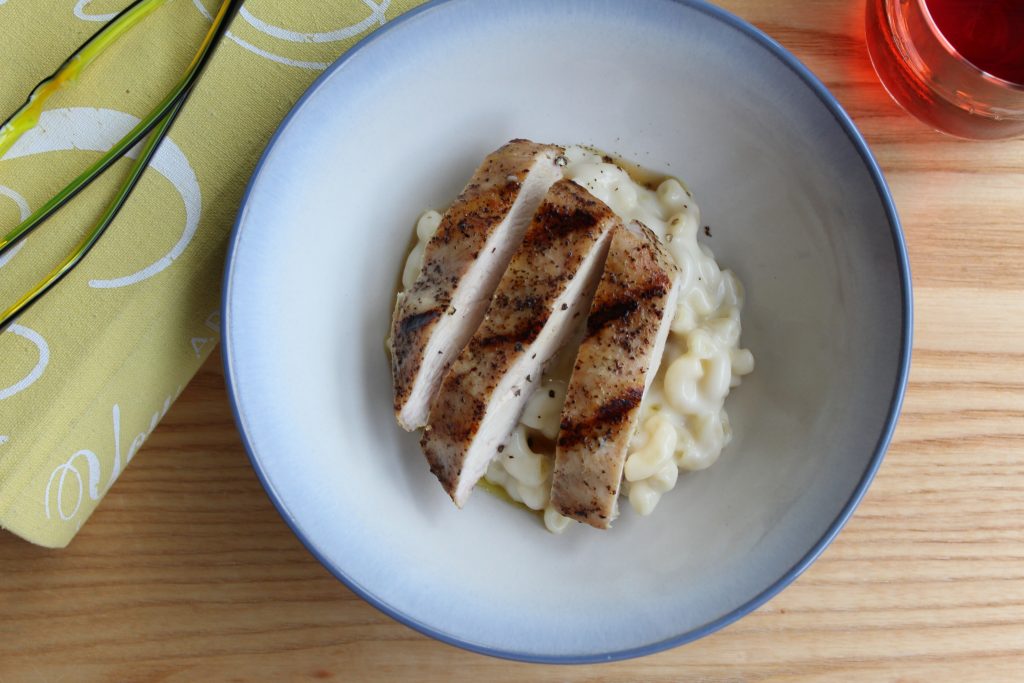
You know that grilled chicken you get in a restaurant on top of salads or grain bowl-type dishes? That chicken with perfect grill marks on the outside yet not stringy or overcooked on the inside. This is what we are going for in this recipe.
No more chicken that’s completely overcooked and overly charred on the outside before the inside is cooked, under seasoned, missing good grill marks or is completely dry and stringy. I suspect, that by far, the main reason for it is that the chicken is grossly overcooked at home out of fear of salmonella poisoning. Some (many, actually) celebrity chefs advocate cooking chicken breasts to 150-155 temperature. I definitely do not agree with that and believe that chicken should be cooked to the safe government suggested temperature of 165. But not more! As you cook your chicken breast, the fibers shrink and squeeze out the moisture. It doesn’t matter if you baste it, cover it or use any other incorrect techniques. The moisture will keep evaporating and dry out your meat. So as your chicken cooks past 165 it now becomes a matter of just how stringy and dried out it will become.
So here are a few tips for great grilled chicken:
- Brining chicken breast is not a bad idea, but is totally optional. I have to admin, however, that this adds an extra step to this very simple and quick dish and for this reason I almost always skip it.
- Pounding chicken to even thickness is a must. To me this is not an optional step. Uneven cooking is by far the biggest culprit when it comes to grilled chicken breast. Think about the thickness differential between the chicken – it may be 1/2″ thick on one end and close to 2″ thick on the other end. By the time the thick end cooks, the outside and the thin part of the chicken will be grossly overcooked.
- Season the chicken well. To avoid bland tasting chicken.
- It’s all about high heat. Pound to an even thickness + Cook as quickly as possible over high heat = maximum moisture retention.
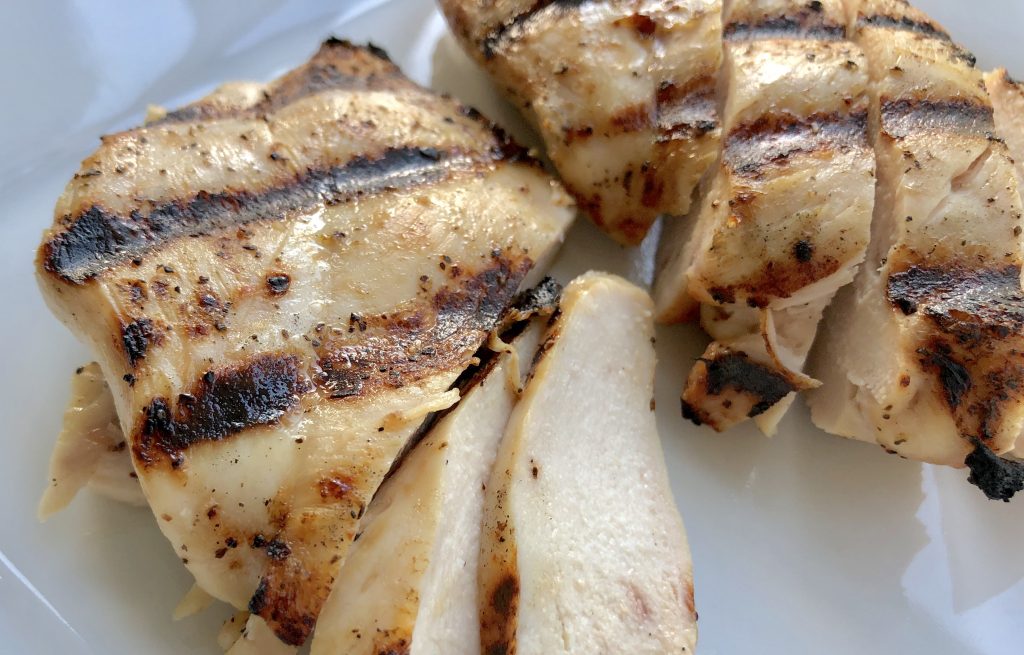
- Do not overcook. Every recipe says that but what does it mean to someone who doesn’t really cook that many chicken breasts. Remove the chicken breast as soon as it reaches your target safe internal temperature (or maybe even a few degrees earlier as the temperature will still rise during resting.) I’ve seen way too many chicken breasts cooked to 180 and above. There’s absolutely no reason for that – 180 is not safer than 165 ( with 165 being an instant kill zone.) It’s very unlikely that pounded chicken breast will take more than 10 minutes, so do not walk away! Use a thermometer and measure correctly by inserting it into the middle from the side of the chicken to avoid incorrect measurement.
- Let the chicken rest. For at least 5 minutes, then slice it up and enjoy!
And although, as I said before, I don’t likely photography and possibly don’t always pick the best angle or light – I can still capture just how juicy, melt in your mouth this chicken breasts is Every Single Time! No more dry, stringy grilled chicken breast!
Place one chicken breast at a time in a resealable plastic bag or between couple of layers of plastic wrap. Cover with a paper towel to catch the splatter just in case. Pound lightly to an even thickness with a flat side of a meat mallet (rolling pin or a bottom of a frying pan will also work;) you will basically gently pound the side of the chicken breast that's thicker - that's it! Don't pound too thin, we are not making a schnitzel here. The goal here is to even out the chicken breasts, so it's more or less the same thickness (a bit of difference is fine.) I usually go for at least 3/4" thickness. But anywhere between 1/2 - 3/4" thickness will work, just as long as you remember that thinner chicken will cook faster.
Season your chicken breasts with salt an pepper. If you have time, refrigerate them uncovered after they are seasoned for 1-4 hours to "dry brine" them. Brush the chicken lightly with oil.
Preheat your grill to high by turning all the burners, but one, to medium-high. Make sure to clean and oil your grill.
The reason one burner is off, is that just in case any specific piece of chicken gets too charred, it can finish cooking over the indirect heat. However, this is unlikely with this technique, when the chicken is pounded and cooked on a gas grill.
Place your chicken directly over medium-high heat and cook undisturbed for 4-5minutes. The goal is to get very nice grill marks without burning the chicken, while cooking the chicken more than halfway.
Flip the chicken over and finish cooking on the other side for 2-5 minutes until the safe internal temperature of 165F is reached. Your chicken is already cooked more than half of the way, so the other side, depending on how thick your chicken breast was may only take a couple of minutes.
Insert the thermometer carefully into the middle of the breast from the side of the chicken to get an accurate measure. The second it hits 165 in the middle of the breast, remove the chicken from heat and let it rest.
After at least 5 minutes of rest time, slice it up against the grain of the chicken and enjoy.
Feel free to drizzle your chicken with olive oil, lemon juice and crushed garlic mixture.
Ingredients
Directions
Place one chicken breast at a time in a resealable plastic bag or between couple of layers of plastic wrap. Cover with a paper towel to catch the splatter just in case. Pound lightly to an even thickness with a flat side of a meat mallet (rolling pin or a bottom of a frying pan will also work;) you will basically gently pound the side of the chicken breast that's thicker - that's it! Don't pound too thin, we are not making a schnitzel here. The goal here is to even out the chicken breasts, so it's more or less the same thickness (a bit of difference is fine.) I usually go for at least 3/4" thickness. But anywhere between 1/2 - 3/4" thickness will work, just as long as you remember that thinner chicken will cook faster.
Season your chicken breasts with salt an pepper. If you have time, refrigerate them uncovered after they are seasoned for 1-4 hours to "dry brine" them. Brush the chicken lightly with oil.
Preheat your grill to high by turning all the burners, but one, to medium-high. Make sure to clean and oil your grill.
The reason one burner is off, is that just in case any specific piece of chicken gets too charred, it can finish cooking over the indirect heat. However, this is unlikely with this technique, when the chicken is pounded and cooked on a gas grill.
Place your chicken directly over medium-high heat and cook undisturbed for 4-5minutes. The goal is to get very nice grill marks without burning the chicken, while cooking the chicken more than halfway.
Flip the chicken over and finish cooking on the other side for 2-5 minutes until the safe internal temperature of 165F is reached. Your chicken is already cooked more than half of the way, so the other side, depending on how thick your chicken breast was may only take a couple of minutes.
Insert the thermometer carefully into the middle of the breast from the side of the chicken to get an accurate measure. The second it hits 165 in the middle of the breast, remove the chicken from heat and let it rest.
After at least 5 minutes of rest time, slice it up against the grain of the chicken and enjoy.
Feel free to drizzle your chicken with olive oil, lemon juice and crushed garlic mixture.
Happens to be Dairy-Free, Gluten-Free, Paleo/Keto/Low Carb.