I remember watching Beat Bobby Flay (I was obsessed with that show!) where Flay was challenged to make chicken under a brick. His challenger seasoned the chicken with all sorts of things, while Bobby only used salt and pepper, saying that he wants chicken to taste like chicken!
This is when I was sure – Bobby Flay was definitely my favourite celebrity chef. I adore chicken and feel exactly the same. Now that I think about it, most of my chicken dishes are very simple, heavily focus on technique and let the chicken flavour shine by keeping the spices very simple – salt and pepper (used liberally,) maybe some occasional paprika, but that’s about it.
This dish is no exception. This simple 2-ingredient dinner (plus salt and pepper) is simply perfect. Drying the skin with the paper towels (damp skin won’t crisp and brown), using high temperature to roast the chicken, measuring the internal temperature to avoid overcooking – all result in ultra juicy, ultra flavourful chicken with some very crispy skin!
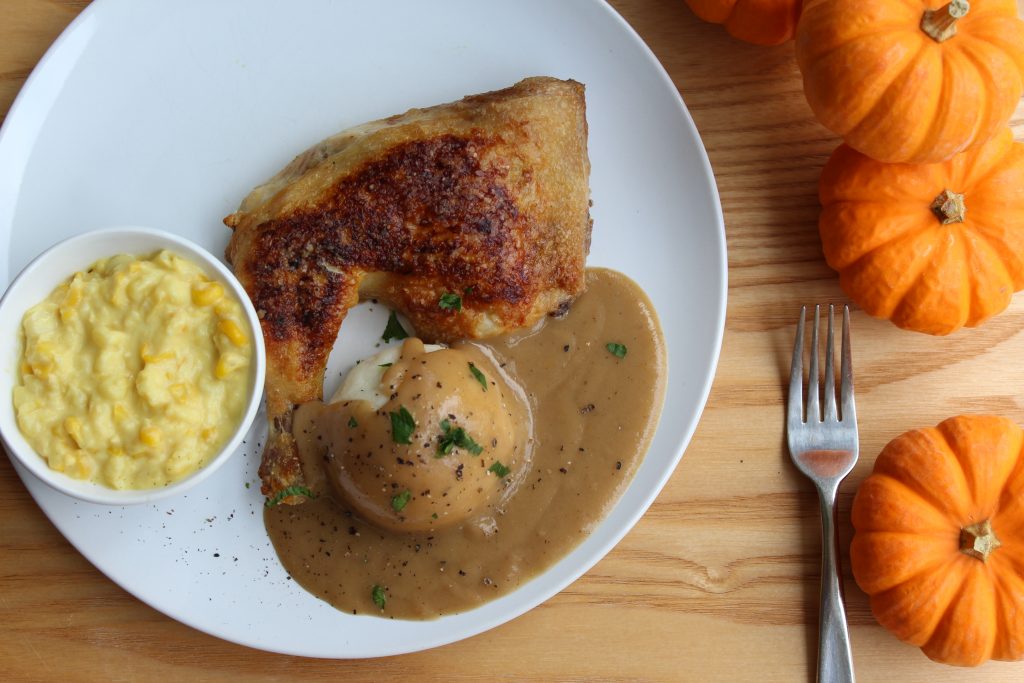
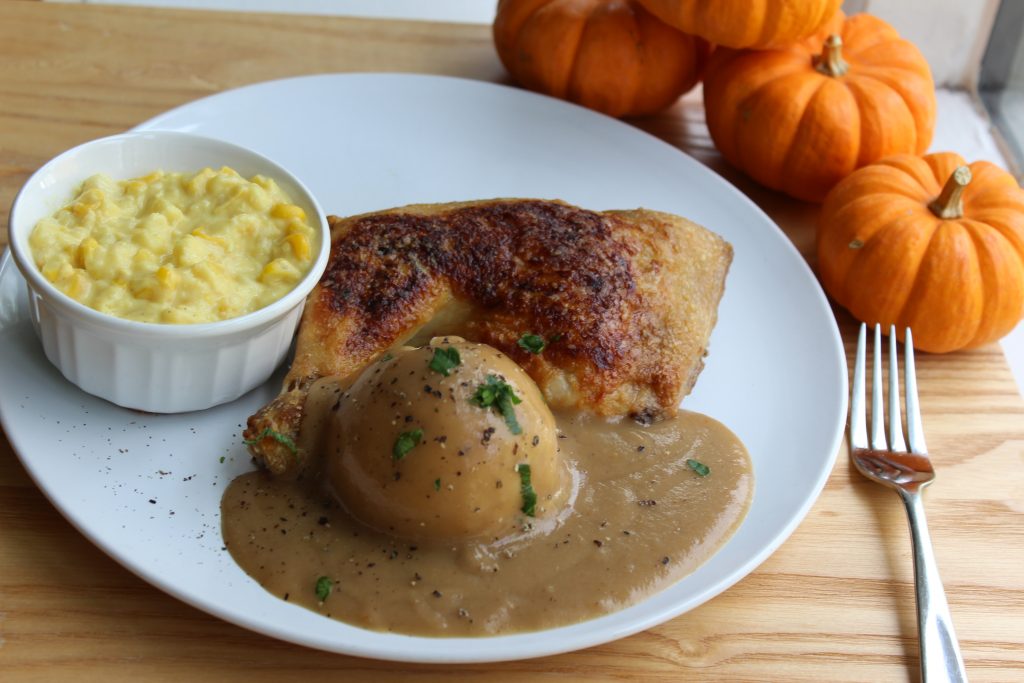
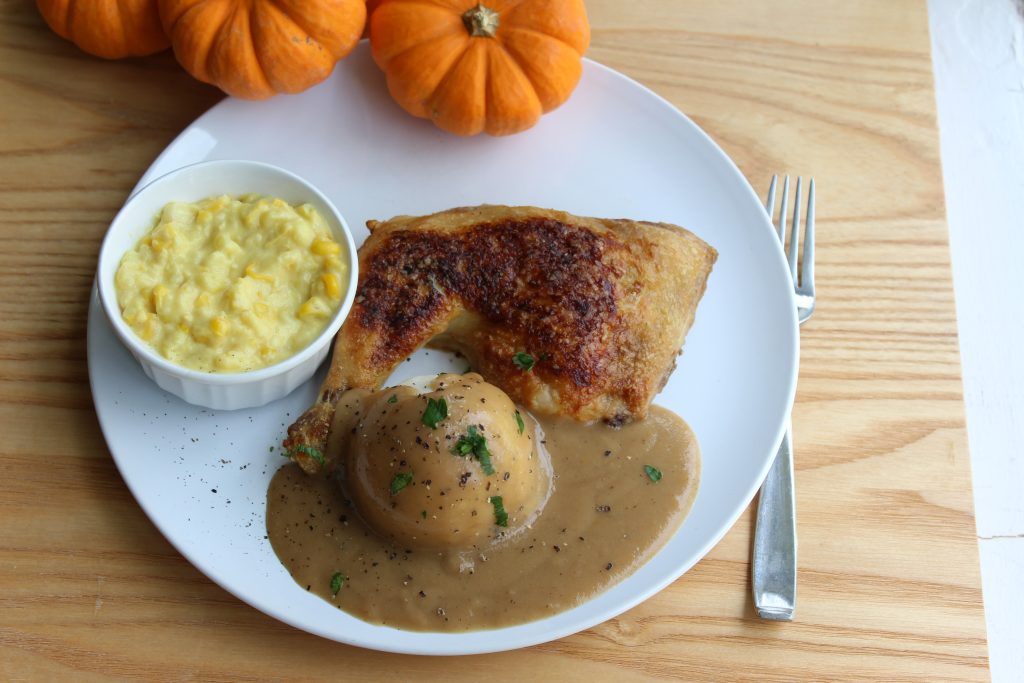
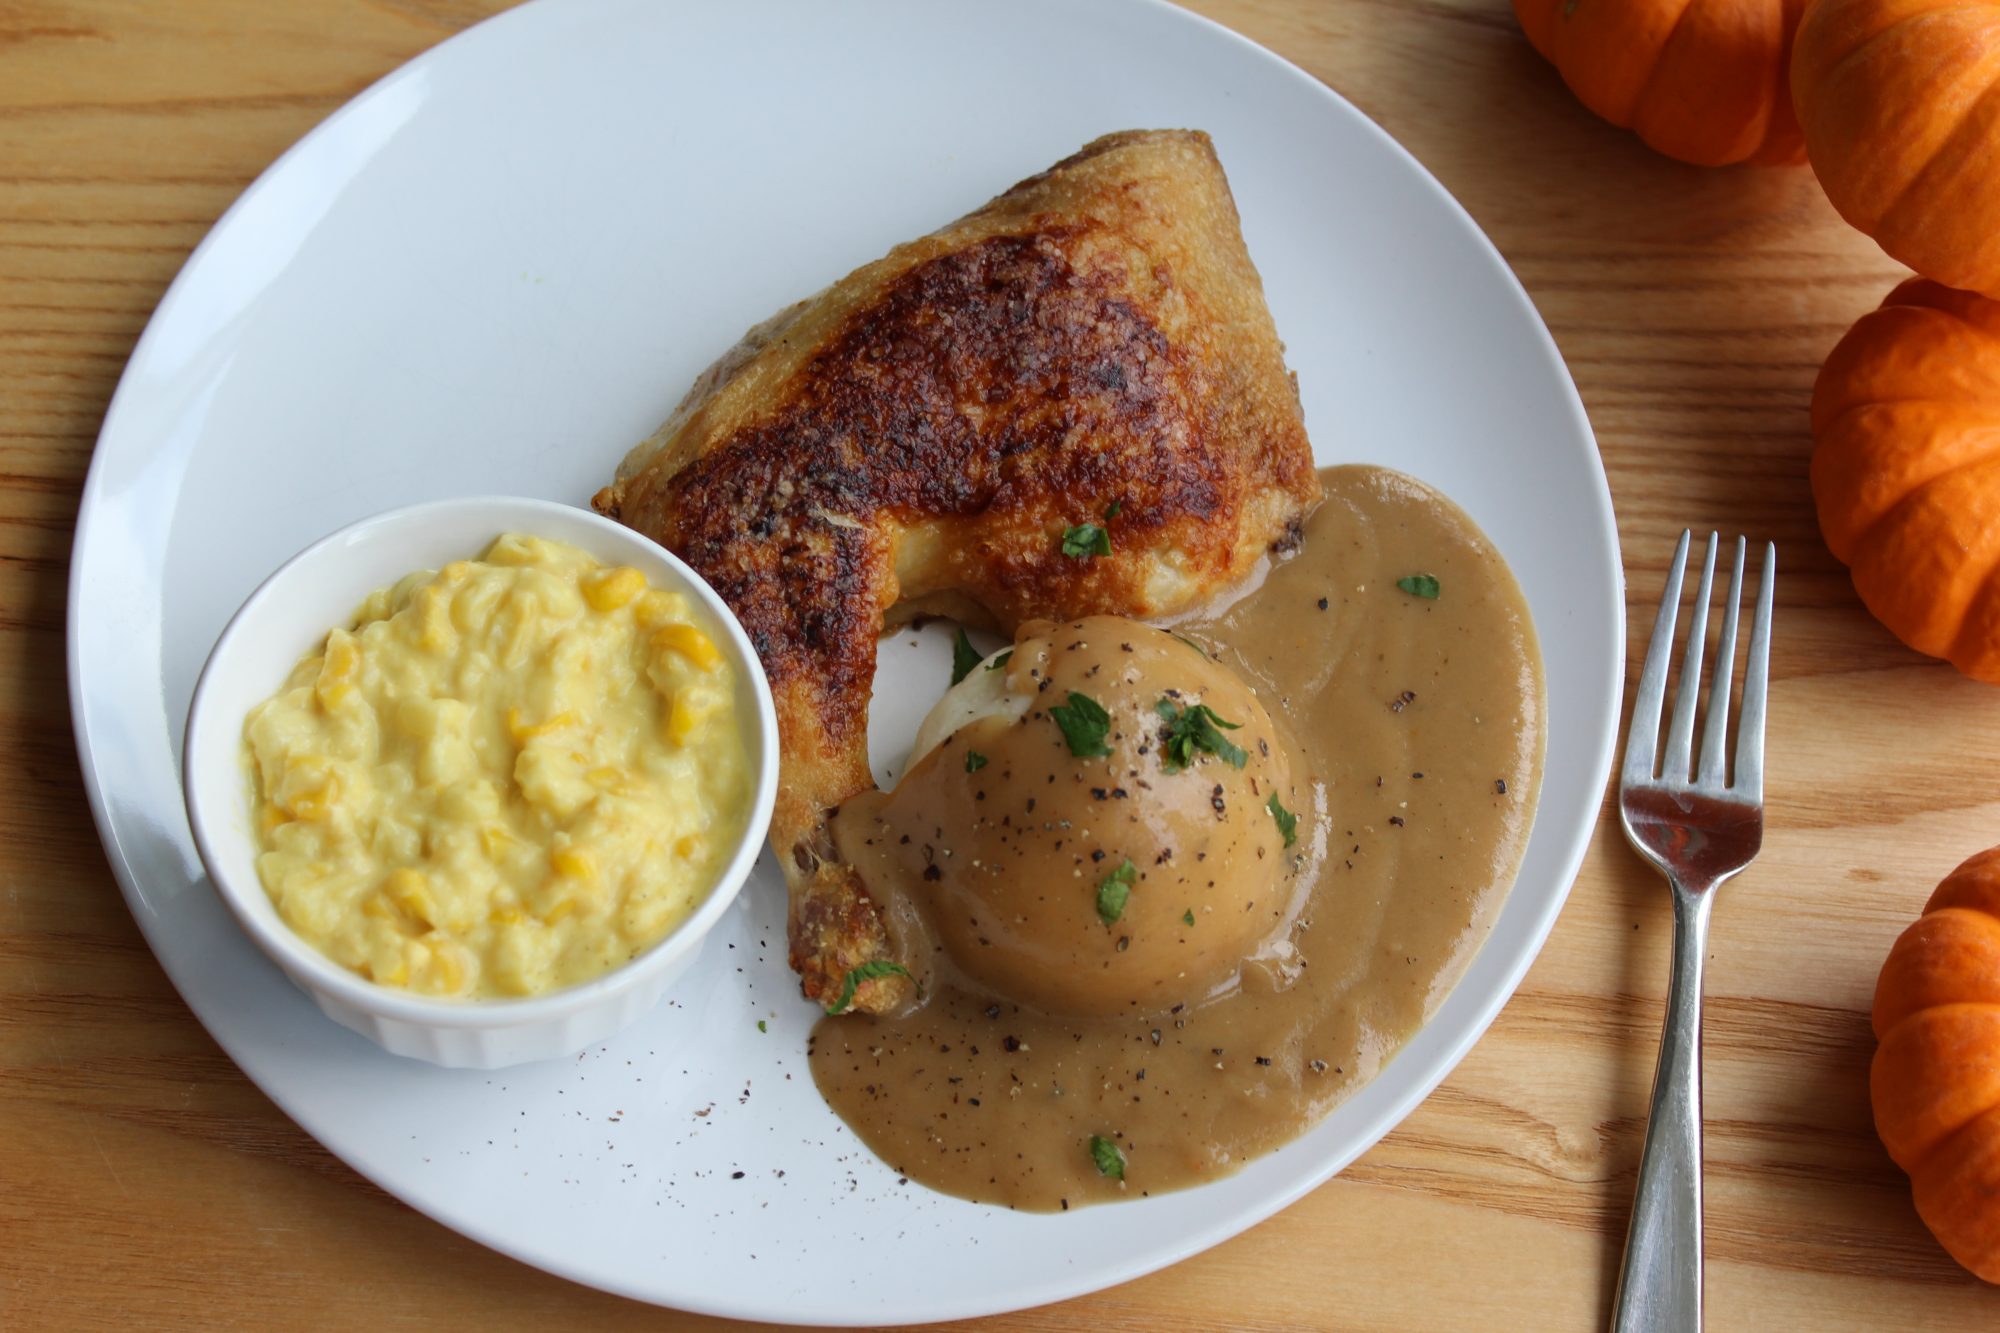
Today, I’m serving the dish with creamed corn (around 20 minutes to make and absolutely no cream in it,) mashed potatoes and quick ultra-flavourful gravy (under an hour to make and happens to be light on the calories.)
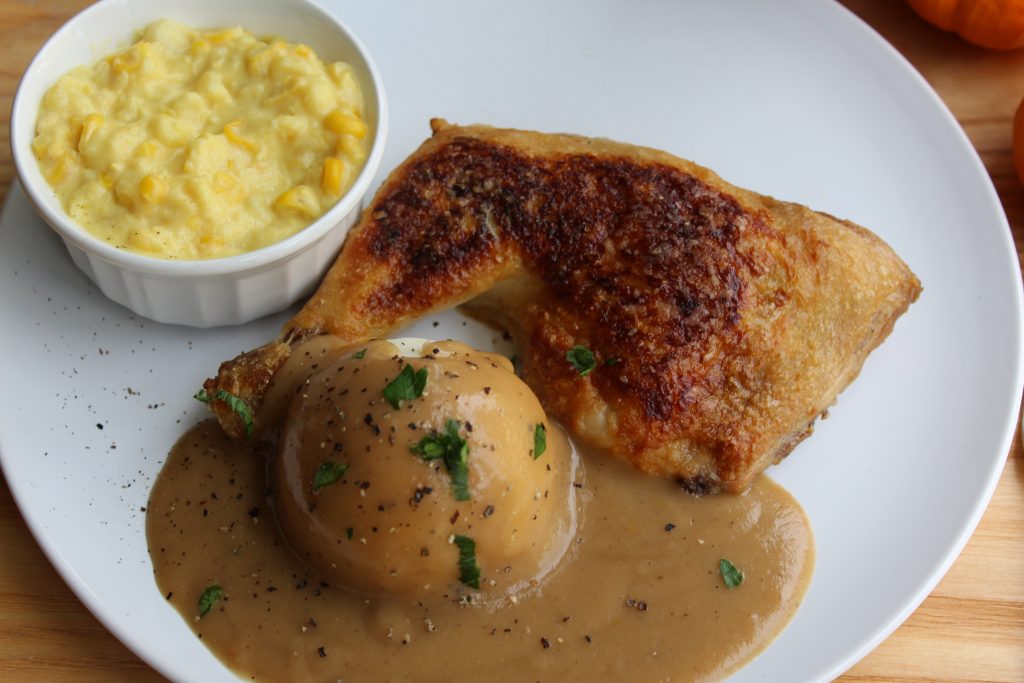
This entire dinner could be easily pulled off in under an hour, not sure I’d recommend cooking everything all at once though, because the clean up afterwards is a disaster. Maybe make a few things ahead of time 🙂 But the taste, is 100% worth it.
So, let’s get cooking

Preheat the oven to 400. Set the oven racks to the top 3rd of the oven.
If you have time, allow your chicken to sit at room temperature for 30-60 minutes, as that will allow for more even cooking. If not, the recipe will still work great.
Dry your chicken well with the paper towels just before cooking. If the skin is damp, it will have hard time browning and crisping up.
Brush the chicken with oil and season with salt and pepper (be sure to get the bottom of the legs also, not just the top.)
This step is optional, however, is what is responsible for that very beautiful sear and golden skin.
Heat a bit of oil in a large cast iron pan over medium high heat. Lay your chicken pieces skin side down, pressing down on them with a spatula. Cook undisturbed for 4-6 minutes, making sure we get a nice sear without disturbing the chicken yet watching closely not to burn.
If you are making too many pieces or don't have time for this step, proceed directly to Step 3.
Lay your chicken pieces skin side up on a rimmed baking sheet lined with aluminum foil.
Place into preheated oven.
The baking time will vary depending on the size of the chicken, but should be less than 40 minutes. I notice lots of recipes call for 45 minutes, but this should truly almost never be the case. Perhaps this is done to prevent consuming raw chicken. But since we are using instant read digital thermometer for best results, time is not as important and all we need to worry about is for the chicken to get to safe internal temperature.
For average chicken legs, you may be looking at only around 22-35 minutes, especially if you seared the skin in step 2. The internal temperature should reach 180-185. Chicken meat is safe to eat at 165, however, the abundant connective tissue would not be broken down at that temperature and as a result it will still be chewy.
Feel free to switch the broiler on to crisp up the skin even more at the end. Watch closely while broiling to avoid burning, it will only take a minute or two, keep the oven door open and keep watching!
Serve right away.
Ingredients
Directions
Preheat the oven to 400. Set the oven racks to the top 3rd of the oven.
If you have time, allow your chicken to sit at room temperature for 30-60 minutes, as that will allow for more even cooking. If not, the recipe will still work great.
Dry your chicken well with the paper towels just before cooking. If the skin is damp, it will have hard time browning and crisping up.
Brush the chicken with oil and season with salt and pepper (be sure to get the bottom of the legs also, not just the top.)
This step is optional, however, is what is responsible for that very beautiful sear and golden skin.
Heat a bit of oil in a large cast iron pan over medium high heat. Lay your chicken pieces skin side down, pressing down on them with a spatula. Cook undisturbed for 4-6 minutes, making sure we get a nice sear without disturbing the chicken yet watching closely not to burn.
If you are making too many pieces or don't have time for this step, proceed directly to Step 3.
Lay your chicken pieces skin side up on a rimmed baking sheet lined with aluminum foil.
Place into preheated oven.
The baking time will vary depending on the size of the chicken, but should be less than 40 minutes. I notice lots of recipes call for 45 minutes, but this should truly almost never be the case. Perhaps this is done to prevent consuming raw chicken. But since we are using instant read digital thermometer for best results, time is not as important and all we need to worry about is for the chicken to get to safe internal temperature.
For average chicken legs, you may be looking at only around 22-35 minutes, especially if you seared the skin in step 2. The internal temperature should reach 180-185. Chicken meat is safe to eat at 165, however, the abundant connective tissue would not be broken down at that temperature and as a result it will still be chewy.
Feel free to switch the broiler on to crisp up the skin even more at the end. Watch closely while broiling to avoid burning, it will only take a minute or two, keep the oven door open and keep watching!
Serve right away.
Happens to be Gluten-Free, Dairy Free, Low Carb/Keto/Paleo: as with all gluten-free recipes, ensure all your ingredients are gluten free and not cross-contaminated.