You can make these the day before! In step 7, after the buns are filled, sliced, placed into the baking sheet and covered with plastic and a kitchen towel - you can place the pan in the fridge overnight. Take the pan out of the fridge and allow to rise at room temperature for 2 hours prior to baking the next day.
Please note, good quality stand mixer is essential to this recipe. The gluten in whole wheat flour is otherwise very hard to develop by hand. For best results, do not change the size of these cinnamon rolls. Do not skip the goo - it's the best part! I highly recommend measuring the internal temperature of the cinnamon buns to test for doneness to avoid any risk of overbaking these.
In the bowl of your stand mixer, whisk the oil, brown sugar, lightly beaten egg and water. Add whole wheat flour, one cup of white flour, yeast and kosher salt and mix well with a wooden spoon until combined and the flour is fully incorporated. Add another 1/2 cup of white flour and knead on low.
The total white flour you will need is likely around 2 cups (plus more for dusting and rolling.) However, it's important not to add it all at once and keep adding the flour a tablespoon or so at a time, until the dough just starts to pull away from the bowl of your mixer. The dough should be soft, moist but not very sticky.
Another key is kneading the dough for a long time. I would recommend around 20 minutes on low with your stand mixer. 10-15 minutes may be sufficient, but 20 minutes makes it foolproof. Keep an eye on your mixer to ensure it doesn't overheat. Since this dough contains so much whole wheat flour, it needs the additional help and the extra time in the mixer to develop the gluten.
When done, transfer your dough to a large lightly oiled bowl, cover with plastic wrap, place a damp towel over the bowl and allow the dough to rise for 2 hours. Ensure your bowl is large enough as the dough will at the very least double in size.
Prepare your pan. Gently spread butter on the bottom of your pan. Be sure to use at least 1.5 tsp of your total butter to grease the sides of the pan. Sprinkle the sugar and a small pinch of salt over the butter.
Next, on a lightly floured surface, roll out the dough into 10 x 18" rectangle. The long side should be facing you. Rub soft butter all over the surface, leaving a very small strip at the long edge at the top (so that it can adhere after it's rolled.) Sprinkle this with cinnamon, pinch of salt and then with brown sugar. Take your rolling pin and gently roll over the surface, to ensure that the filling gets very gently pressed into your dough. Starting at the bottom edge, roll the dough into 18" log. Ensure the seam is on the bottom.
Cut this log into 9 even 2" pieces. Place these buns into the prepared pan. Cover tightly with plastic wrap and allow to rise for 1 1/2 - 2 hours until puffed and fill the entire pan.
NOTE: after our buns are filled, sliced, placed into the baking sheet and covered with plastic and a kitchen towel - you can place the pan in the fridge overnight. Take the pan out of the fridge and allow to rise at room temperature for 2 hours prior to baking the next day.
Half an hour before you are ready to bake, preheat your oven to 350°.
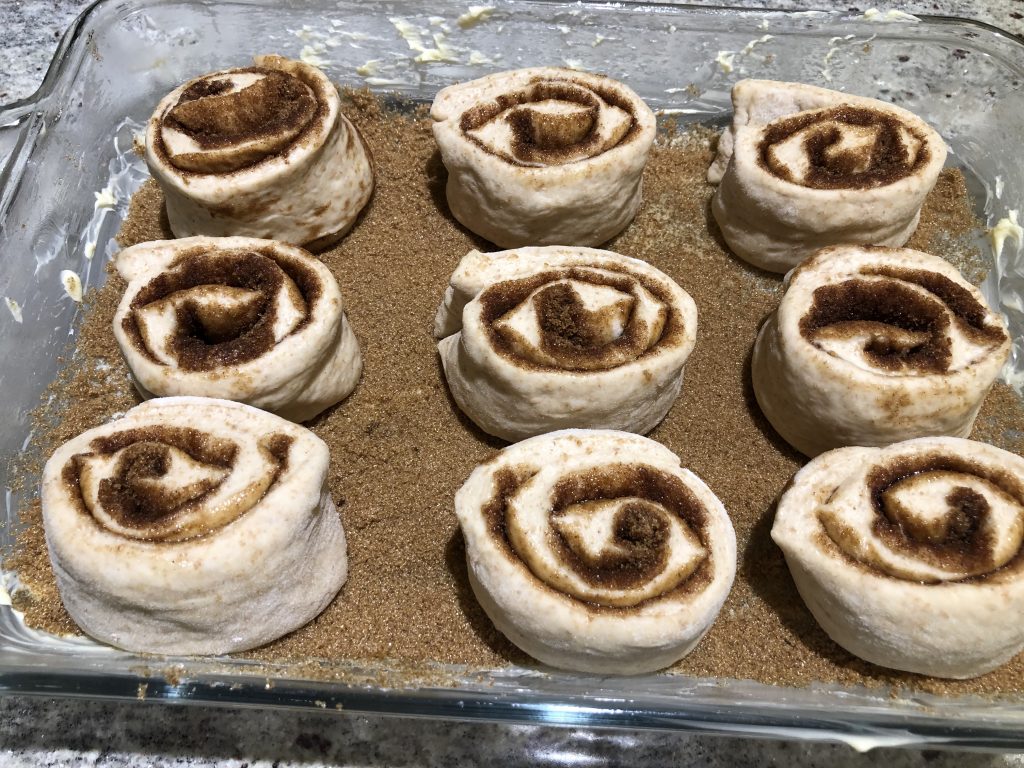
NOTE: you see the picture attached - the buns are placed on the butter/sugar mixture which will later become that glossy sticky goo on top of the buns.
Bake the risen buns in preheated oven (be sure to remove the towel and the plastic wrap) for 23-30 minutes. The buns should be firm, golden and the internal temperature in the middle should be 190°F. Because of such high hydration in this dough, and therefore such light texture, these buns may surprise you with how quickly they bake, so keep a close eye on them.
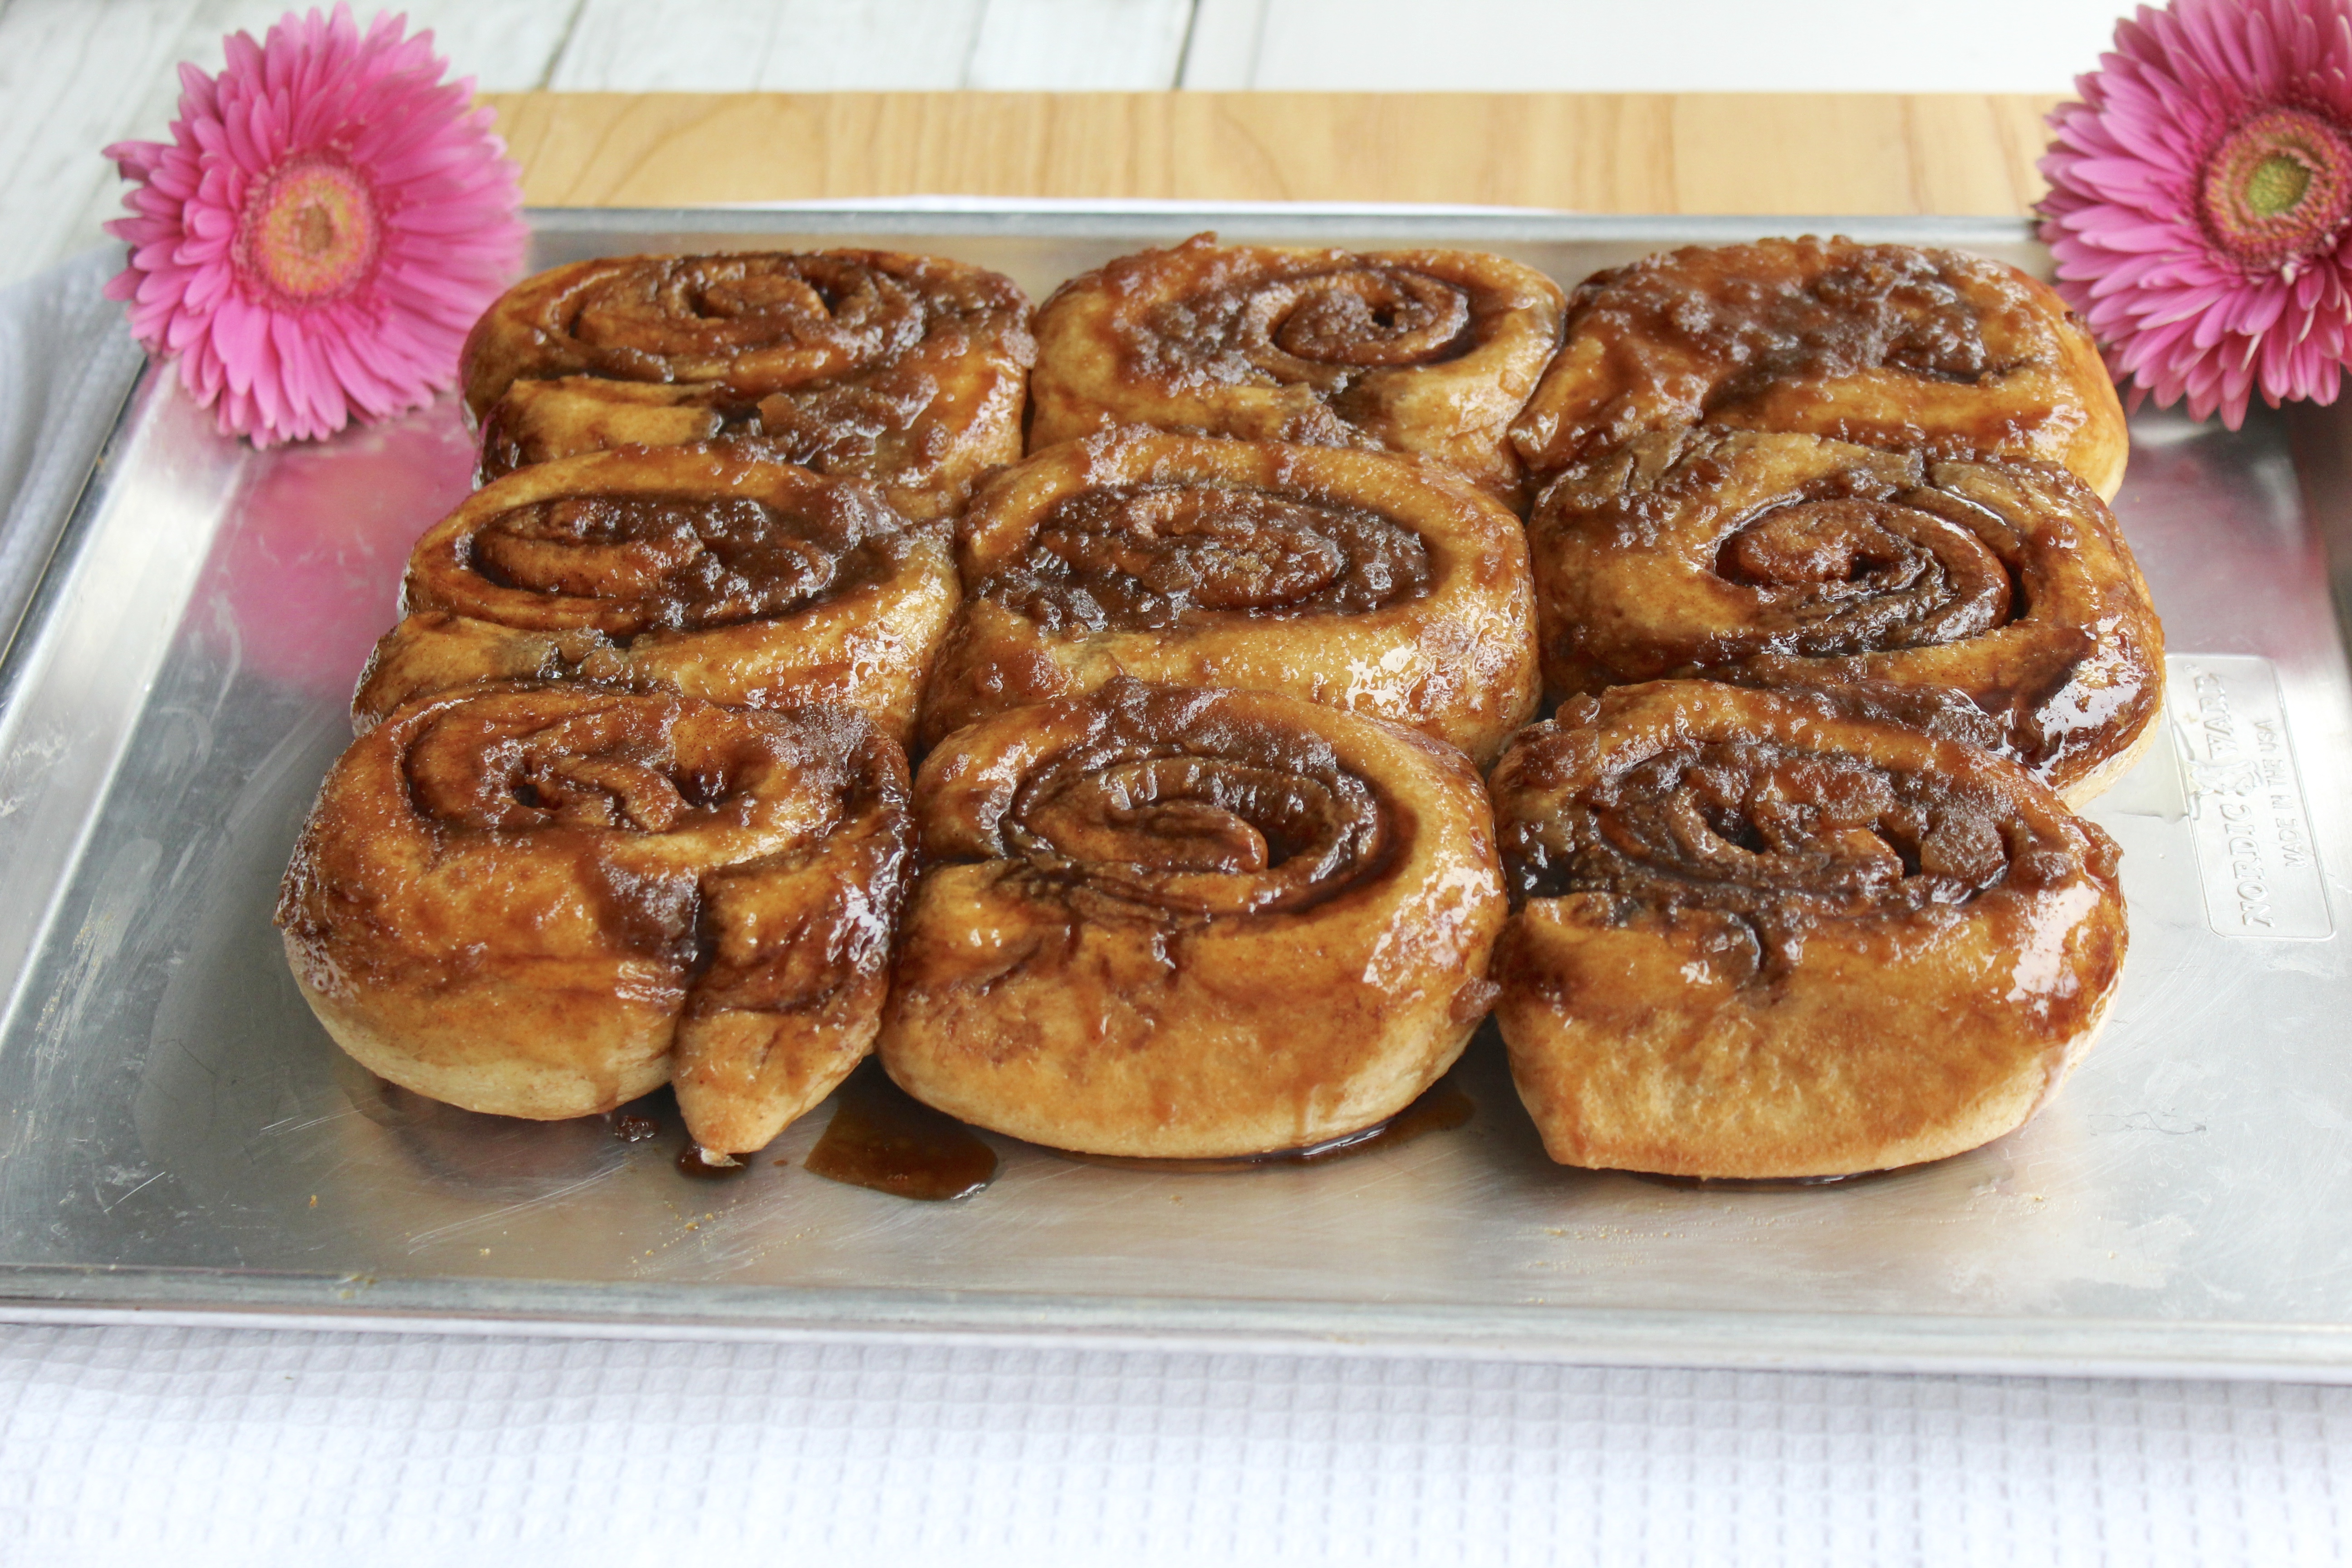
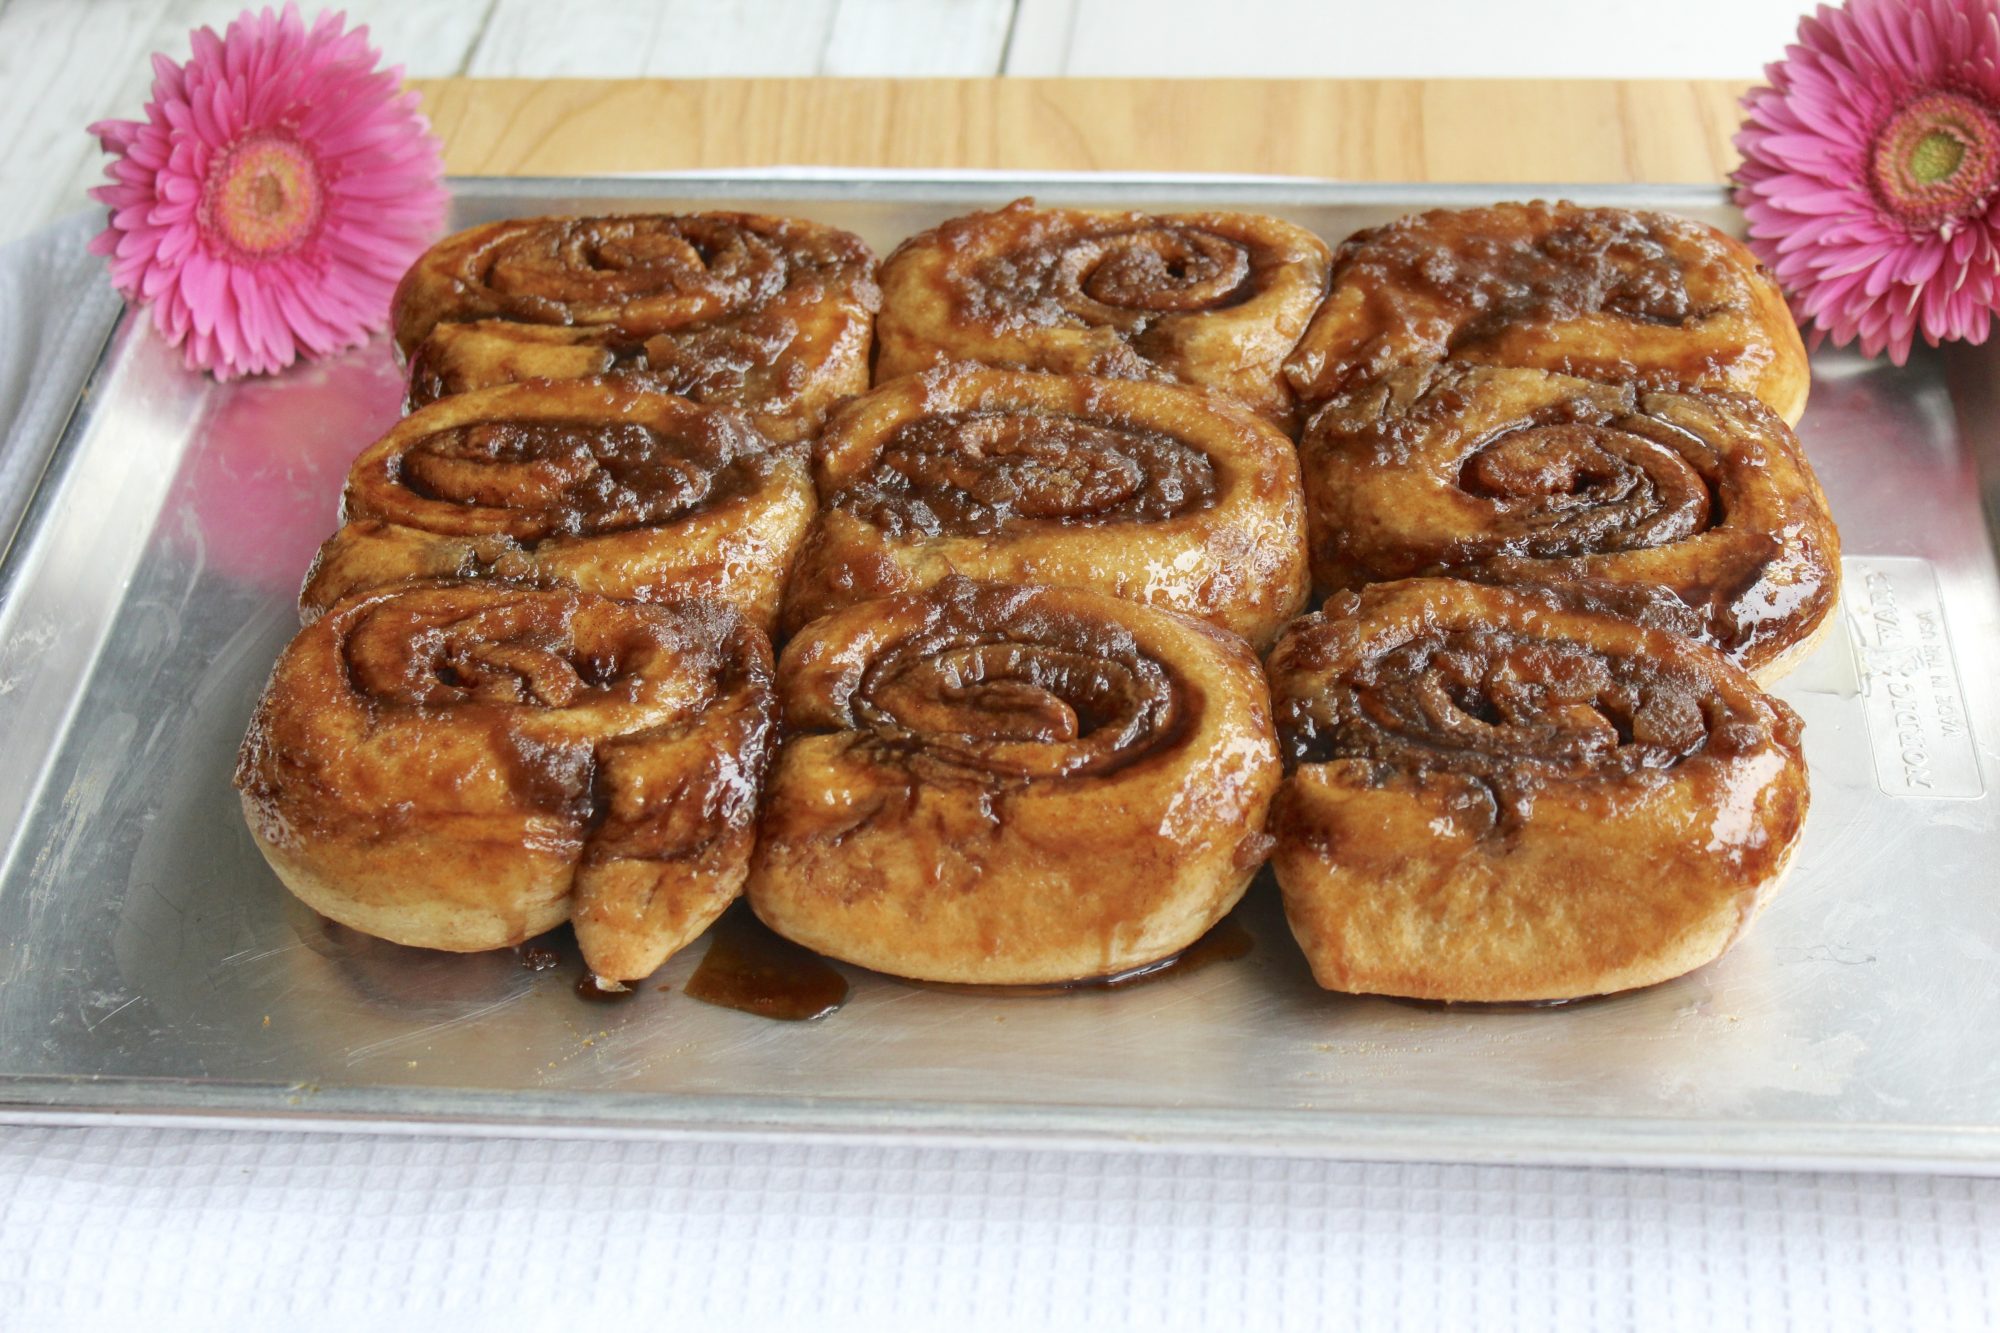
When ready, remove from the oven and allow to sit for a few minutes, at least 5 minutes and ideally 20 for the sugar caramel to set and become less hot. Get another large platter, a baking sheet would work well and carefully (the caramel at the bottom will be very hot), invert the buns onto it. All of that caramel on the bottom will now be that beautiful shiny goo on top of your buns. Dig in and enjoy!
Ingredients
Directions
In the bowl of your stand mixer, whisk the oil, brown sugar, lightly beaten egg and water. Add whole wheat flour, one cup of white flour, yeast and kosher salt and mix well with a wooden spoon until combined and the flour is fully incorporated. Add another 1/2 cup of white flour and knead on low.
The total white flour you will need is likely around 2 cups (plus more for dusting and rolling.) However, it's important not to add it all at once and keep adding the flour a tablespoon or so at a time, until the dough just starts to pull away from the bowl of your mixer. The dough should be soft, moist but not very sticky.
Another key is kneading the dough for a long time. I would recommend around 20 minutes on low with your stand mixer. 10-15 minutes may be sufficient, but 20 minutes makes it foolproof. Keep an eye on your mixer to ensure it doesn't overheat. Since this dough contains so much whole wheat flour, it needs the additional help and the extra time in the mixer to develop the gluten.
When done, transfer your dough to a large lightly oiled bowl, cover with plastic wrap, place a damp towel over the bowl and allow the dough to rise for 2 hours. Ensure your bowl is large enough as the dough will at the very least double in size.
Prepare your pan. Gently spread butter on the bottom of your pan. Be sure to use at least 1.5 tsp of your total butter to grease the sides of the pan. Sprinkle the sugar and a small pinch of salt over the butter.
Next, on a lightly floured surface, roll out the dough into 10 x 18" rectangle. The long side should be facing you. Rub soft butter all over the surface, leaving a very small strip at the long edge at the top (so that it can adhere after it's rolled.) Sprinkle this with cinnamon, pinch of salt and then with brown sugar. Take your rolling pin and gently roll over the surface, to ensure that the filling gets very gently pressed into your dough. Starting at the bottom edge, roll the dough into 18" log. Ensure the seam is on the bottom.
Cut this log into 9 even 2" pieces. Place these buns into the prepared pan. Cover tightly with plastic wrap and allow to rise for 1 1/2 - 2 hours until puffed and fill the entire pan.
NOTE: after our buns are filled, sliced, placed into the baking sheet and covered with plastic and a kitchen towel - you can place the pan in the fridge overnight. Take the pan out of the fridge and allow to rise at room temperature for 2 hours prior to baking the next day.
Half an hour before you are ready to bake, preheat your oven to 350°.
NOTE: you see the picture attached - the buns are placed on the butter/sugar mixture which will later become that glossy sticky goo on top of the buns.

Bake the risen buns in preheated oven (be sure to remove the towel and the plastic wrap) for 23-30 minutes. The buns should be firm, golden and the internal temperature in the middle should be 190°F. Because of such high hydration in this dough, and therefore such light texture, these buns may surprise you with how quickly they bake, so keep a close eye on them.
When ready, remove from the oven and allow to sit for a few minutes, at least 5 minutes and ideally 20 for the sugar caramel to set and become less hot. Get another large platter, a baking sheet would work well and carefully (the caramel at the bottom will be very hot), invert the buns onto it. All of that caramel on the bottom will now be that beautiful shiny goo on top of your buns. Dig in and enjoy!

