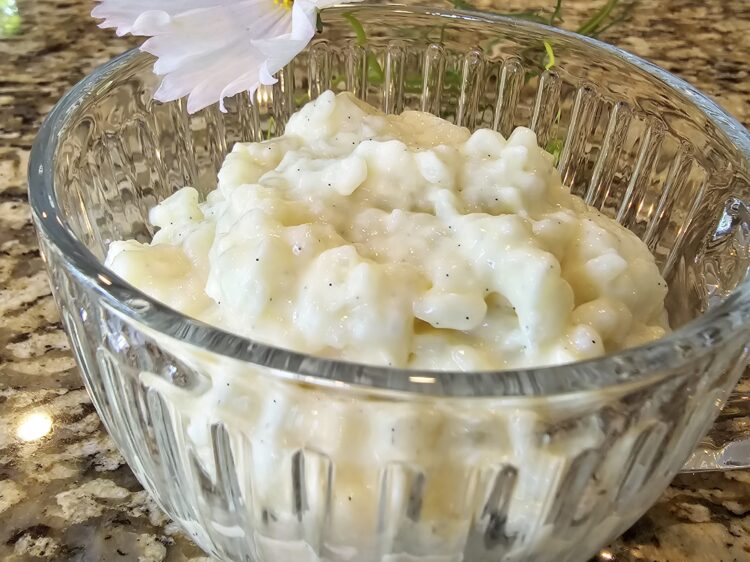
My husband loves kozyshack rice pudding. So naturally, I had to recreate it.
Cooking rice in milk from the start slows down the breakdown of starches, resulting in grainier less tender rice pudding. As such, we parboil rice in water prior to adding it to milk.
Rice pudding does not need any eggs. In fact, making it completely egg free is simpler, quicker and more fool-proof. However, in French cuisine, the addition of egg yolks is traditional. In this version, I’m describing how to do both versions. Adding egg yolks definitely results in a creamier pudding. Not adding egg yolks still yields perfectly creamy pudding and a cleaner more defined rice taste.

Rice Pudding
Ingredients
1/2 cup medium grain rice, I used Calrose
1/2 tsp salt, plus more to taste
4 cups 2% or whole milk
6-8 TBSP white sugar (so just less than 1/2 cup)
1 vanilla bean, split lengthwise, optional
1 1/2 tsp vanilla (if not using vanilla bean, increase this amount to 1 TBSP)
- Optional:
2 egg yolks
1/2 cup 10% cream
Directions
- Rinse the rice under running water, put into a pot cover with cold water by about 1/2 inch above the rice. Add salt, bring to a boil, then reduce the heat to maintain gentle simmer. Simmer uncovered, stirring from time to time for about 12 minutes. Remove from heat and drain (do not rinse.)
- Add milk, scrapped vanilla seeds, vanilla pod and sugar to a medium pot and whisk well. Add the rice. Stirring from time to time, bring the mixture to a boil over medium high heat. Once it comes to a gentle simmer, reduce the heat immediately to low to maintain a gentle simmer (bubbles breaking the surface gently). At this point, you are looking at about 40-45 minute cooking time. Maybe a bit more, maybe a bit less, it all depends on the amount of heat that the rice is getting. For the first 30 minutes, you will need to stir the rice well with a rubber spatula to prevent scorching, scraping the bottom and the sides; you may get away stirring every 7 minutes or so. However, after about 30 minutes of cooking, the stirring will need to happen every 4 minutes or so.
- If you are using egg yolks, combine egg yolks and 10% cream in a medium bowl, whisk well with a fork and set aside.
- At about 40 minute mark of cooking the rice, watch it very closely - don't let it get to dry or it will scorch. When you reach the desired consistency (the pudding coats the back of the spoon, is thick enough, the rice is tender) remove the rice from heat. Something to keep in mind is that the rice will thicken a lot as it cools, so make sure you don't have runny milk, yet don't make it too thick, ensure there's lot of liquid still left; if not, add some more milk to adjust the consistency. You are looking to see more sauce than rice; if it's not the case, add a bit more milk. Remove and discard the vanilla pod, if used. Stir in vanilla extract. Taste and season with more salt to taste. If you like, you can be done at this point and have a perfectly creamy rice pudding. However, if you desire to use egg yolks for the additional creaminess, proceed to the next step.
- Scoop out about a cup of the pudding. While whisking the egg yolk mixture vigorously, gently drop a bit of the pudding (starting with just a few drops) into the egg yolk mixture. What we are doing here is gently tempering the eggs/warming the egg yolk mixture, while being very careful not to scramble it. Continue with this step of gently dropping the pudding while whisking. You will notice the egg yolks mixture becomes warm. Scoop it the warmed mixture back into the rice pudding pot and cook on low heat while stirring non stop with a rubber spatula or a wooden spoon. You are just waiting for a few large bubbles to pierce the surface of the pudding. You will notice that the pudding becomes quite thick. Remove it from heat while continuing to stir. Set the pudding bowl over an ice bath (larger bowl filled with ice and cold water.) Stir for a few minutes, then when the pudding cooled just a bit, place plastic wrap directly against the surface of the pudding (to prevent skin from forming.) Refrigerate the pudding until cooled, for at least 4 hours.
- Note: the texture of the pudding is quite easy to adjust after step 4. Simply add more milk or coffee cream if you like your pudding looser. Stir well prior to serving, divide between bowls and enjoy!
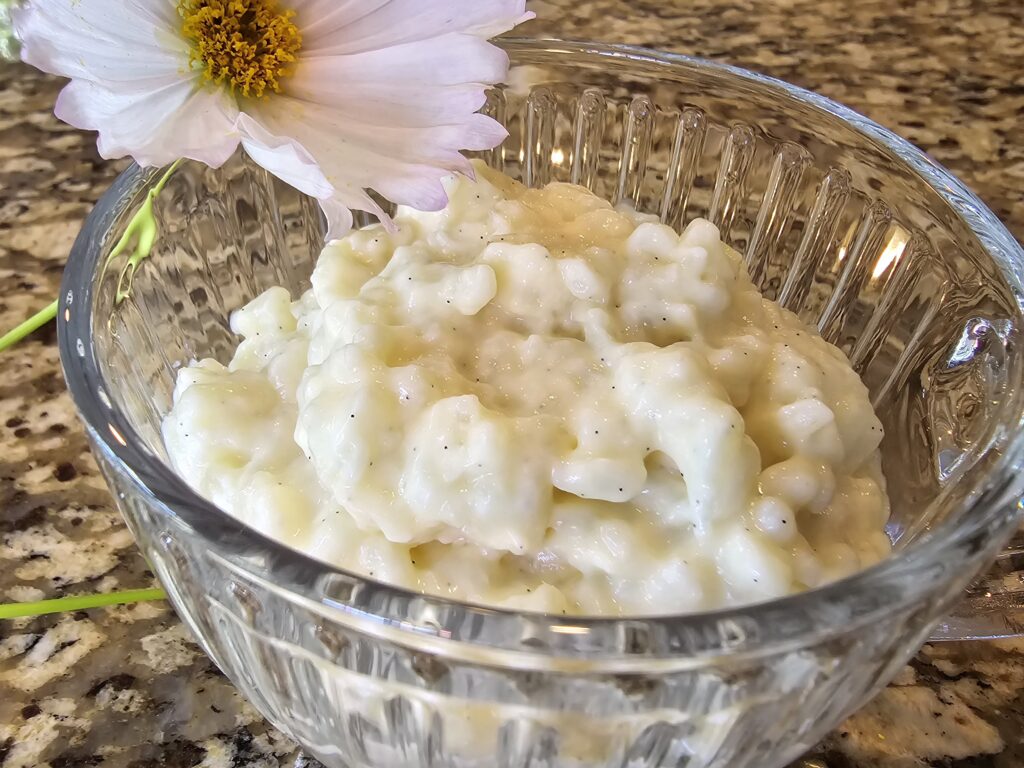


Genuinely the best rice pudding I’ve ever had, and I’ve tried many recipes!
So kind. Truly appreciate it.