
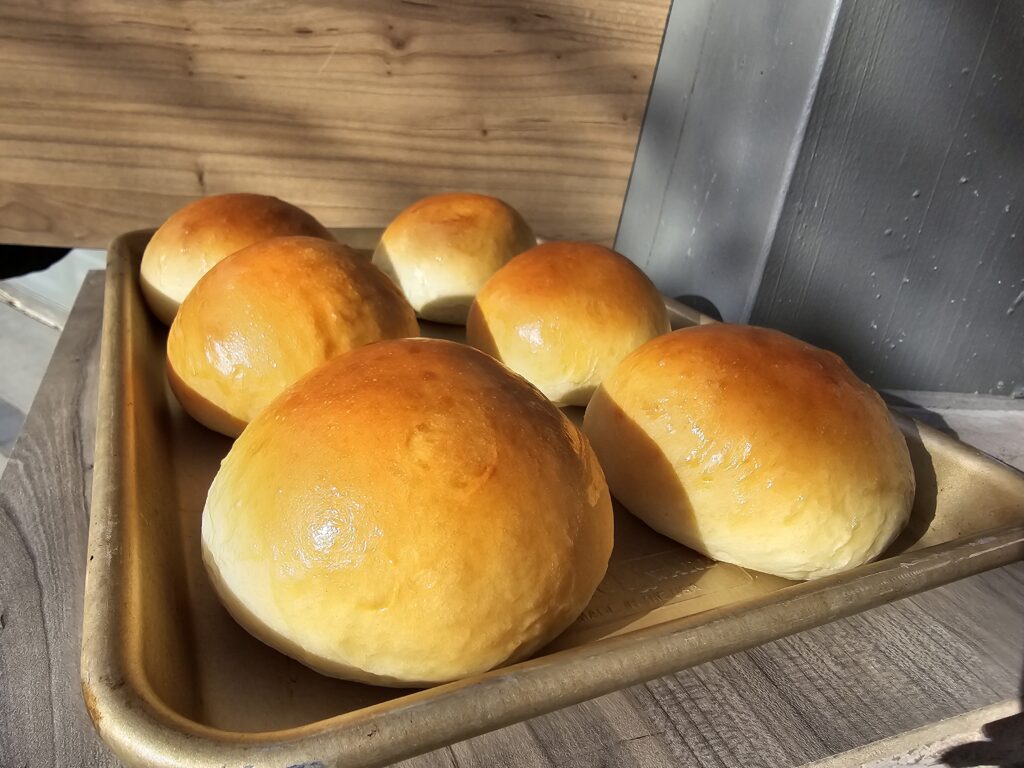
There’s something so inviting about a dinner table with a basket full of warm, soft buns, and these Canadian Prairie Dinner Buns are the ultimate showstopper. This modern take on a traditional recipe has roots in old Canadian prairie kitchens, where bakers perfected the art of making hearty, comforting bread with simple ingredients. With a few scientific twists and modern techniques, we’ve turned this age-old recipe into a masterpiece of soft, pillowy goodness.
A Nod to Tradition with a Modern Twist
Baking in the Canadian prairies has always been an essential part of life. With vast landscapes and hearty meals being the norm, the concept of making soft, pillowy buns that could feed a family was a staple. The traditional recipes were simple: flour, water, yeast, and some butter or fat, combined to make doughs that could rise quickly in the warm kitchens. However, as baking science progressed, so did the techniques for achieving perfect texture, flavor, and crumb.
Why Cold Fermentation Changes the Game
Traditional recipes for these dinner buns relied on letting the dough rise in a warm spot for a couple of hours. Quick and simple, but cold fermentation takes this classic dough to the next level. Cold fermentation is a process in which dough is allowed to rest in the refrigerator for an extended period (in this case, 8-16 hours). This slower, cooler fermentation process does wonders:
- Exceptional Flavor Development: Cold fermentation allows the yeast to work slowly, releasing subtle, complex flavors that make the buns taste richer and more nuanced. When yeast ferments dough in cooler temperatures, it produces fewer harsh acids, resulting in a mildly tangy, buttery taste.
- Improved Dough Texture: The long, cold fermentation also leads to a dough that is easier to shape and handle. It builds gluten slowly, creating a more elastic and smoother dough. This is why our buns have such an incredible, soft texture that rivals any quick-rise roll.
Beating Dough and Hand Kneading: Best of Both Worlds
One unique aspect of this recipe is the combination of initial beating with a stand mixer and gentle hand-kneading later. This two-part technique has its roots in traditional methods but adds modern precision:
- Mixer Magic: Beating the dough in a stand mixer allows us to quickly incorporate the ingredients, ensuring that gluten development begins uniformly. It also saves time compared to traditional hand mixing.
- Hand Kneading: By finishing with gentle hand-kneading, we get to feel the dough’s consistency and make necessary adjustments without overworking it. Over-mixing can lead to tough buns, so hand-kneading lets us build just the right amount of elasticity and strength. This step is all about creating a dough that is stretchy and soft, just like the traditional recipes from the prairie days.
Temperature Control: Keeping Yeast Happy
One of the most critical factors in bread baking is ensuring the right environment for yeast to thrive. The milk needs to be just warm enough (120-125°F) to encourage yeast activity without being so hot that it kills the yeast. We add the warm milk at a slightly higher temperature than usual, knowing that the other ingredients will bring it down to an ideal level (around 115°F). This careful balance helps the dough rise properly and creates an even, fluffy crumb in each bun.
The Perfect Egg Wash: Why Cream Is the Key
Most recipes use an egg wash made of egg and water, but we’ve elevated ours with a combination of egg and cream. Why? Because adding cream:
- Enhances Golden Color: The fat in the cream helps create a beautiful golden-brown crust on the buns.
- Adds Shine and Softness: The additional fat content also provides a slightly softer exterior to these buns, making them perfect for all kinds of uses, from dinner rolls to burger buns.
Modern Simplification for this Traditional Recipe
Despite these new tweaks and scientific methods, this recipe remains delightfully simple. The key changes—cold fermentation, temperature control, and ingredient adjustments—add sophistication without complicating the process. The result is a more forgiving, adaptable dough that you can use for all kinds of meals.
The origins of our Canadian Prairie Dinner Buns can be traced back to the late 1800s and early 1900s, aligning with the settlement period of the Canadian Prairies in provinces like Alberta, Saskatchewan, and Manitoba. European immigrants, especially from Ukraine, Hungary, and Romania, brought with them their bread-making traditions, which adapted to the local ingredients and conditions of the Prairies. These buns became a staple, often made in large batches to serve families and farm workers at hearty meals. Over time, these traditional buns have been passed down through generations, gaining a treasured spot in Prairie kitchens. These buns have been a cherished holiday tradition, passed down from my husband’s mother, Grandma Gail. When I initially suggested using a cookie cutter to shape the buns, my husband’s reaction was priceless—he’s been dedicated to hand-rolling them for years, a method ingrained in him through countless family gatherings. It’s now his contribution, and we honor this tradition in our home to keep the family legacy alive. Being able to continue this practice brings a sense of connection and pride to our family’s holiday table.
Versatility at Its Best
These buns are not just a dinner sidekick. They are versatile enough to be used in various ways:
- As-is at Dinner: Serve them fresh out of the oven for the softest dinner roll experience.
- Sandwich or Burger Bun: Their tender texture and subtle flavor make them the perfect base for a hearty sandwich or a juicy burger.
- For Sweet or Savory Fillings: Spread with jam for breakfast, use as a base for pulled pork sliders, or serve alongside your favorite soups.
A Piece of Prairie History
Prairie baking was essential to life on the plains, where families made everything from scratch. These buns have their roots in those old homesteads, where women baked daily, often using simple ingredients that were easy to store. These buns’ connection to Prairie hospitality and hearty meals remains clear. Our recipe blends old and new paying homage to the rich culinary heritage of the Prairies with a modern twist.
Let’s Get Baking!
With these Canadian Prairie Dinner Buns, you’re taking a slice of history and elevating it to new heights. Whether you serve them at a family dinner, use them as burger buns, or enjoy them with your morning coffee, these soft and fluffy buns are bound to become a favorite in your home.
So why not give them a try? Bake them once, and they’ll become a staple you come back to time and time again! 🥖🍞
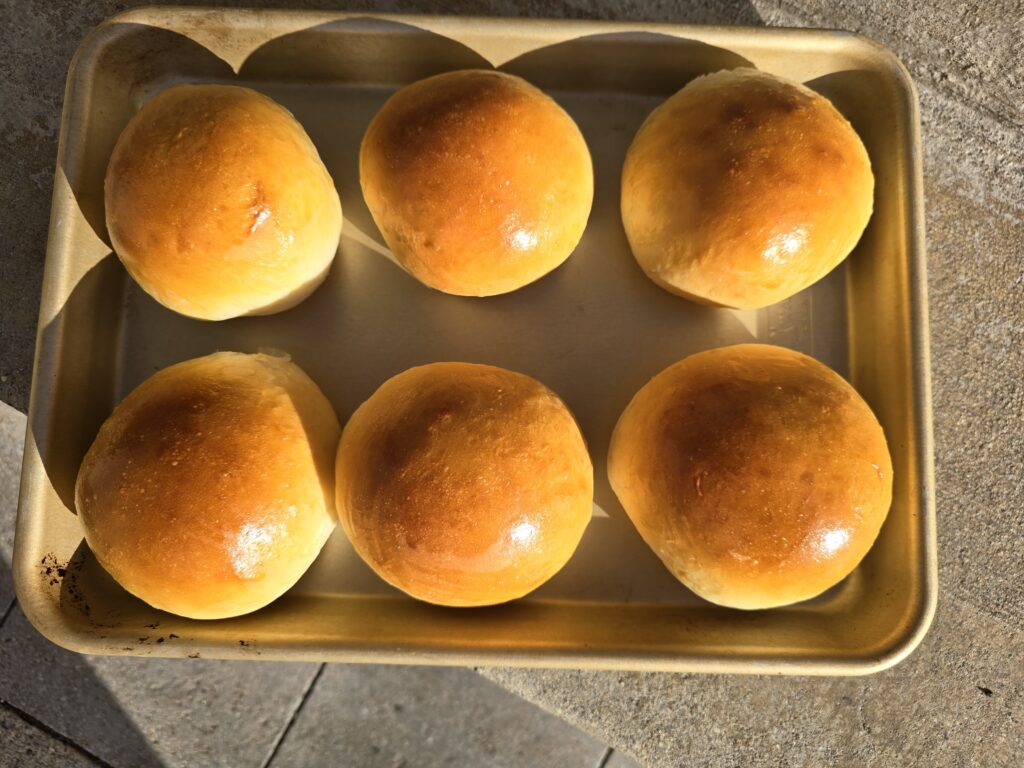
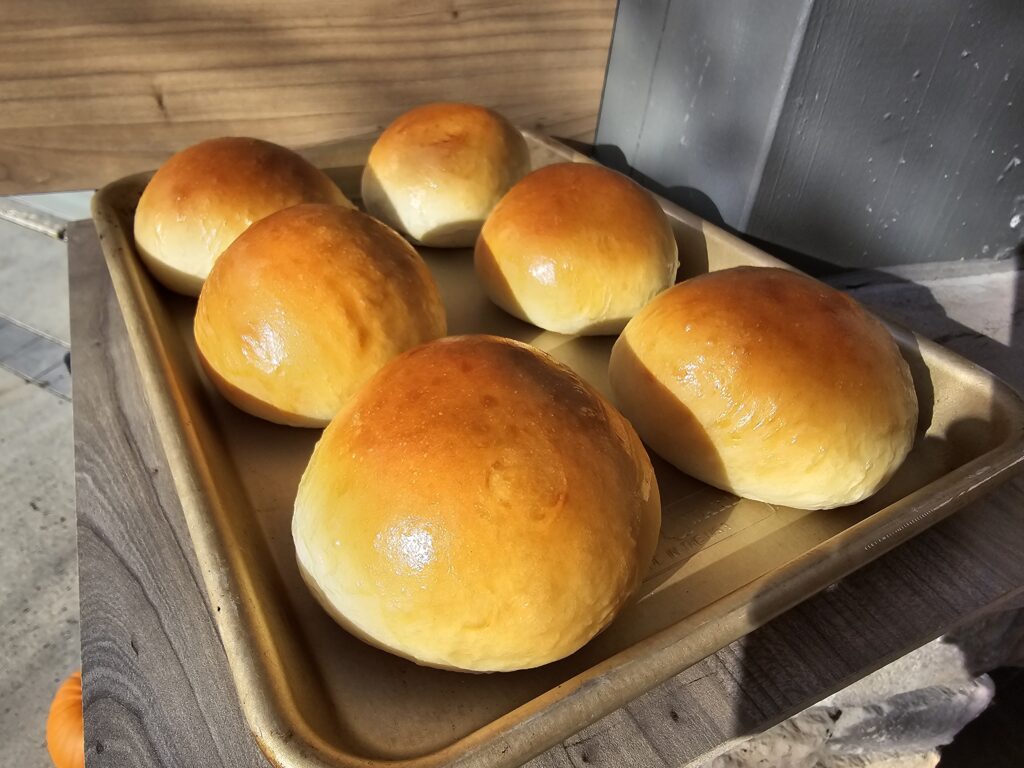
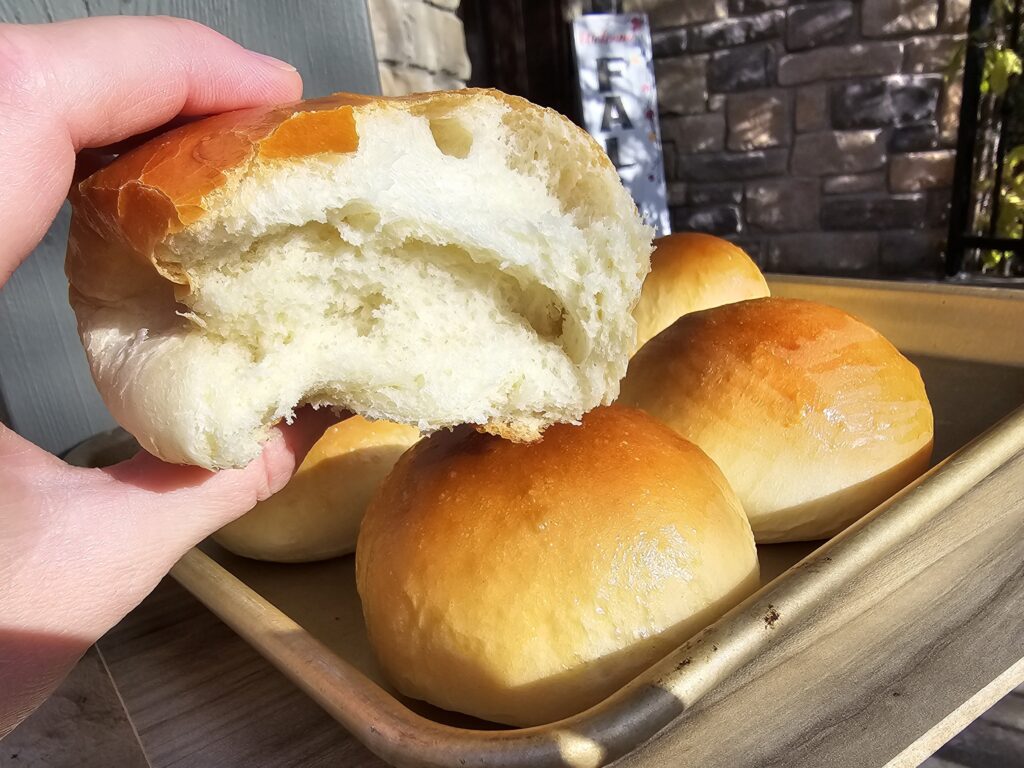
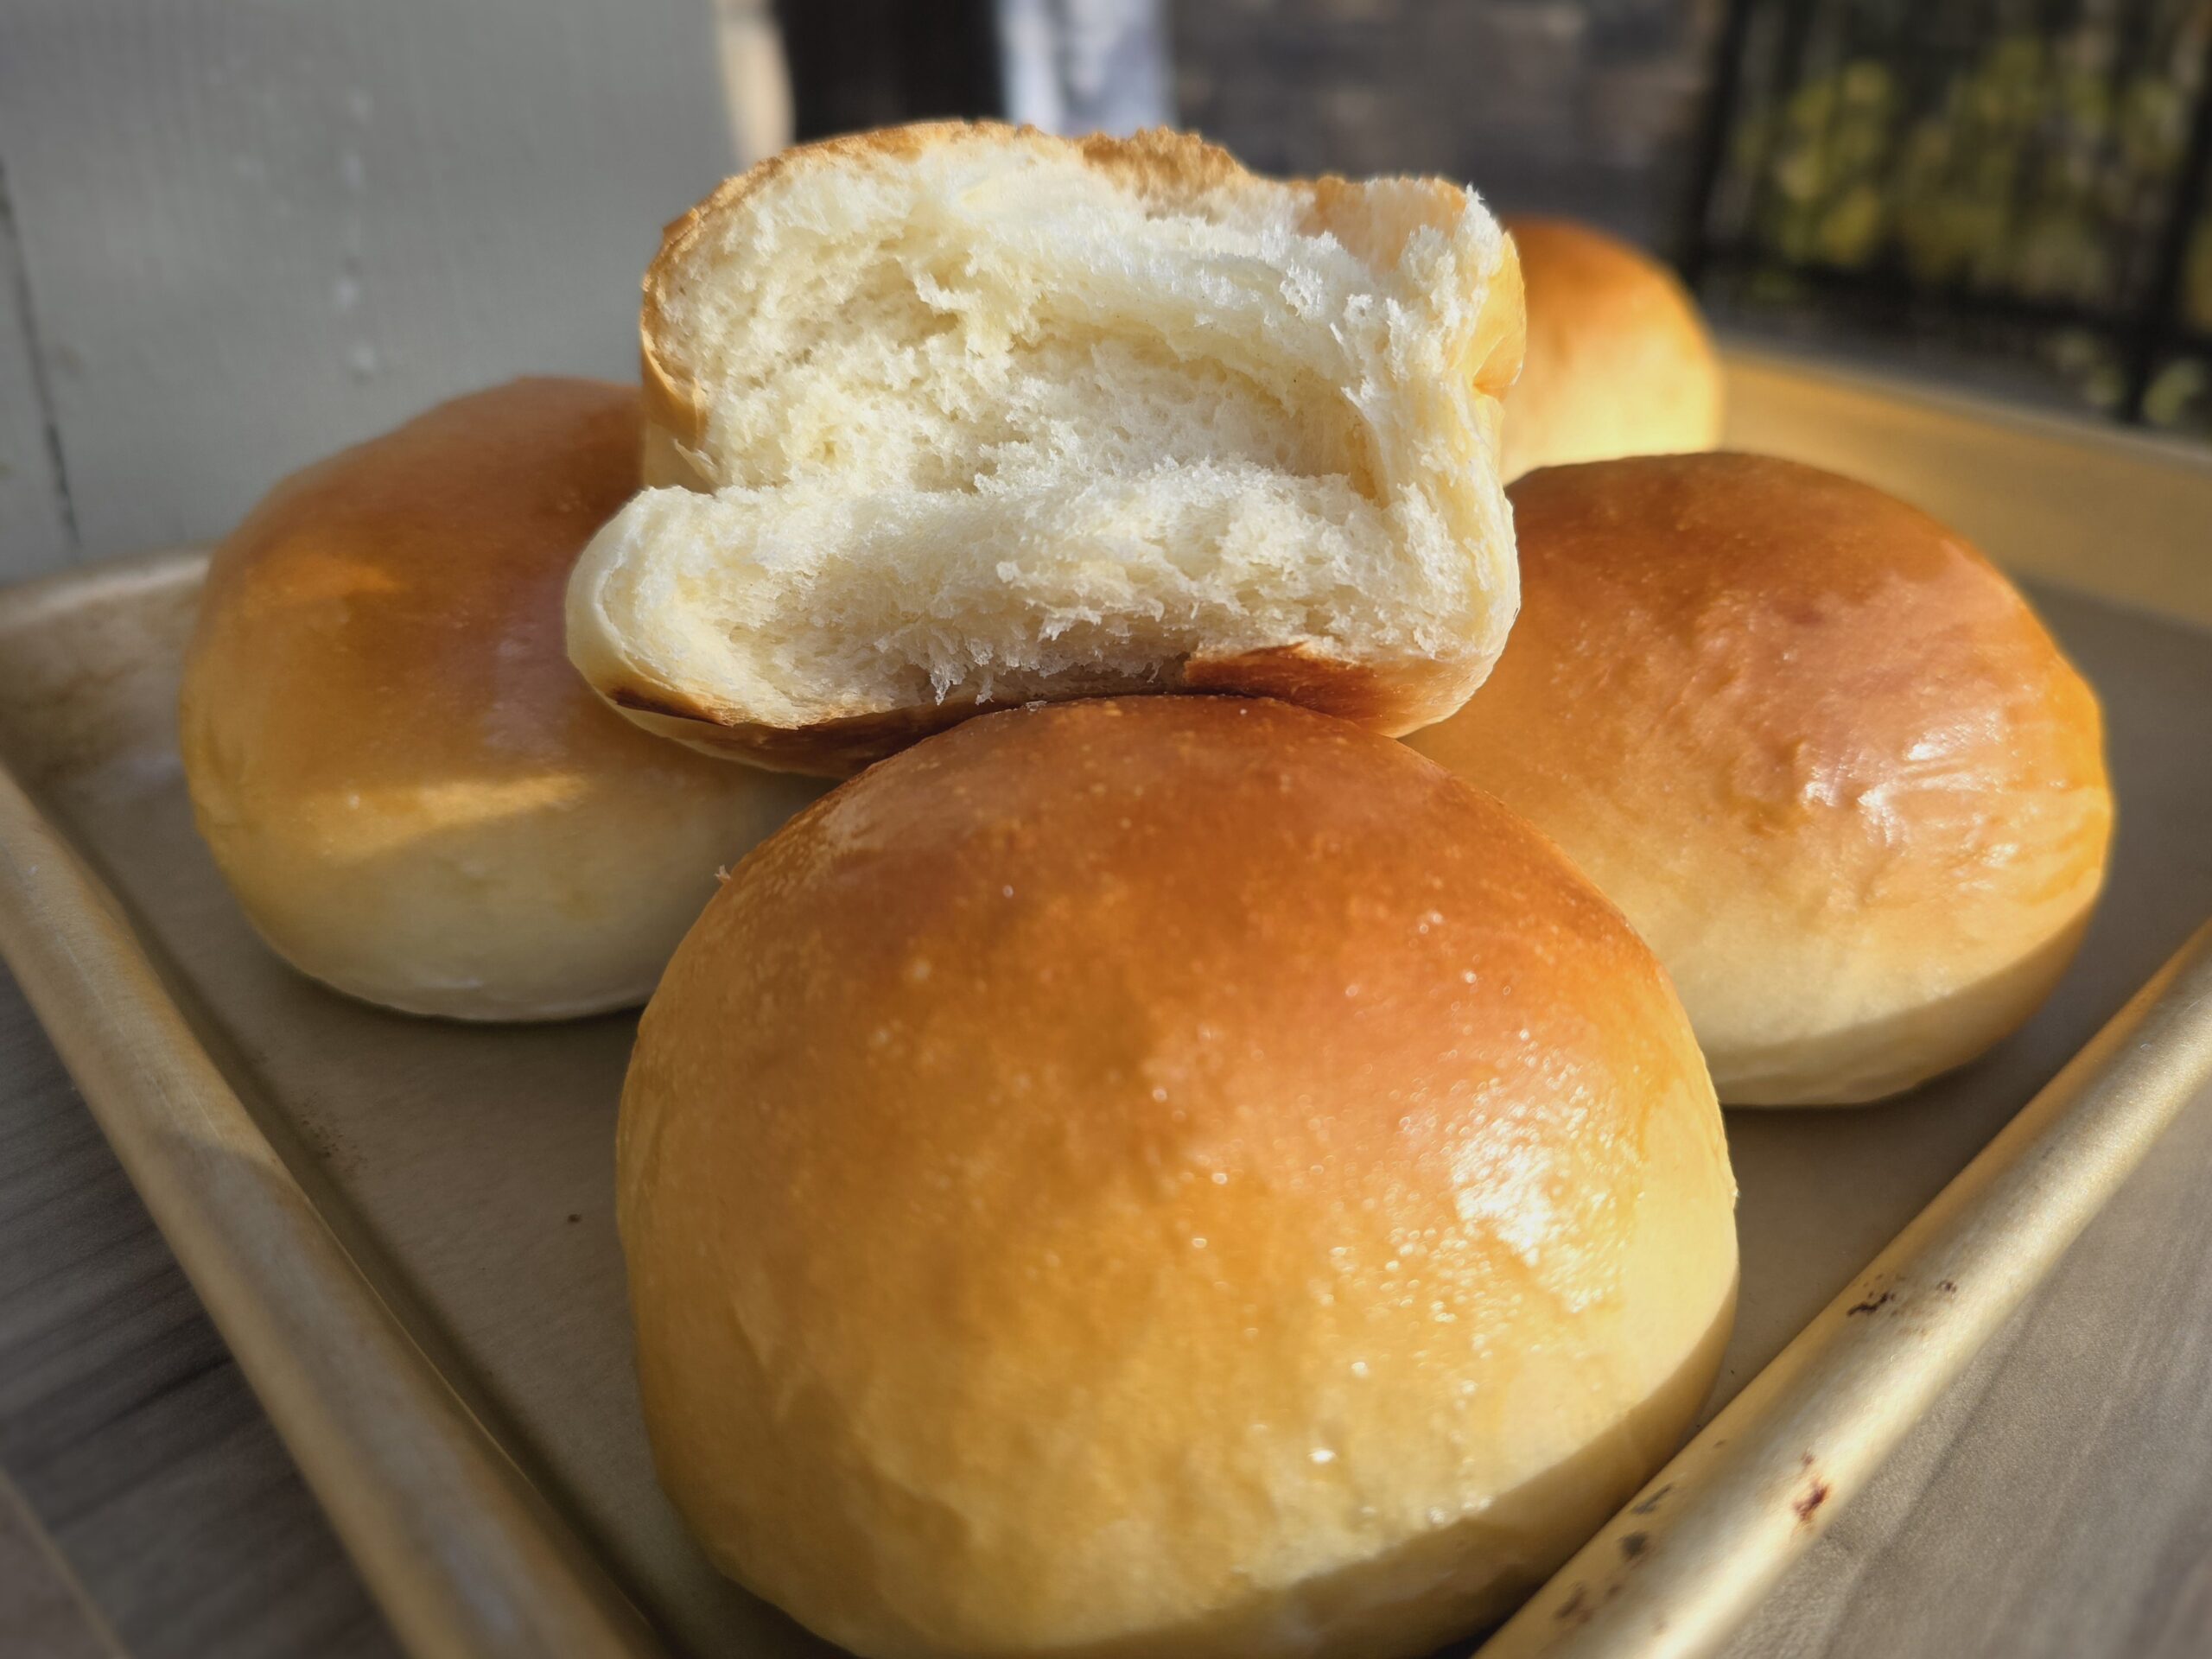
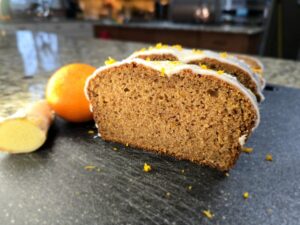
When I made these Canadian Prairie Dinner Buns, capturing their texture on camera was a must! From the outside, they have this beautifully golden, shiny finish that looks inviting enough to tear into. But I knew the real magic was inside, where the crumb is so fluffy and light. I wanted to share a photo of the inside to show that these buns aren’t just good-looking—they have that soft, cloud-like texture that makes them truly irresistible. After all, that fluffiness is the whole point of these buns, and it’s what makes them perfect for any meal! 📸
Prairie Buns
Ingredients
- For the Dough:
1 heaping tablespoon instant yeast
½ cup warm milk (115°F)
1 tablespoon granulated sugar
¼ cup unsalted butter, room temperature
1 teaspoon fine salt
⅓ cup granulated sugar
1 large egg, at room temp
2 cups warm milk (120-125°F)
5 to 5½ cups all-purpose flour, divided
- For the Egg Wash:
1 large egg
1 tablespoon cream
Directions
- Activate the Yeast: In a small bowl, combine 1/2 cup of warm milk (115°F) with 1 TBSP sugar and yeast. Let it sit for about 10 minutes until it becomes foamy. It's technically not necessary with instant yeast but I like giving it a head start.
- Combine Wet Ingredients: In a bowl of a mixer, add the softened butter, salt, 1/3 cup sugar, and egg. Beat them together with a paddle attachment until well combined.
- Incorporate Warm Milk: Gradually pour in 2 cups of warm milk (120-125°F) and whisk together with the wet ingredients until smooth. Be cautious not to scramble the egg by adding the warm milk slowly while continuously whisking. The reason for using milk at this temperature is that by the time the yeast mixture is added, the combined dough temperature will settle at around 115°F, ideal for the yeast to thrive.
- Form the Dough Base: Gradually add 3 cups of flour, one cup at a time, mixing with a stand mixer fitted with a paddle attachment. Continue until the batter is smooth and forms ribbons that rest briefly on the surface when spooned back into the bowl.
- Add Yeast Mixture: Stir in the proofed yeast mixture. Mix gently on low speed to incorporate the yeast evenly into the dough, being careful not to damage the yeast as it’s a living organism.
- Add and Knead Flour by Hand: Remove the bowl from the mixer. Using a large spoon, gradually fold in the remaining 2 to 2½ cups of flour until a sticky dough ball forms. Transfer the dough onto a lightly floured surface, being careful not to add too much flour, which could result in dry buns.
- Knead the Dough: Knead the dough for about 7-8 minutes until it feels soft and elastic, like a baby’s bottom. Allow the dough to rest for 3-5 minutes, then knead briefly again until you hear gentle popping sounds, indicating rising bubbles.
- Cold Fermentation: Lightly butter a large mixing bowl. Place the dough in the bowl, turning it once to coat it in butter. Cover the bowl with plastic wrap and a damp kitchen towel. Refrigerate for cold fermentation, letting it rest in the fridge for 8-16 hours.
- Bringing The Dough to Room Temperature: After fermentation, remove the dough from the refrigerator and let it sit at room temperature for about 2 hours.
- Dividing The Dough: Gently pat the dough into a square and cut it into roughly 3-ounce pieces, yielding about 20-22 buns.
- Shaping Technique: Take each piece of dough and gently stretch the surface down, tucking the edges underneath to form a mushroom-like shape. Rotate the dough on a work surface with the seam-side down, using your hand to cup it and create tension on the surface, resulting in a smooth and round top.
- Second Rise: Place the shaped buns on a parchment-lined baking sheet, spaced about 2 inches apart. Cover them with a damp towel and let them rise in a warm place for 45-60 minutes until puffy and almost doubled in size.
- Preheat the Oven and Apply Egg Wash Before Baking: Preheat the oven to 350°F. In a small bowl, whisk together the egg and cream to create an egg wash. Gently brush the tops of the risen buns with the egg wash before baking for a shiny, golden crust.
- Bake the Buns: Bake the buns for approximately 18 minutes until they turn golden brown and sound hollow when tapped. The internal temperature should reach around 190-200°F to ensure they are fully baked. Baking time may vary so you may need a minute less or a minute more. If you shape your buns smaller, such as 2oz portions - you may only need 15 minutes.
- Cool and Enjoy: Let the buns cool on a wire rack and enjoy them warm or at room temperature.


These are so delicious, and so easy to make with the overnight rise!
Absolutely. And so versatile. I love serving these with crisp fresh thinly sliced veggies and cheese. Glad you enjoyed!!