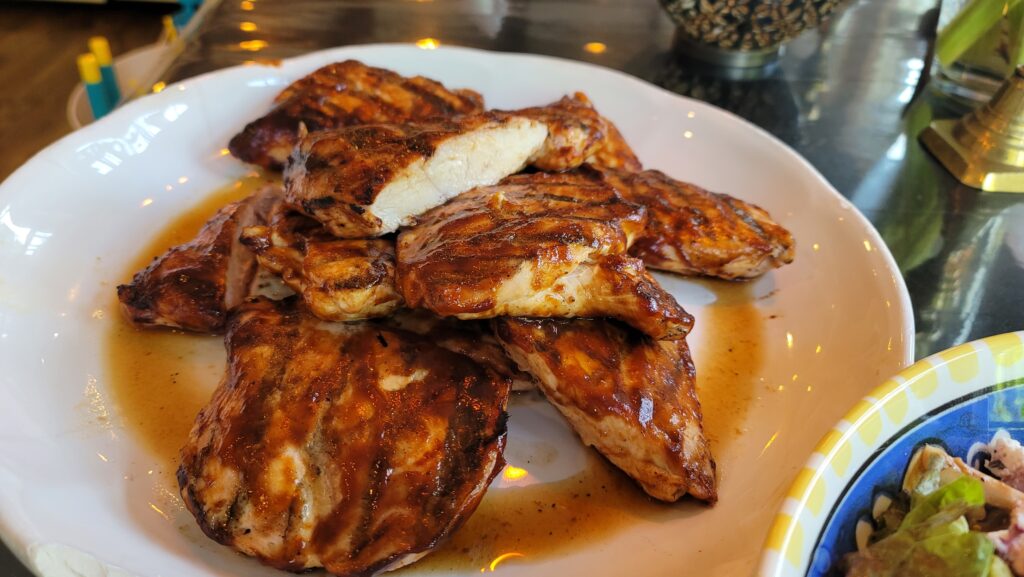
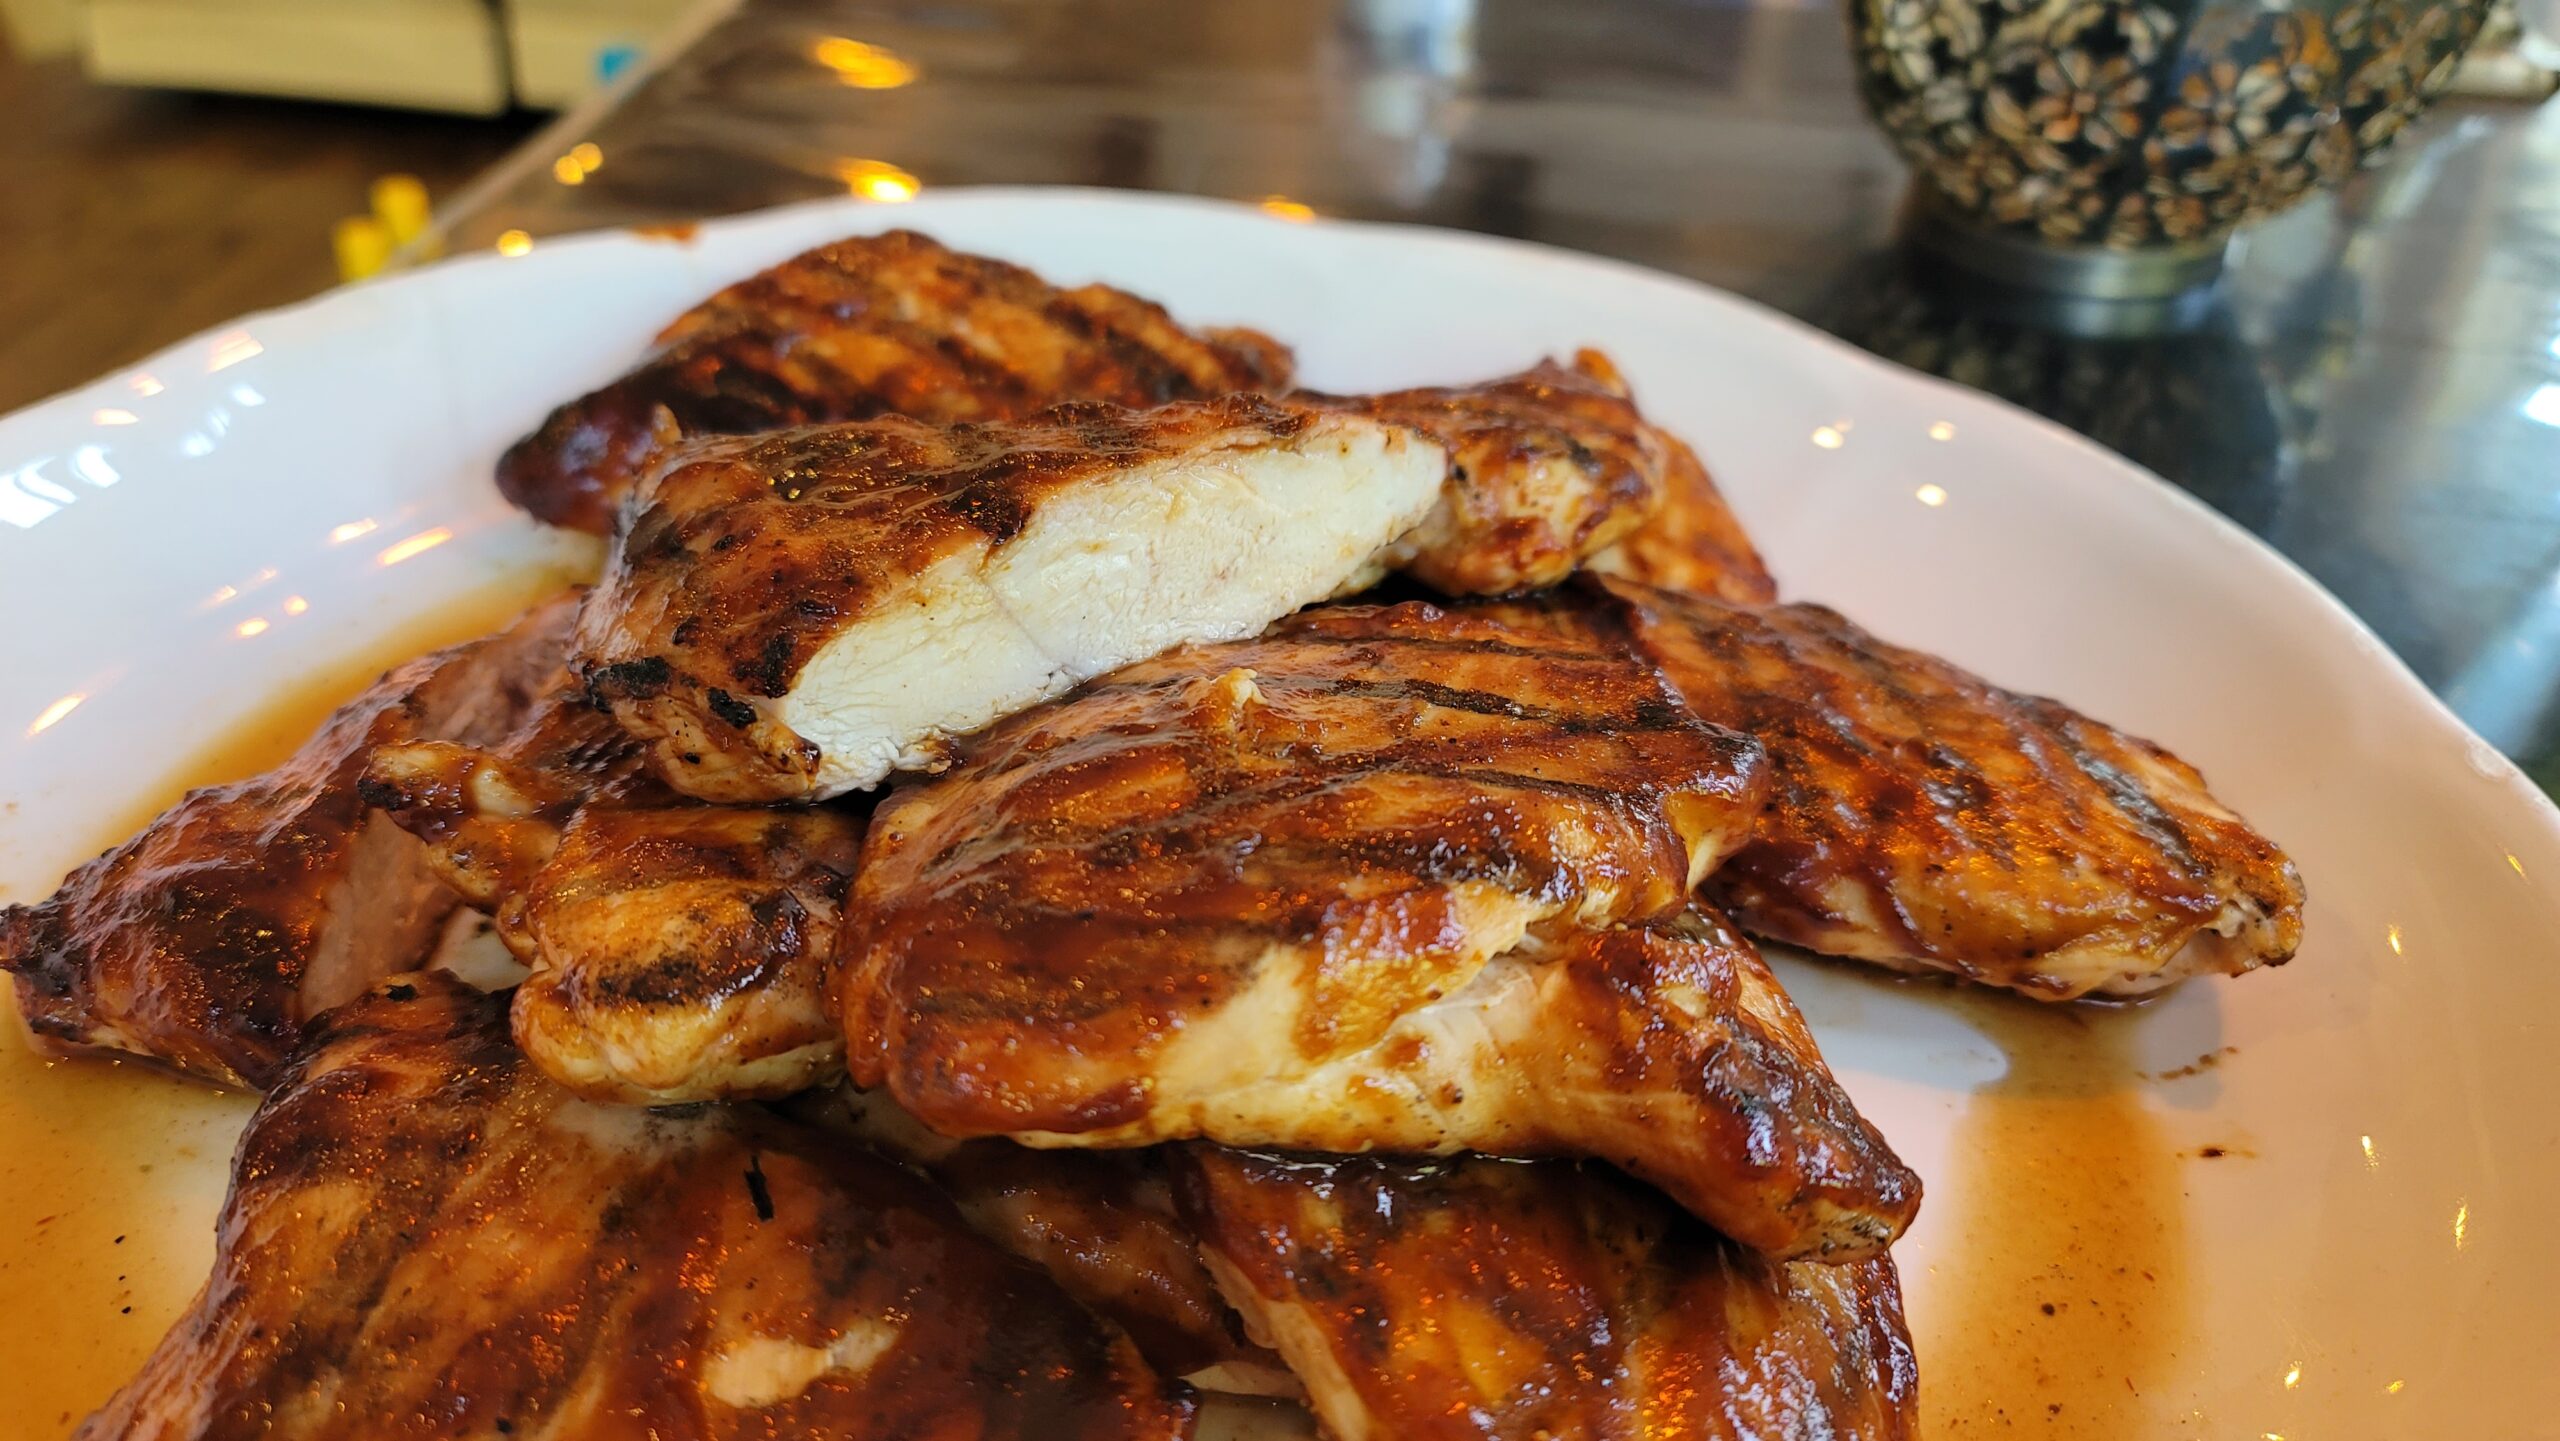
Have you ever bitten into a piece of grilled chicken breast, only to find it disappointingly dry and tough? Well, not anymore! Today, I’m sharing my secret to making perfectly cooked, juicy, and delicious grilled BBQ chicken breasts that will have everyone reaching for seconds!
The trick? It’s all about using kosher salt to work its magic before cooking. And no, we’re not just talking about sprinkling a little salt on the surface before it hits the grill. I’m talking about dry brining—a game-changing technique that transforms chicken breasts into incredibly tender, flavorful bites of pure BBQ bliss! 🤩
The Science Behind Salting 🧂💡
Why salt? Well, there’s some fascinating science going on here. When you salt your chicken a few hours before cooking, you’re doing more than just seasoning. You’re actually creating a mini science experiment that makes your chicken tender, juicy, and downright mouthwatering. Here’s how it works:
- Osmosis in Action: The salt initially draws out moisture from the surface of the chicken through osmosis. This may sound like it’s drying out your meat, but wait—there’s more!
- Moisture and Flavor Lock-In: After a while, the salty liquid gets reabsorbed back into the chicken, carrying with it all the flavorful salt molecules. As it seeps back in, the salt not only seasons the meat from the inside but also helps the muscle fibers retain more moisture during cooking. The result? Juicy, succulent chicken that’s packed with flavor!
- Tenderizing Effect: Salt also helps break down some of the proteins in the meat, which tenderizes it further. So instead of having dry, tough chicken breasts, you get super tender, melt-in-your-mouth meat with every bite!
This technique is known as dry brining, and it’s a bit different from a traditional wet brine, which involves soaking meat in a salty solution. With dry brining, you skip the water and just use salt, which makes it super easy with less mess!
How to Dry Brine Your Chicken Breasts:
- Pat the chicken breasts dry with paper towels.
- Sprinkle a generous amount of kosher salt over both sides of the chicken. (Don’t worry about over-salting; kosher salt has larger crystals, so it’s not as intense as table salt.)
- Place the salted chicken on a wire rack over a baking sheet and pop it in the fridge for 1-4 hours. This resting time allows the magic of osmosis to do its work!
- When you’re ready to grill, pat the chicken dry again and apply your favorite BBQ rub or seasoning mix. Then, it’s time to get grilling!
Grilling Tips for the Juiciest Chicken Breasts:
- Start with Direct Heat: Sear the chicken on direct heat for those gorgeous grill marks and that smoky flavor we love.
- Finish on Indirect Heat: Move the chicken to indirect heat and close the grill lid. This allows the chicken to cook through gently, ensuring that perfect balance of doneness without losing moisture.
- Check the Temperature: Use a meat thermometer to ensure the internal temperature reaches 165°F (74°C)—the sweet spot for perfectly cooked chicken without overcooking.
Why This Works:
After dry brining and proper grilling, your chicken breasts will be infused with flavor, incredibly tender, and far from dry! The salt helps the chicken retain more moisture, and finishing the cooking process on indirect heat ensures the meat stays juicy without drying out.
So, the next time you fire up the grill, give this technique a try! Your BBQ chicken game will be forever changed. 😍🔥
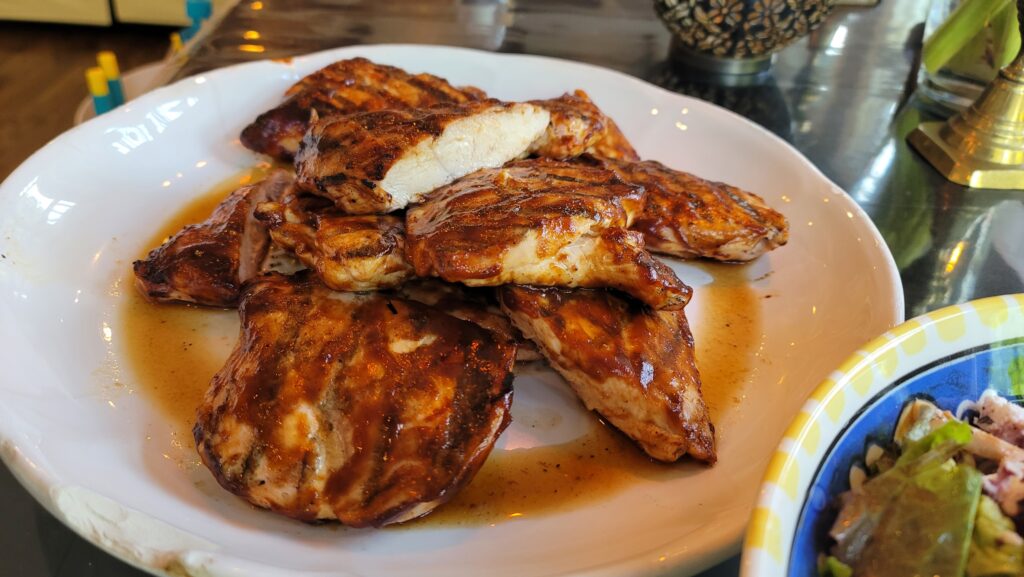
Let’s get grilling!
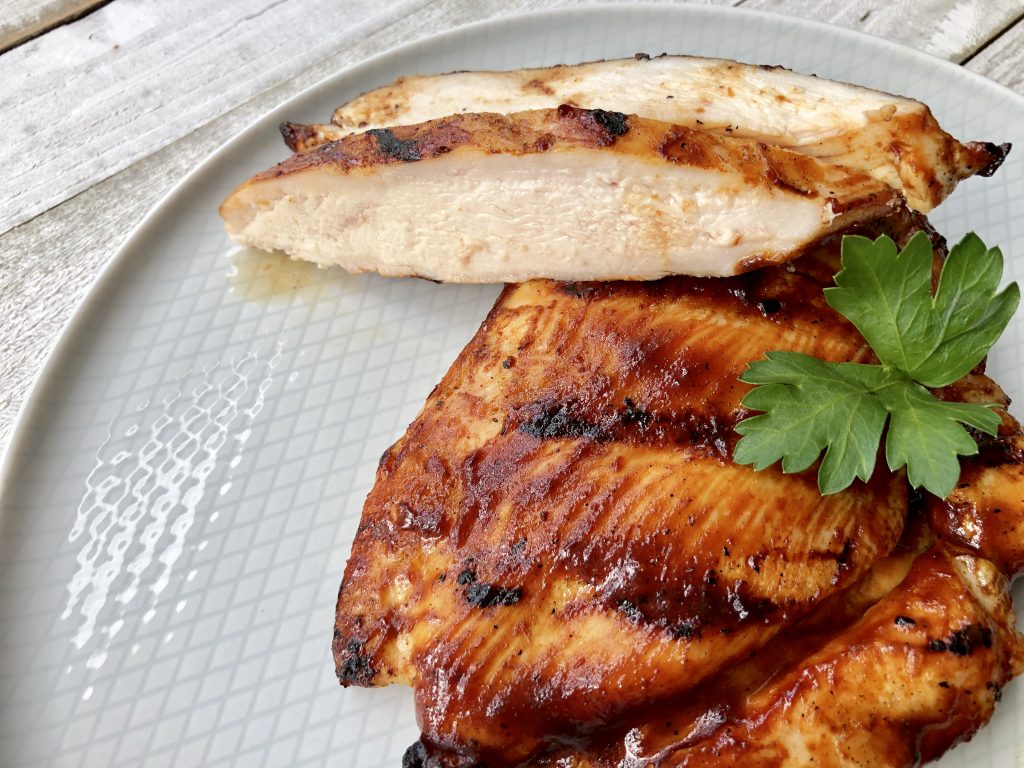
Chicken breast is very uneven and not uniform, which usually results in part of it getting too overcooked. For this reason, the essential first step to a perfect grilled chicken breast is pounding it to roughly even thickness.
Place your chicken breasts on a cutting board, cover with couple layers of plastic wrap (to catch the splatter) and pound gently with a flat side of a meat mallet (or rolling pin if you don't have a mallet.) Be careful not to pound too thin. We are not making a schnitzel! The goal is to make each chicken breast more uniform; it should still be at least 3/4 inch in thickness.
Season each breast lightly with salt and pepper. You can proceed to the next step, but ideally, chill the chicken uncovered in the fridge for 1-4 hours. This will infuse the chicken with seasoning and keep it nice and juicy one it hits the grill.
Scrape, lightly oil and preheat the barbeque to medium high. Allow it to heat for at least 5 minutes.
Place your chicken on the preheated grill. Grill undisturbed for 2-4 minutes until you see nice grill marks. Turn the chicken to get the grill marks on the other side for another 2-4 minutes. In the meantime, brush the chicken with the barbeque sauce, turn the heat down to medium-low. Again, flip the chicken and brush the other side. Look for that 165F safe internal temperature. With this chicken being pounded the cooking time is likely very close to 8-12 minutes, so won't take long. Don't overcook!
Remove your cooked chicken to a plate and allow it to rest for about 5 minutes before slicing. Serve with additional barbeque sauce on the side.
Ingredients
Directions
Chicken breast is very uneven and not uniform, which usually results in part of it getting too overcooked. For this reason, the essential first step to a perfect grilled chicken breast is pounding it to roughly even thickness.
Place your chicken breasts on a cutting board, cover with couple layers of plastic wrap (to catch the splatter) and pound gently with a flat side of a meat mallet (or rolling pin if you don't have a mallet.) Be careful not to pound too thin. We are not making a schnitzel! The goal is to make each chicken breast more uniform; it should still be at least 3/4 inch in thickness.
Season each breast lightly with salt and pepper. You can proceed to the next step, but ideally, chill the chicken uncovered in the fridge for 1-4 hours. This will infuse the chicken with seasoning and keep it nice and juicy one it hits the grill.
Scrape, lightly oil and preheat the barbeque to medium high. Allow it to heat for at least 5 minutes.
Place your chicken on the preheated grill. Grill undisturbed for 2-4 minutes until you see nice grill marks. Turn the chicken to get the grill marks on the other side for another 2-4 minutes. In the meantime, brush the chicken with the barbeque sauce, turn the heat down to medium-low. Again, flip the chicken and brush the other side. Look for that 165F safe internal temperature. With this chicken being pounded the cooking time is likely very close to 8-12 minutes, so won't take long. Don't overcook!
Remove your cooked chicken to a plate and allow it to rest for about 5 minutes before slicing. Serve with additional barbeque sauce on the side.
Notes
