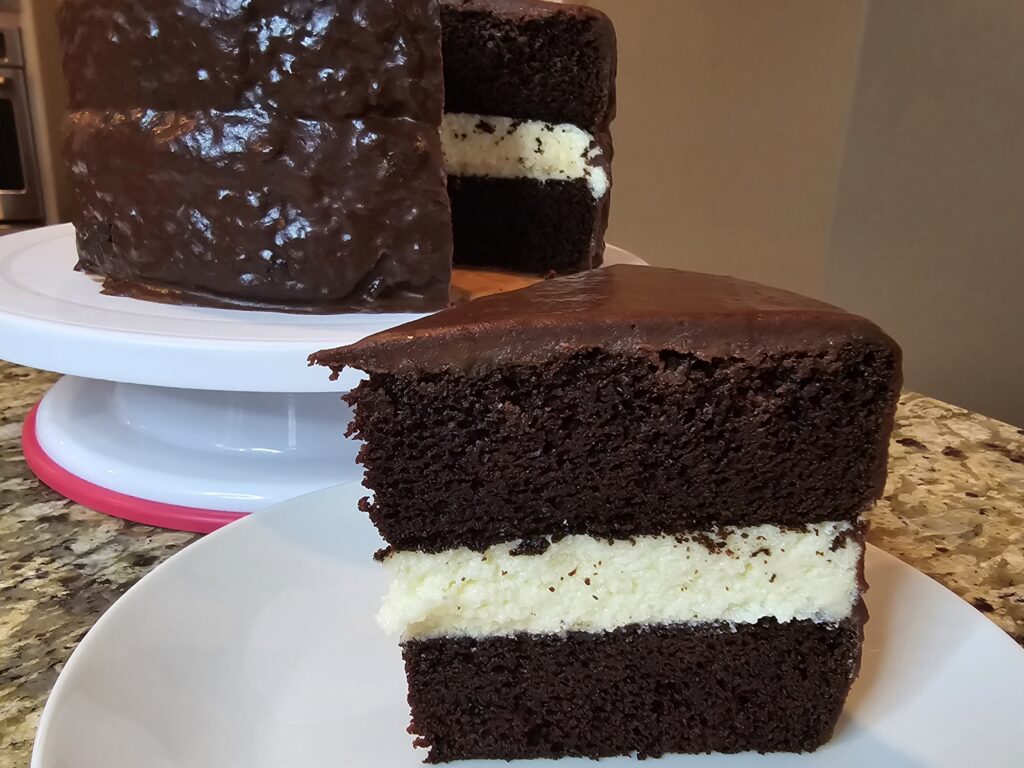
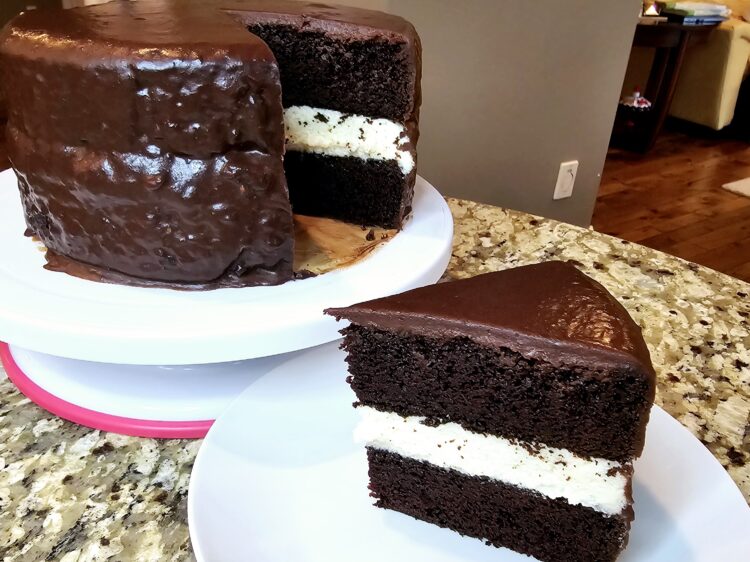
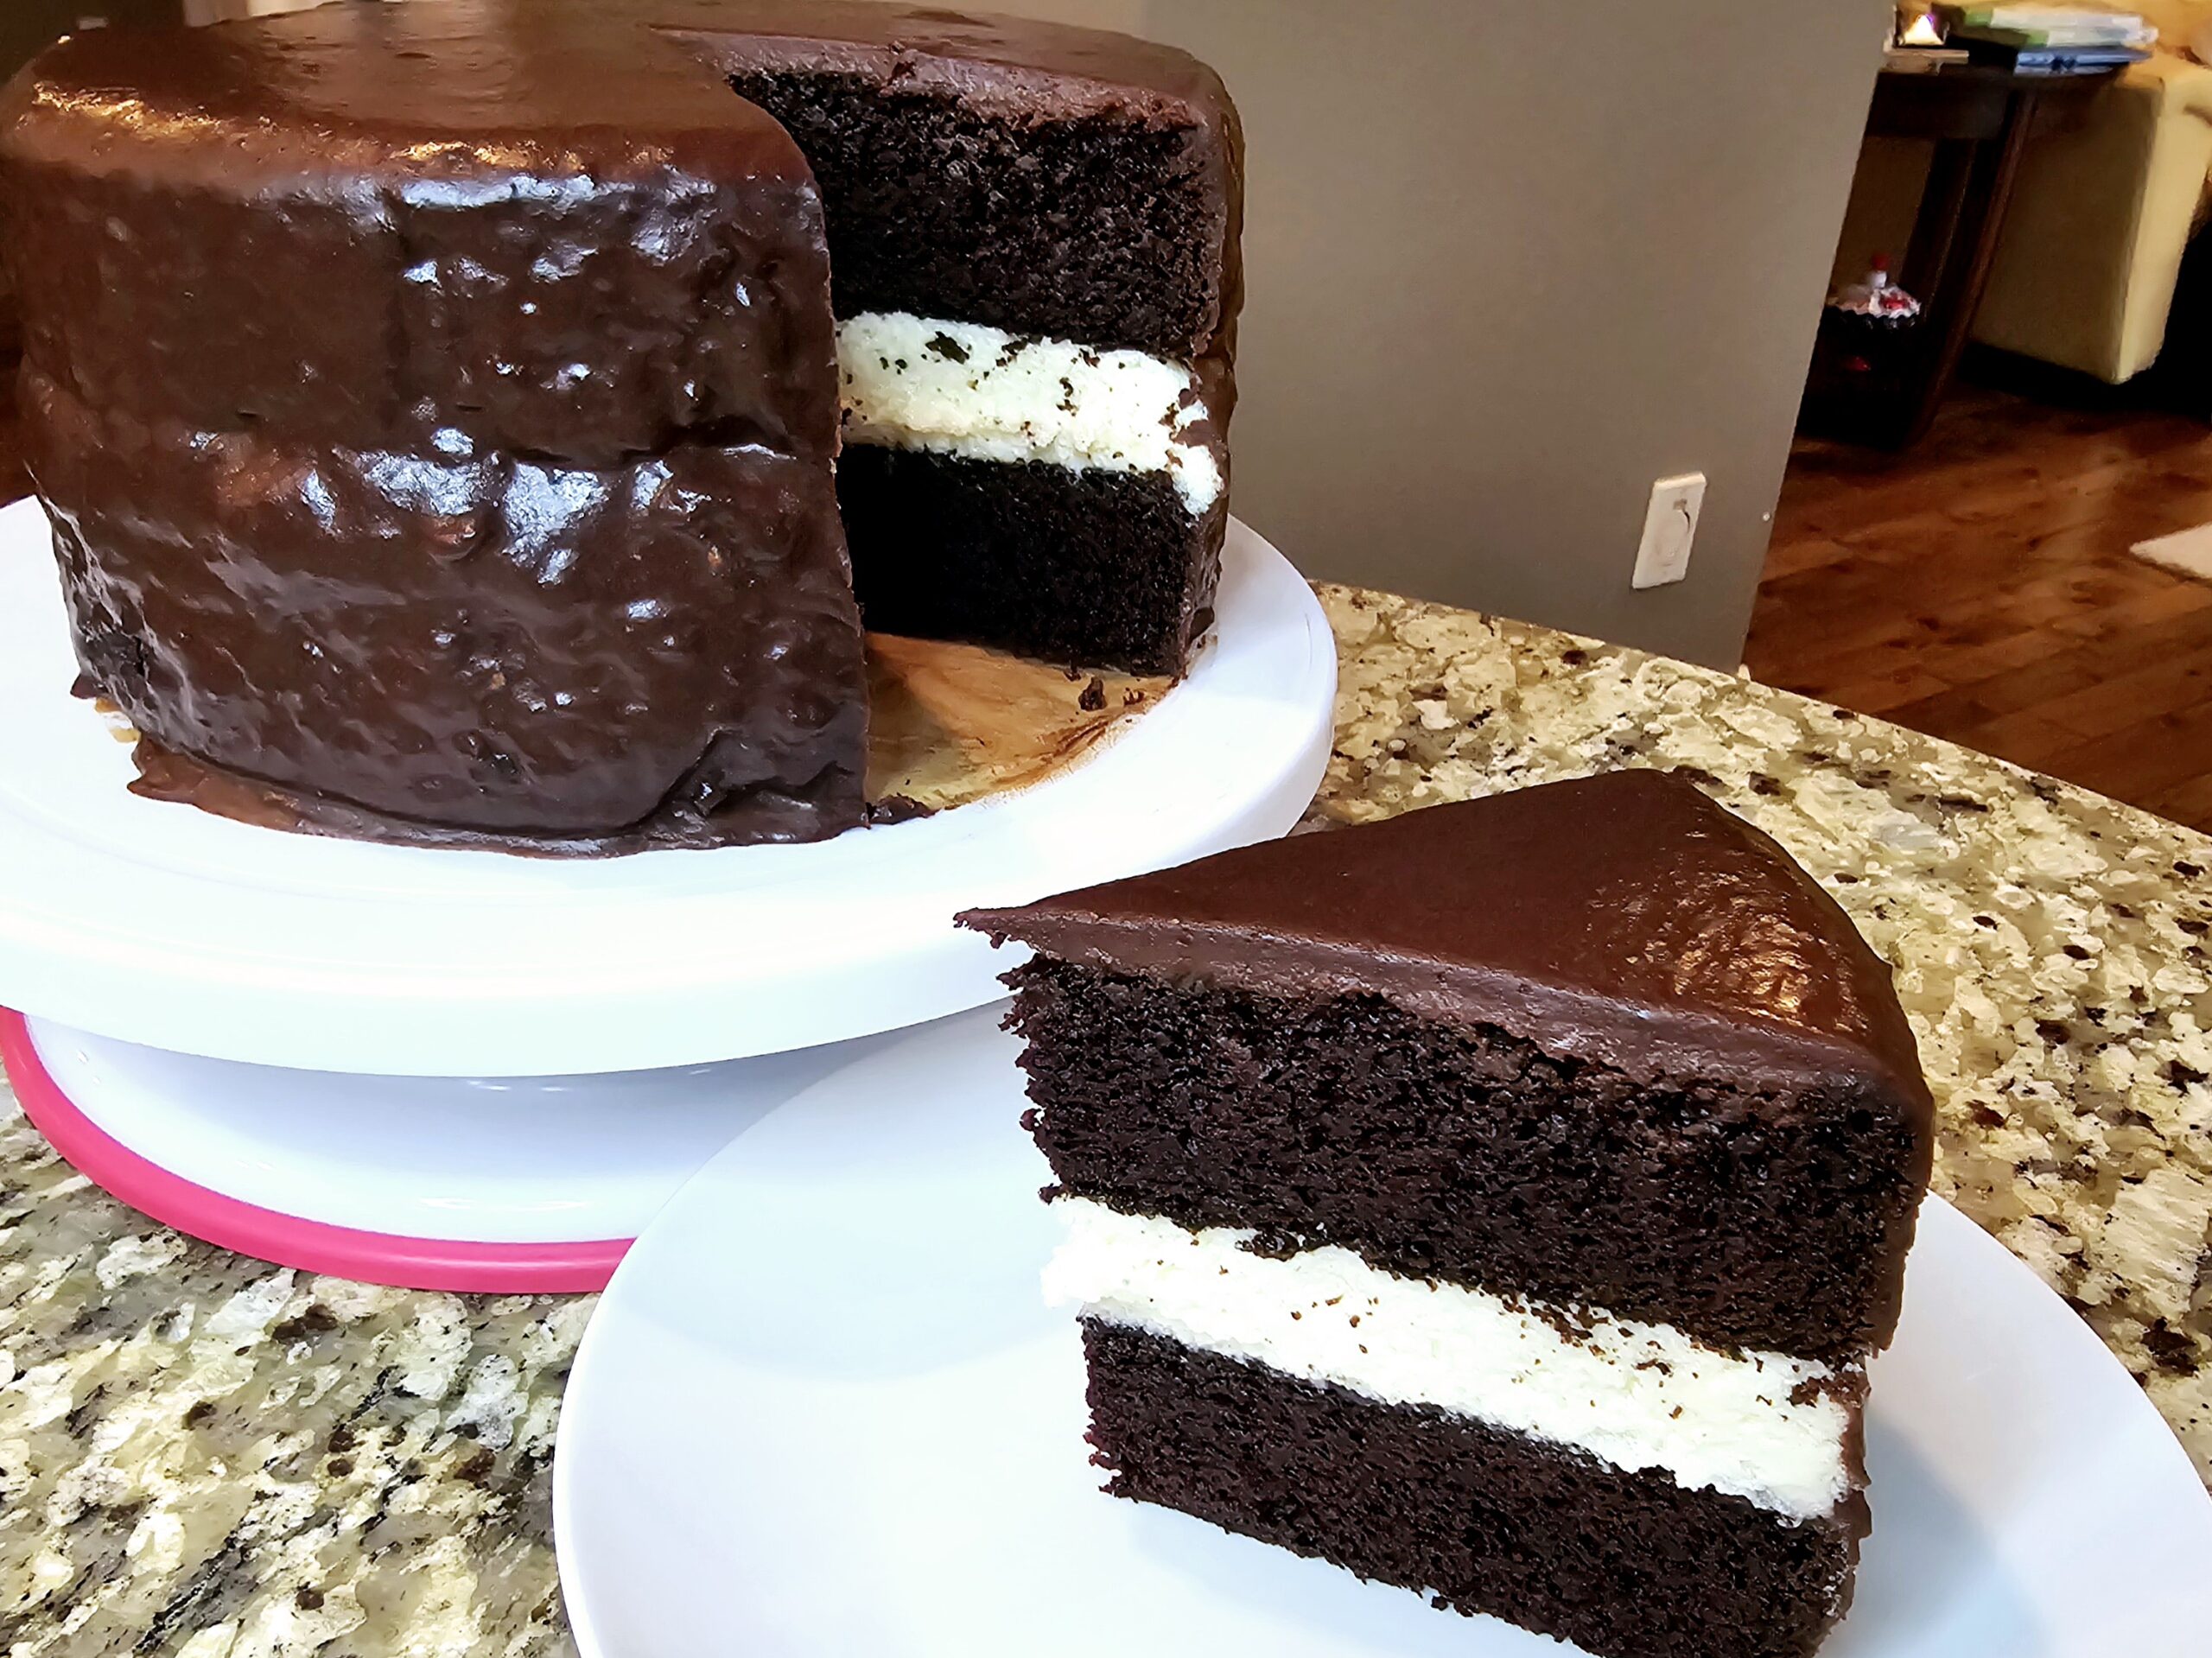
This cake has been all over the internet lately, attempting to recreate classic Ding Dong Dessert Cake. And needless to say this recipe is unique and not quite like the recipe circulating the internet. Creamy Ermine filling is a wonderful compliment to my beloved Devil’s Food Cake. Our version of devil’s food cake has less flour to make it so very light and is infused with chocolate! Absolutely delicious!
My little boy is requesting this cake to be served at his Birthday party in two weeks. The theme of the party will be Pandas. And considering this cake is black and white, he happily renamed it from Ding Dong to Panda Cake! So that’s what we call it in our home. Hope you give it a try. Enjoy!
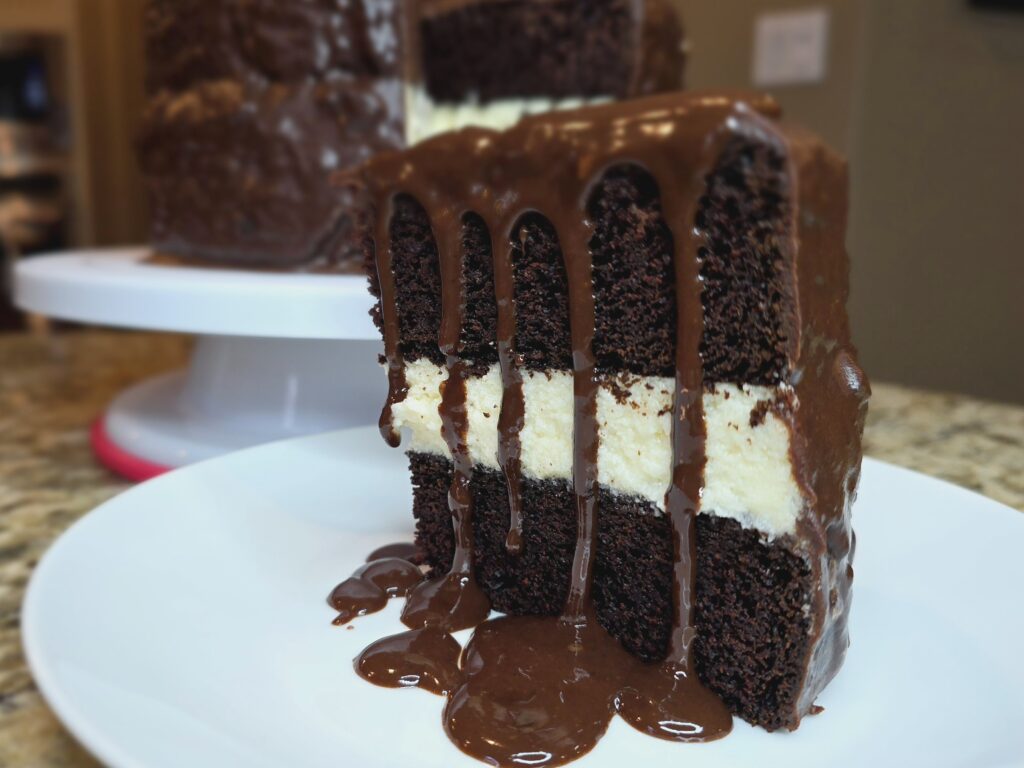
Ding Dong Cake
Ingredients
- For the Cake:
1/2 cup unsalted butter (1 stick)
1 cup hot coffee
⅔ cup cocoa powder (natural)
4 oz bittersweet chocolate, finely chopped
1 1/3 cup light brown sugar, tightly packed
1/2 tsp kosher salt, heaping
4 eggs plus 2 egg yolks, lightly whisked
2 tsp vanilla
1 1/3 cup flour, carefully spooned into cup measures
2 tsp baking soda
1 tsp baking powder
- For the Ermine Filling:
1 cup milk
1/3 cup flour
1 cup unsalted butter, at room temperature
1 cup superfine sugar (regular sugar will also work)
1 tsp vanilla
pinch of salt
- For the Chocolate Ganache:
12 oz bittersweet chocolate, chopped
1 1/4 cup heavy cream
Directions
- Preheat the oven to 350F. Set the racks to the lower middle position of the oven. Lightly grease 2 8-inhc baking pans and line the bottoms with parchment paper.
- Melt butter in a small pot over low heat. Once melted add it to a large bowl, add hot coffee, mix in cocoa and chocolate. Allow it to sit for a minute, then gently stir. Mix in brown sugar, vanilla and salt. Stir in the eggs. Sift in flour mixed with baking soda and baking powder. Whisk to combine well. Divide evenly between the prepared pans. Place into the oven and bake for about 19-23 minutes. Don't overbake. When tested with a toothpick, the middle should still have moist crumbs and spring back lightly (not wet batter.) Allow to cool for 15-20 mins, run a batter knife around the cakes and invert them into a cooling rack to cool completely.
- In the meantime, prepare the roux. Whisk flour and milk in a small sauce pan. Bring to simmer over medium low heat whisking constantly. Continue to cook, whisking constantly, for 2-4 minutes until it becomes the consistency of a very thick pudding. Once done, remove to a bowl. Lay a piece of plastic wrap directly against the surface of this roux. Allow to cool at room temperature until cooled completely completely, around 1 1/2 hours.
- To make Ermine filling, cream butter and sugar in a stand mixer until light and fluffy. Add the cooled roux in 4 additions, one at a time, beating with a paddle attachment until fully incorporated. Beat in vanilla and salt. Switch to a whisk attachment and beat until light and fluffy, about 4 minutes.
- To assemble, spread Ermine filling on top of one of the cakes. Level the cakes if necessary. Top with the remaining cake. I suggest doing this on top of a large parchment paper that will catch the ganache. Once you pour the ganache over, you will be able to move the cake with a large spatula onto a serving platter.
- Prepare the Ganache (Double Frosting Method for a Professional Finish)
Heat heavy cream in a small saucepan until bubbles form at the edges (do not boil).
Pour over the chopped chocolate and let sit for 3-5 minutes, then stir until smooth.
First Layer: Pour a thin layer of runny ganache over the entire cake.
Refrigerate the cake for at least 15-30 minutes, allowing the ganache to set slightly.
Meanwhile, let the remaining ganache sit at room temperature, stirring occasionally for 15-30 minutes until it thickens to a spreadable consistency.
Second Layer: Spread the thicker ganache over the chilled cake for a smooth, even finish. - 5. Set and Serve
Refrigerate the cake for 2-4 hours to fully set.
Allow to come to room temperature before serving for the best texture.
Store leftovers in an airtight container in the refrigerator for up to 4 days.
