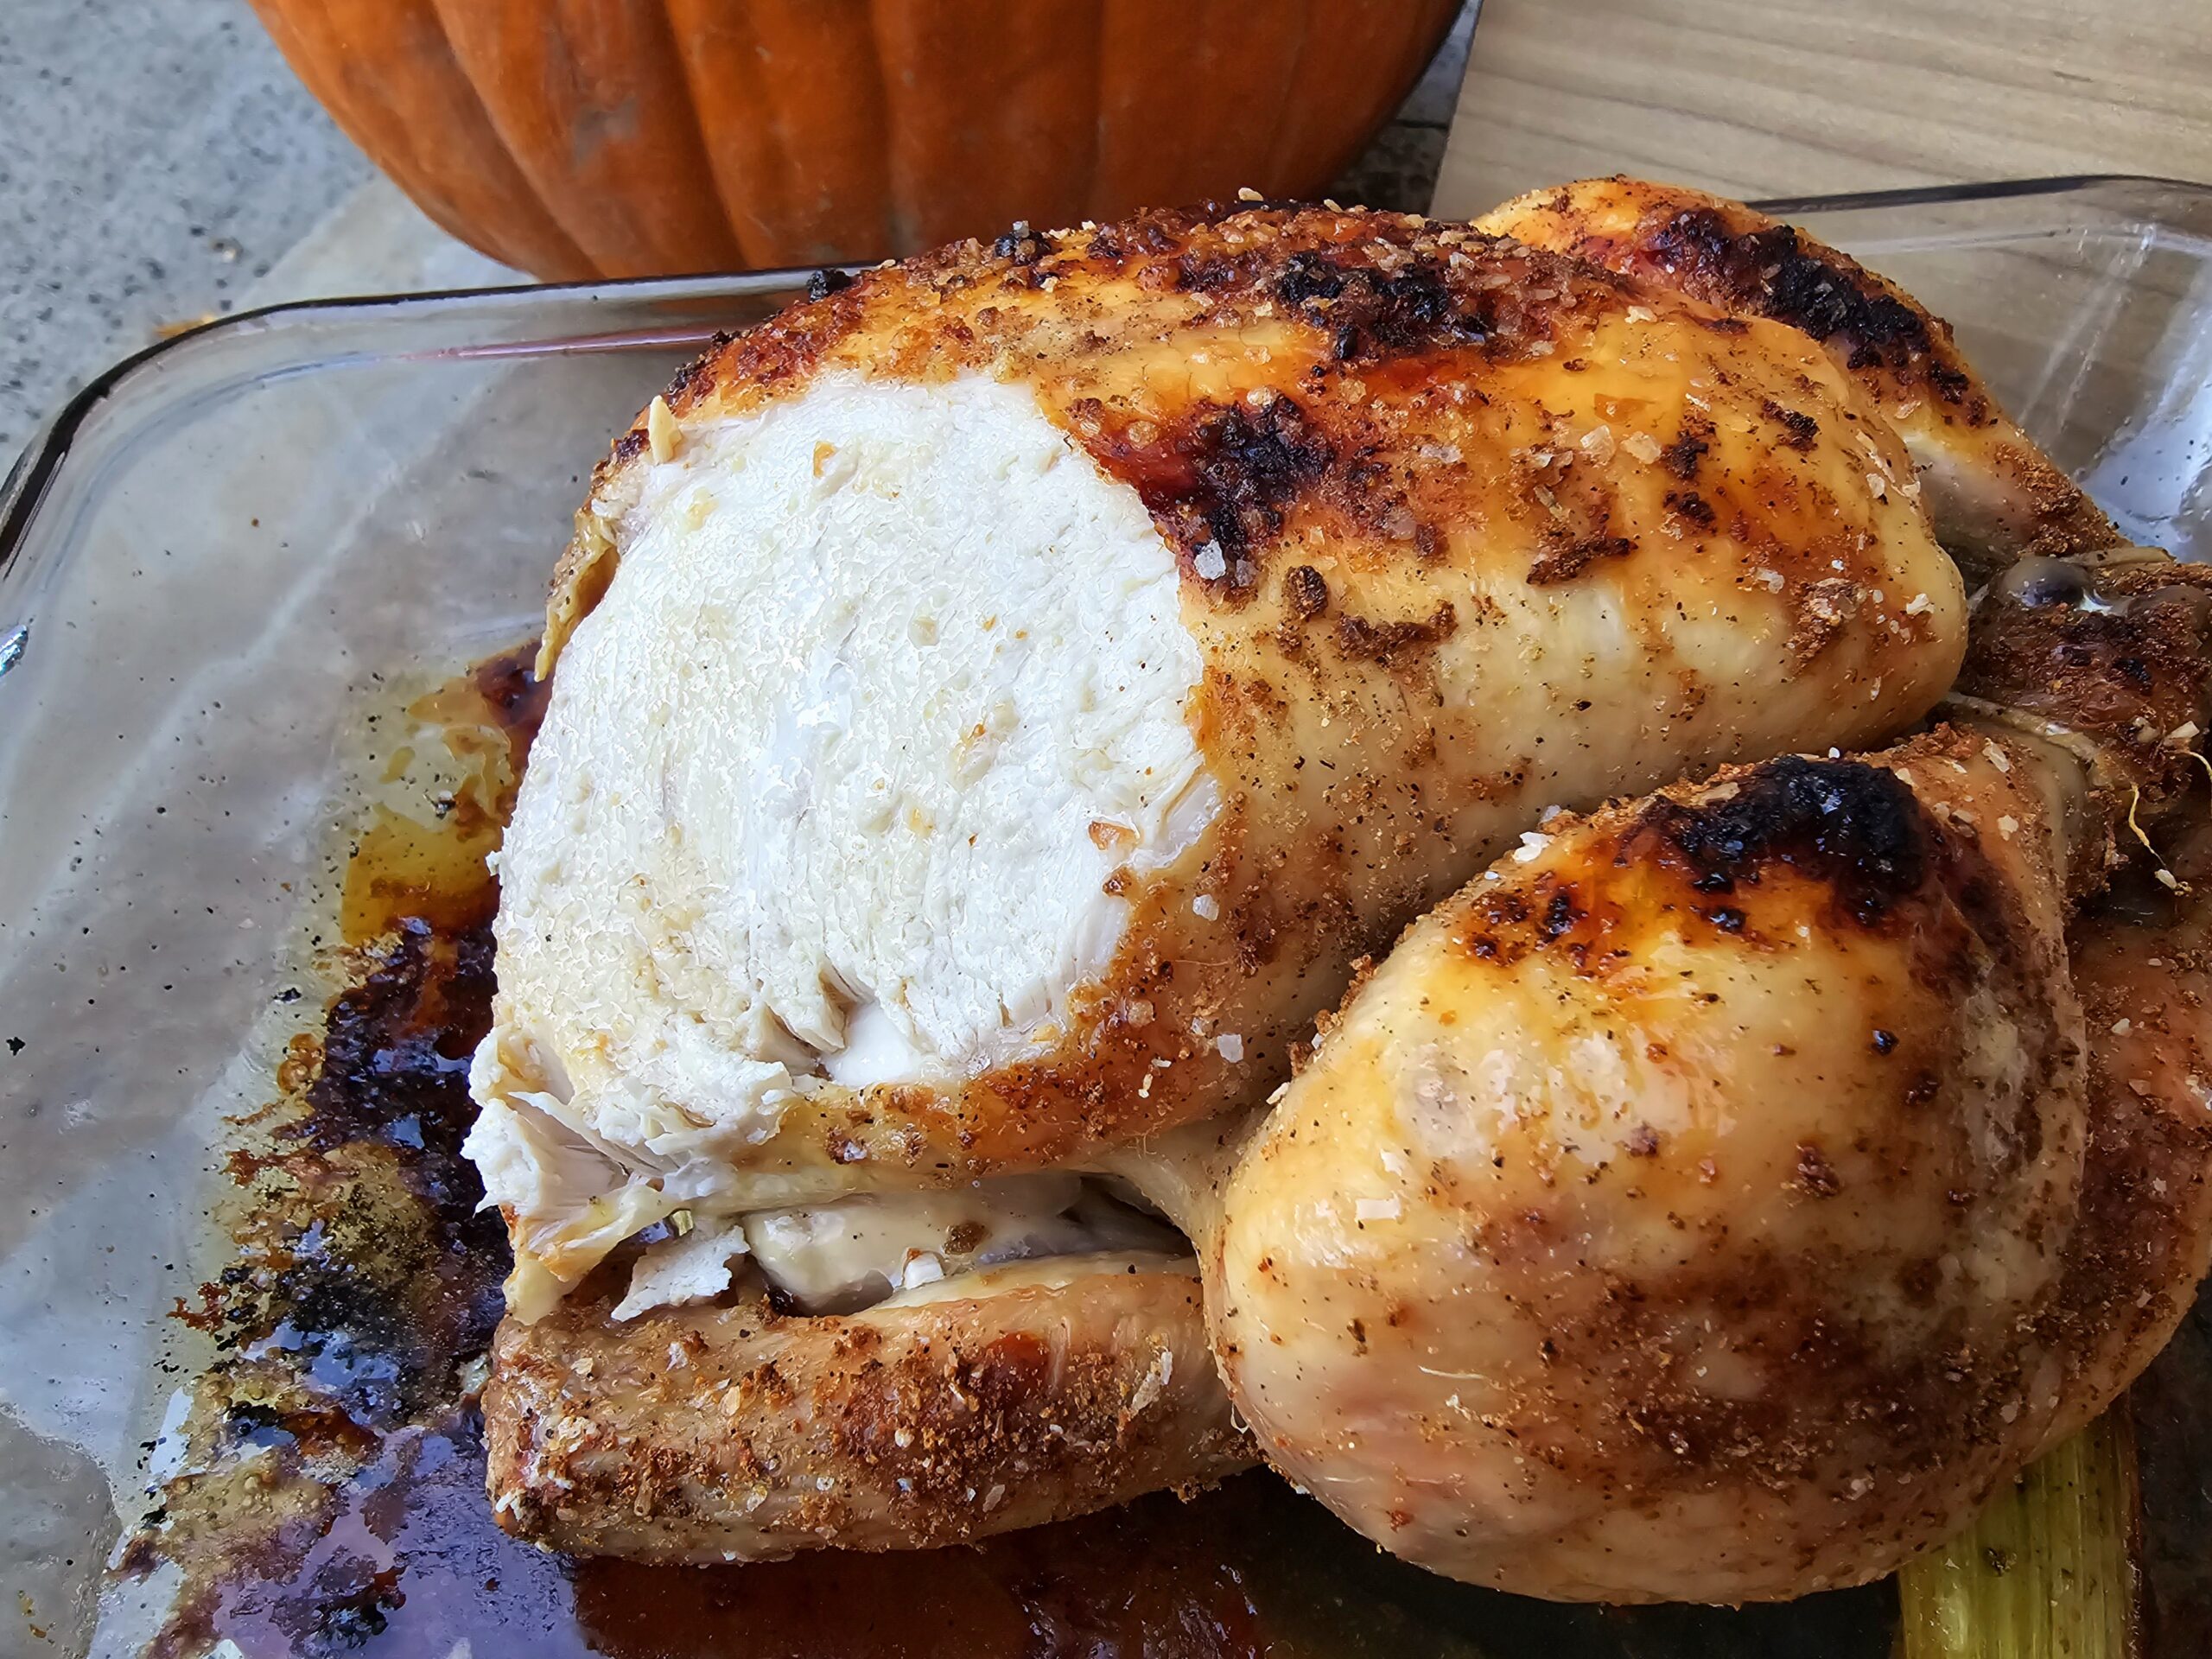
There’s something truly special about a perfectly roasted chicken—crispy skin, tender meat, and incredible flavor. After years of tweaking and experimenting, I’ve found a roasting technique that makes the juiciest chicken ever. It’s all about the method: roasting the chicken breast-side down for part of the cooking process.
Why Roast Breast-Side Down?
When roasting chicken, the breasts often end up dry because they cook faster than the legs. Since the breast has less fat and more delicate meat fibers, it tends to dry out when exposed to high heat for too long. By starting the chicken breast-side down, you allow the white meat to cook more gently, almost steaming in its own juices. This ensures the breast stays tender and moist, while the thighs and legs (which need more cooking) get the time they require.
What Food Science Says
Many food scientists and chefs argue that flipping the bird or cooking it breast-side down might not make a significant difference. The theory is that once meat fibers contract during cooking, the juices are forced out regardless of orientation. The contraction of muscle fibers causes moisture loss, and theoretically, once the chicken reaches a certain temperature, nothing can prevent the breast from drying out.
However, in practice, this method works. By keeping the breast down during the initial stages of cooking, the chicken cooks more evenly. This reduces the direct exposure of the breast to dry heat while allowing the legs and thighs to catch up in cooking time. The result is an incredibly juicy breast, even if some scientists argue otherwise!
Aromatics: Enhancing Flavor
Another key to this juicy, flavorful chicken is the use of aromatics in the cavity. Adding a few pieces of celery inside the bird not only adds moisture but also helps balance the cooking by slightly slowing down the rate at which the breast heats up. This creates more uniform cooking between the breast and legs while infusing the chicken with a subtle aromatic flavor.
The Role of Resting
One often overlooked step in the roasting process is resting. After roasting, it’s crucial to let the chicken rest uncovered for at least 10 minutes before carving. This gives the juices time to redistribute throughout the meat, ensuring every bite is tender and succulent. Skipping this step can result in juices pouring out the moment you slice into the chicken, leaving the meat drier than it needs to be.
Final Thoughts
While the debate around the best way to roast chicken continues among food scientists, my breast-down method consistently delivers a moist, flavorful roast every time. The combination of steaming the breast in its own juices, using aromatics, and flipping the chicken partway through the cooking process results in that perfect balance—crispy skin, juicy meat, and deep flavors.
So, the next time you’re roasting a chicken, try this method. It’s not just about the science—it’s about what works on the plate. And trust me, your taste buds will tell you it works.
Happy roasting! 🍗✨
The Best Roasted Chicken
Ingredients
1 whole chicken
1 tbsp kosher salt (half as much if using fine table salt)
½ tsp black pepper, or more to taste
2 tsp garlic powder
1 tsp onion powder
5 celery stalks, cut in half lengthwise
Directions
- Preheat & Prep: Preheat the oven to 350°F. If time allows, let the chicken sit at room temperature for 30-45 minutes for even cooking. Pat the skin dry with paper towels.
- Season the Chicken: Mix garlic powder, onion powder, salt, and pepper. Season the chicken evenly, making sure to rub at least 1.5 tsp of the mix inside the cavity.
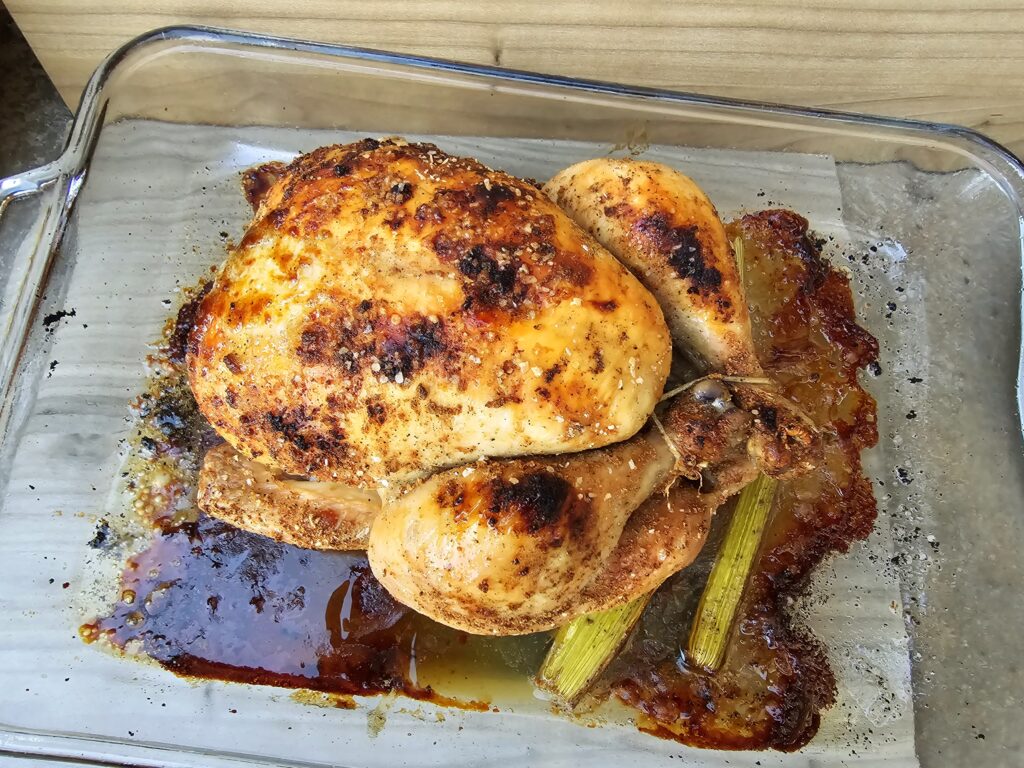
- Aromatics & Setup: Place halved celery stalks on a foil-lined baking sheet. Stuff 3 pieces into the chicken cavity to act as aromatics and help the breast cook evenly. Lay the chicken breast-side down on the celery.
- Roast& Flip: Roast for 30 minutes, then flip the chicken using wooden spoons. Optionally, brush the skin with olive oil for extra browning. Continue roasting breast-side up for another 40-50 minutes until the internal temp reaches 175°F for the thighs and 165°F for the breast. I find the total roasting time is quite long - usually around 1 hour and 20 or 1 hour and 30 minutes. Consider broiling for a few minutes at the end, watching closely not to burn.
- Rest & Serve: Let the chicken rest for 10 minutes, then carve and serve! Enjoy your perfectly roasted, juicy chicken!