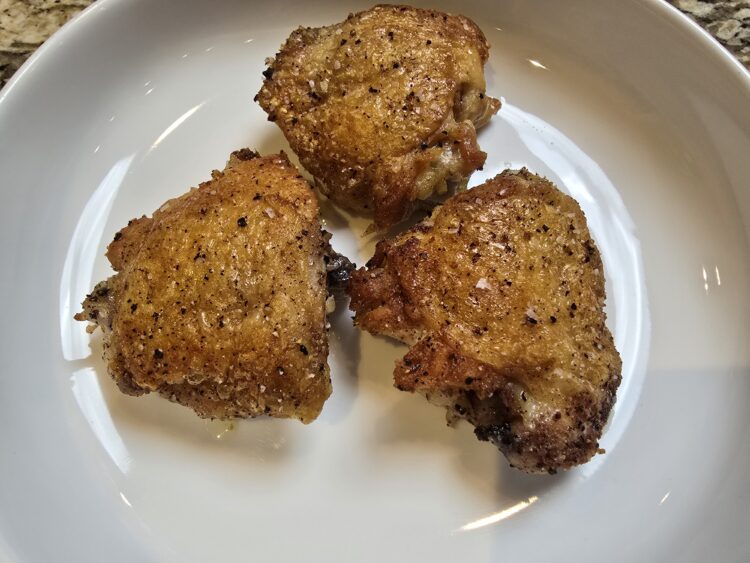
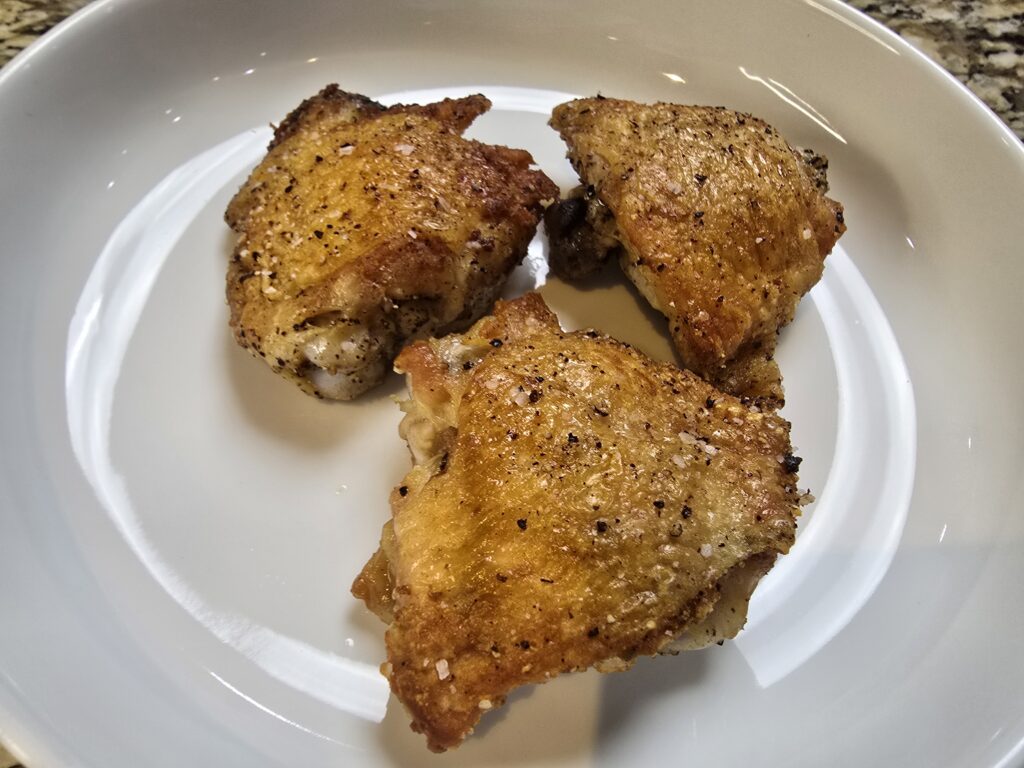
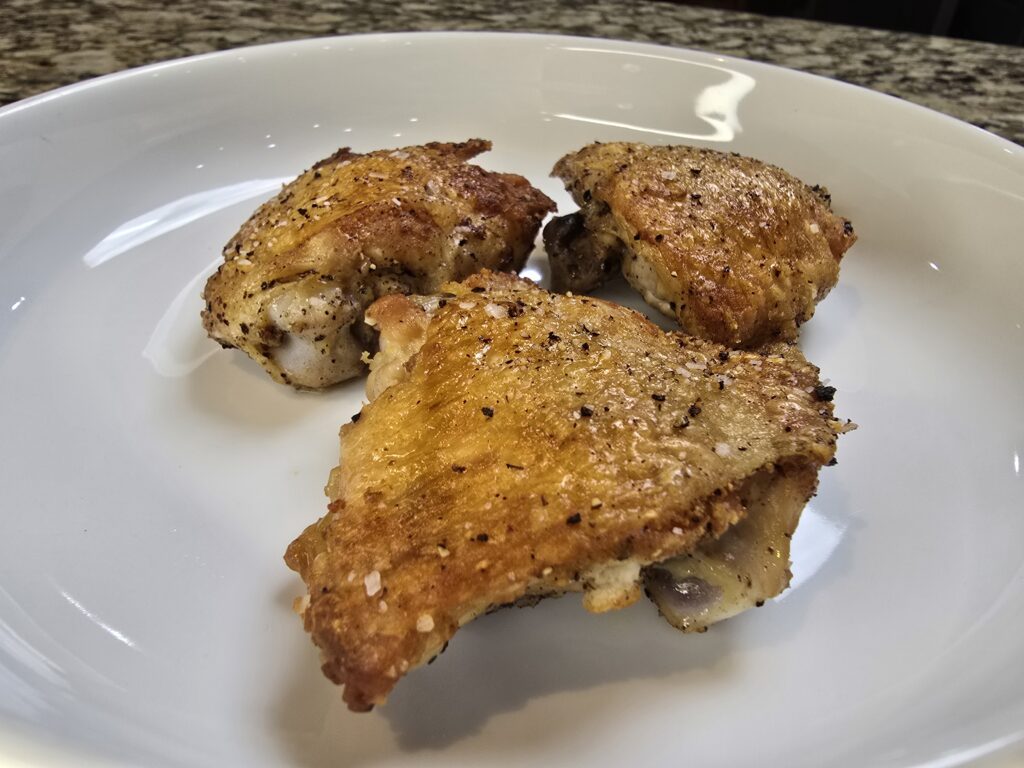
If you’re looking for a chicken recipe that’s quick, foolproof, and absolutely mouthwatering, this is it. Crispy chicken thighs have become the #1 favorite in our household, and it’s easy to see why. You only need one main ingredient—chicken thighs—plus a little salt and pepper, and the results are out of this world.
What makes this recipe so special? It’s the simplicity and the technique. Starting the chicken in a cold skillet might sound unconventional, but trust me—it’s a game changer. With just a little patience, you’ll end up with golden, perfectly crisp skin and juicy, flavorful meat. It’s restaurant-quality chicken made right in your kitchen, and the best part? It’s ready in under 40 minutes.
No Oil is Needed!
No oil is needed for this recipe, and here’s why: chicken thighs with the skin on contain enough natural fat to render out as they cook. Starting with a cold skillet allows the fat to slowly melt and coat the pan, acting as a natural non-stick layer. If you add oil, you risk ending up with greasy chicken and skin that won’t crisp up as beautifully. Let the chicken’s natural fat do the work—it’s all you need for golden, crackling skin.
What’s the Best Pan to Use?
The best pan for this recipe is a heavy-bottomed skillet, like cast iron. Cast iron retains heat beautifully, ensuring even cooking and a gorgeous sear. Although scientifically speaking using non-stick pans for this recipe is not ideal, as they don’t allow the chicken to brown and crisp up as effectively, I must admit… I still use heavy-bottomed non stick pans sometimes. Your chicken will still be super crispy, just know that non stick will result in slightly less crispy outcome. The pan I often use is a ceramic coated non-PTFE non-PFOA non stick pan (those often work wonderfully for a while but may not have as much durability long-term.) Ensure your heavy pan is oven-safe so it transitions seamlessly from stovetop to oven, making it perfect for this dish.
Why This Recipe Works So Well:
The secret lies in that cold pan start. When you place the chicken skin-side down in a cold skillet and heat it gradually, the fat has time to slowly render out, creating ultra-crispy skin without burning. By the time the chicken is browned, the pan is perfectly primed for a quick oven finish. This method not only saves time but also eliminates the need for extra oil—chicken thighs have plenty of their own fat to work with.

Favourite Crispy Chicken Thighs
Ingredients
8 chicken thighs, bone-in and skin on
Salt and Pepper, to taste
Directions
- Preheat the oven to 400F.
- Dry chicken with paper towel. Season well with salt and pepper. Lay skin down in a large cold heavy-bottomed skillet (cast iron or non stick both work well, see more description in the blog post). Place the skillet over medium heat and allow the chicken to cook for about 10 minutes, maybe up to 12 minutes until crisp and nicely browned (but not burnt).
- When the chicken crisp and browned, remove it to a plate, skin side up. Discard most of the fat in the pan - leave about a tablespoon behind. Return the chicken back to the pan, skin side up. Move the skillet into the oven. Bake in preheated oven for about 18-22 minutes until the internal temperature of 180-185F is reached (although the chicken is safe to eat at 165F, the connective tissue that thighs are made of, tastes better when cooked to at least 180F.) Remove from the oven and enjoy!
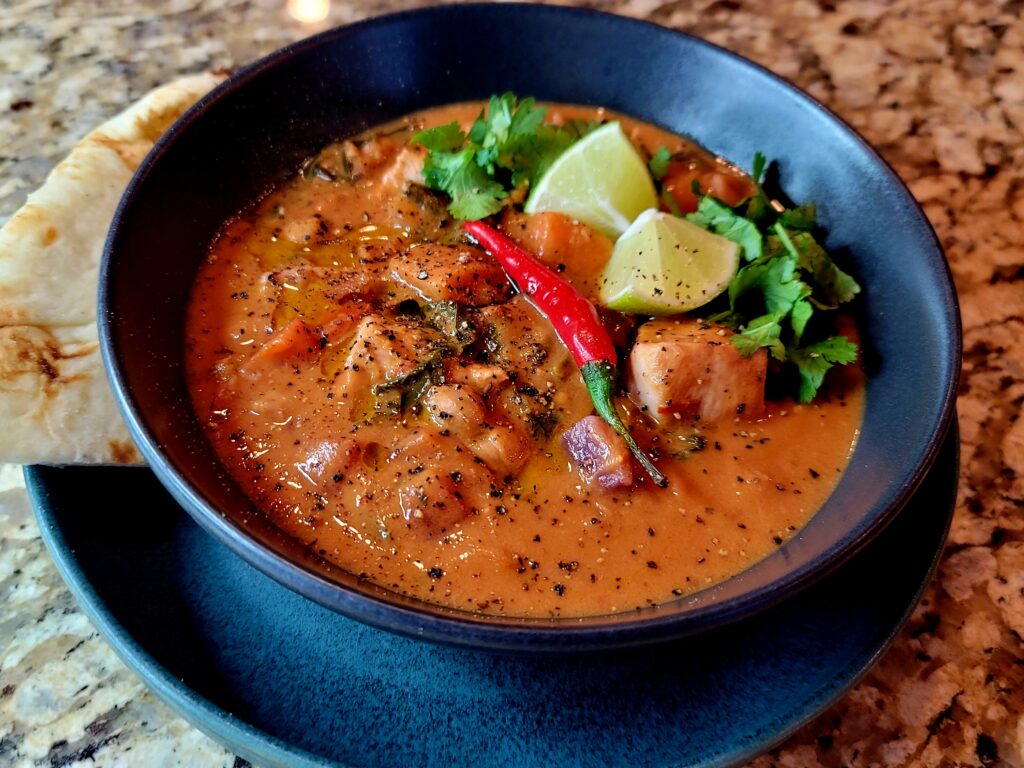
Like quick one pan meals and other delicious recipes? Try these:
Zero-Cream Seafood Fettucine Alfredo:

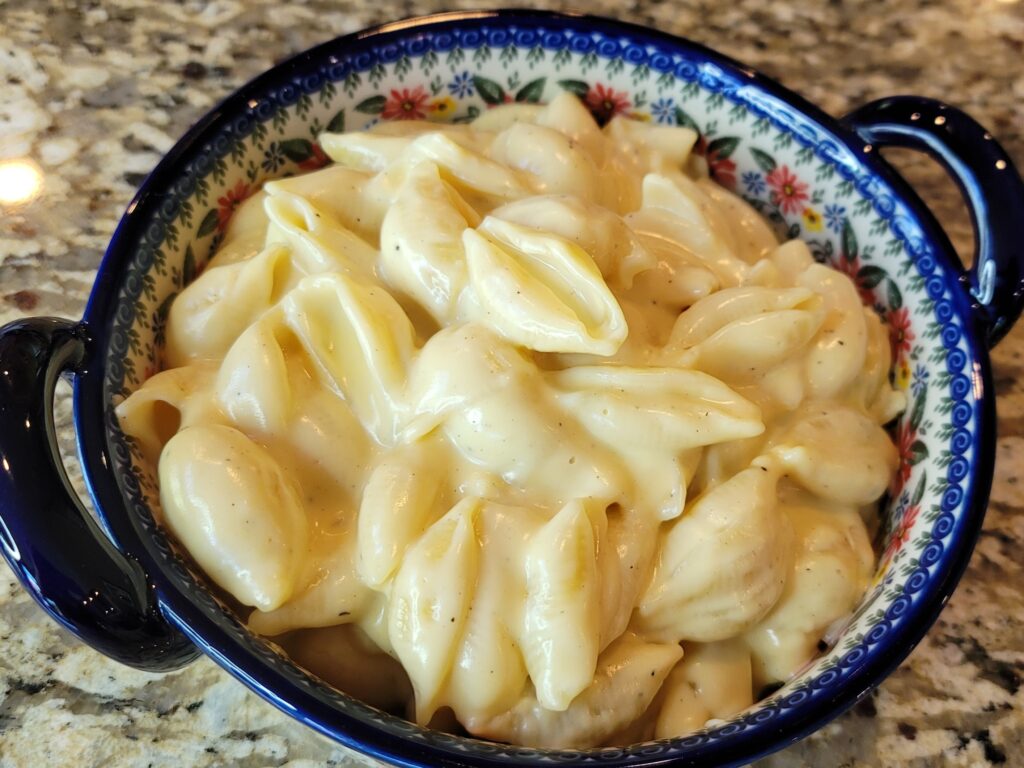
Creamy Panera-Inspired Mac and Cheese:
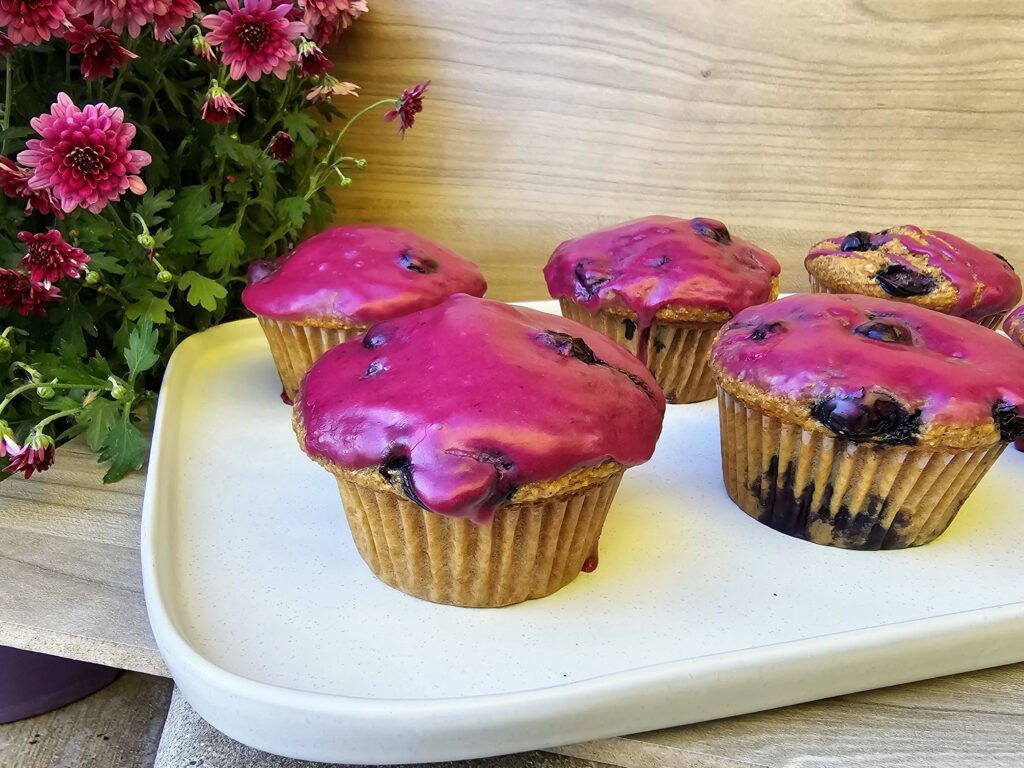
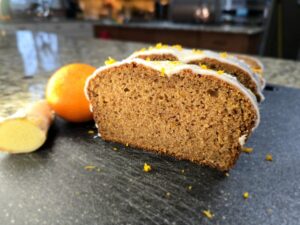
Blueberry Bran Muffins with Brown Butter Blueberry Glaze:
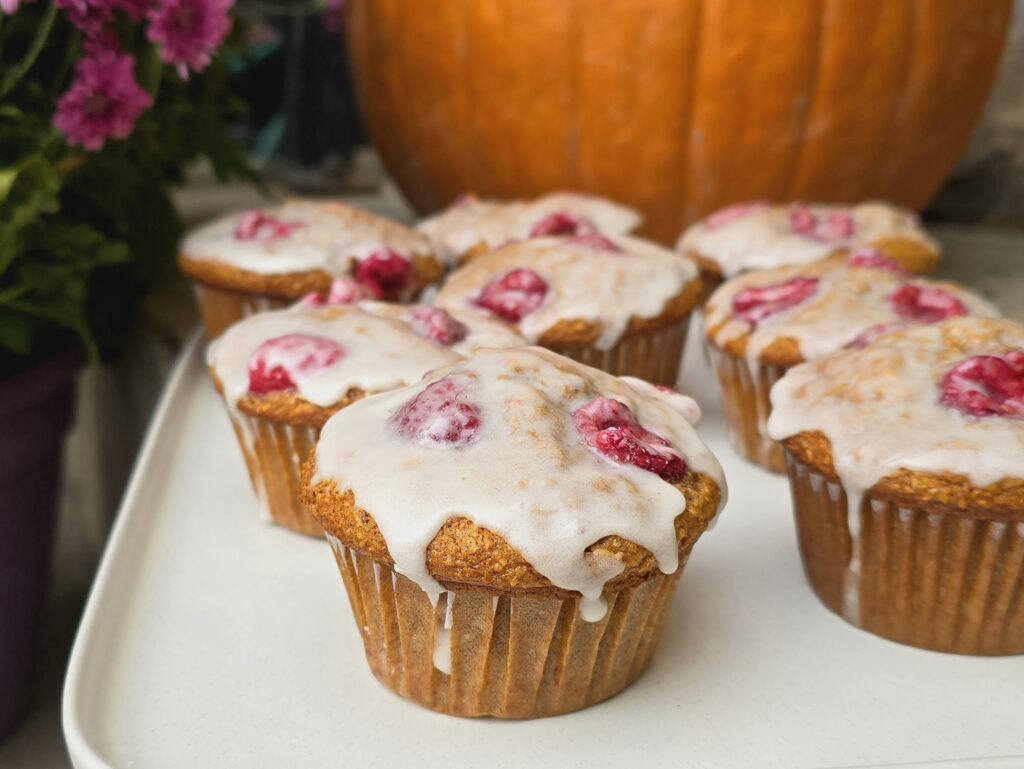
Raspberry Bran Muffins With Honey-Lemon Glaze:

Award-Winning Black Forest Cupcakes with Mascarpone Whipped Cream:

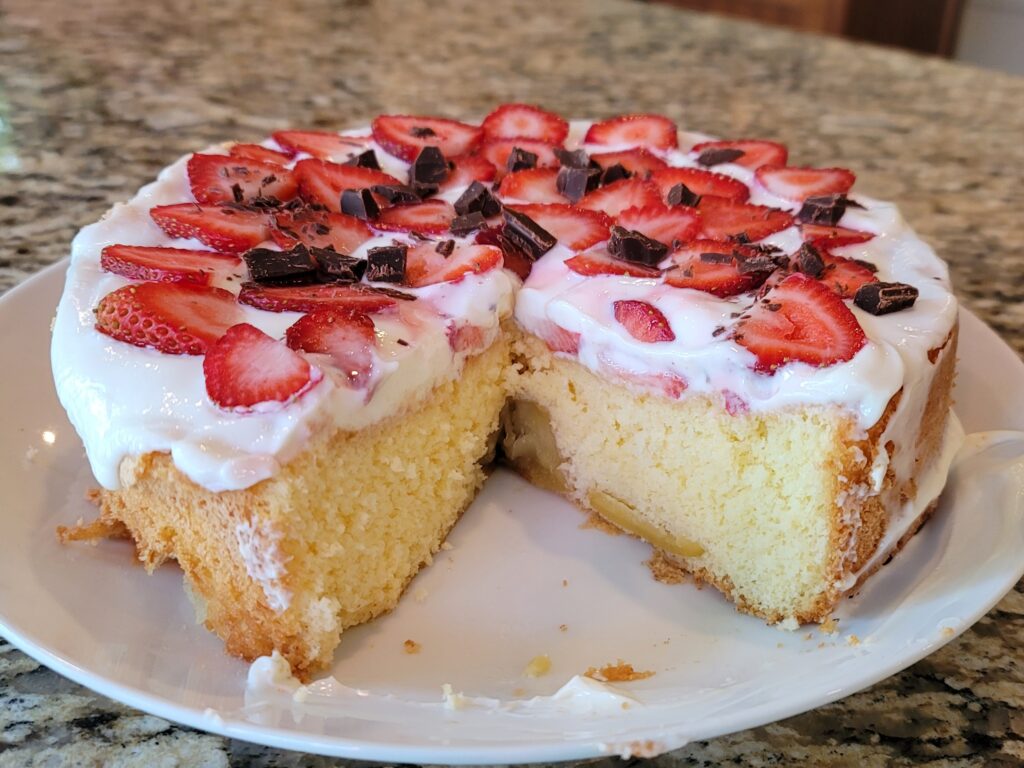
Easy 3-Ingredient Sponge Cake:


Just wanted to know if you put grease in the skillet to brown the chicken?
No oil/grease is needed for this recipe, and here’s why: chicken thighs with the skin on contain enough natural fat to render out as they cook. Starting with a cold skillet allows the fat to slowly melt and coat the pan, acting as a natural non-stick layer. If you add oil, you risk ending up with greasy chicken and skin that won’t crisp up as beautifully. Let the chicken’s natural fat do the work—it’s all you need for golden, crackling skin. So no extra oil or grease 🙂
What kind of skillet does it have to be a cast iron pan
The best pan for this recipe is a heavy-bottomed skillet, like cast iron. Cast iron retains heat beautifully, ensuring even cooking and a gorgeous sear. Although scientifically speaking using non-stick pans for this recipe is not ideal, as they don’t allow the chicken to brown and crisp up as effectively, I must admit… I still use heavy-bottomed non stick pans sometimes. Your chicken will still be super crispy, just know that non stick will result in slightly less crispy outcome. The pan I often use is a ceramic coated non-PTFE non-PFOA non stick pan (those often work wonderfully for a while but may not have as much durability long-term.) Ensure your heavy pan is oven-safe so it transitions seamlessly from stovetop to oven, making it perfect for this dish.. Thanks so much for this. That’s a great question!
Sorry to ask such a newbie question, but I’m a very inexperienced cook. After I season the chicken and lay it skin side down in my cold cast iron skillet, do I cook it over medium heat for 10 to 12 minutes without turning it skin side up?
No worries at all. Please ask anytime!
Great question! Yes, after seasoning the chicken, you cook it skin side down in your cold cast iron skillet over medium heat for 10 to 12 minutes without turning it. Here’s why:
Fat Rendering: Starting in a cold pan allows the fat under the chicken skin to slowly melt (render) as the pan heats. This creates a natural non-stick surface and ensures crispy skin without burning.
Cooking Process: Keep it skin side down the entire time during this step. By around 10 minutes, watch closely—when the skin is golden, crisp, and easily releases from the pan, it’s ready for the next step. If it sticks, give it a bit more time—it’s not done yet.
Heat Control: Medium heat is key; too high and the skin may burn before the fat renders, too low and it won’t crisp properly.
Once the skin is perfectly crisp, you’ll flip the chicken, remove excess fat, and finish in the oven as per the recipe. This method ensures juicy, flavorful meat and that restaurant-quality crispy skin.
You’ve got this—happy cooking!
This truly is an incredible recipe. Total game changer for us. Thank you so much for posting this. This is now on our weekly dinner rotation !
Thank you. I really appreciate your comment. Glad you guys enjoyed!
Fantastic! Do you ever add other seasons to it?
You can definitely season the chicken thighs for extra flavor! Sprinkle some garlic powder while they cook skin side down—it adds a wonderful aroma. However, avoid sprinkling too much on the skin after flipping, as this can draw moisture and make the skin less crispy. Smoked paprika, cayenne, or dried thyme are also great options to try (on the chicken meat when it’s skin side down – again, don’t sprinkle those on top of the skin after it’s flipped.)
These are absolutely amazing. I always thought of chicken thighs as “the cheap cut of chicken”, but these are so delicious. I would pick these over boneless skinless chicken breast any day of the week.
Agreed. Across global cuisines, from Moroccan tagines to Japanese yakitori, they have been long appreciated for their rich marbling and versatility. Chicken thighs are truly the culinary gold!
This is amazing. Thanks for the beautiful technique!
Thanks so much! Appreciate the feedback! Glad you enjoyed.
You’re so interesting! I do not suppose I’ve read through something like this before.
So nice to discover somebody with genuine thoughts on this
subject. Seriously.. thanks for starting this up. This web site
is one thing that is required on the internet, someone with some originality!