This pie crust recipe is truly foolproof, and the secret to achieving those irresistible flaky layers is all in the technique. Keeping your ingredients cold is crucial because when cold butter hits the oven’s heat, it evaporates into steam, forming pockets that create the perfect flaky layers. But there’s more: by folding the dough over and over (a process known as lamination), you’re creating multiple layers of butter and dough. This leads to a delicate, crispy texture when baked. Remember not to overwork the dough to avoid activating too much gluten, which can make the crust tough.
For best results, chill the dough after rolling to maintain structure. The result? A golden, buttery, and flaky crust every time!
This recipe makes 1 pie crust. Feel free to double it if making 2 pies or one double-crusted pie.
Add the flour, salt, sugar and butter to the bowl of your stand mixer. Place the paddle attachment into the bowl and place everything into the fridge to chill. Every ingredient as well as everything that touches the dough should be very cold. Chill for at least half an hour.
When chilled, set up the paddle attachment and mix on low until the flour resembles coarse crumbs. You are not looking for small pea sized crumbs - you are looking for large fluffy crumbs. Basically all of those 1/2" cubes should be gently smashed by the mixer without turning into a mealy powder.
With the mixer running on low, add water in a steady stream. Mix until just comes together. Transfer onto a work surface, flatten the dough, fold it over itself a couple of times (that creates those delicious layers without the risk of overmixing.) Fold it like you would a letter, flatten it, then fold again..
Roll out your dough to the required shape on a well floured surface. Don't be afraid of flour and use it liberally, simply brush it off after you are done rolling.
The important thing is to roll the dough to 3-4mm. It's 1/8 of an inch or just under to about 14 inches in diameter. Use this pie crust as directed in your recipe. (Be sure to chill the dough for at least an hour, ideally two, after you roll it out and shape it into your pie plate.)
Ingredients
Directions
Add the flour, salt, sugar and butter to the bowl of your stand mixer. Place the paddle attachment into the bowl and place everything into the fridge to chill. Every ingredient as well as everything that touches the dough should be very cold. Chill for at least half an hour.
When chilled, set up the paddle attachment and mix on low until the flour resembles coarse crumbs. You are not looking for small pea sized crumbs - you are looking for large fluffy crumbs. Basically all of those 1/2" cubes should be gently smashed by the mixer without turning into a mealy powder.
With the mixer running on low, add water in a steady stream. Mix until just comes together. Transfer onto a work surface, flatten the dough, fold it over itself a couple of times (that creates those delicious layers without the risk of overmixing.) Fold it like you would a letter, flatten it, then fold again..
Roll out your dough to the required shape on a well floured surface. Don't be afraid of flour and use it liberally, simply brush it off after you are done rolling.
The important thing is to roll the dough to 3-4mm. It's 1/8 of an inch or just under to about 14 inches in diameter. Use this pie crust as directed in your recipe. (Be sure to chill the dough for at least an hour, ideally two, after you roll it out and shape it into your pie plate.)
Notes
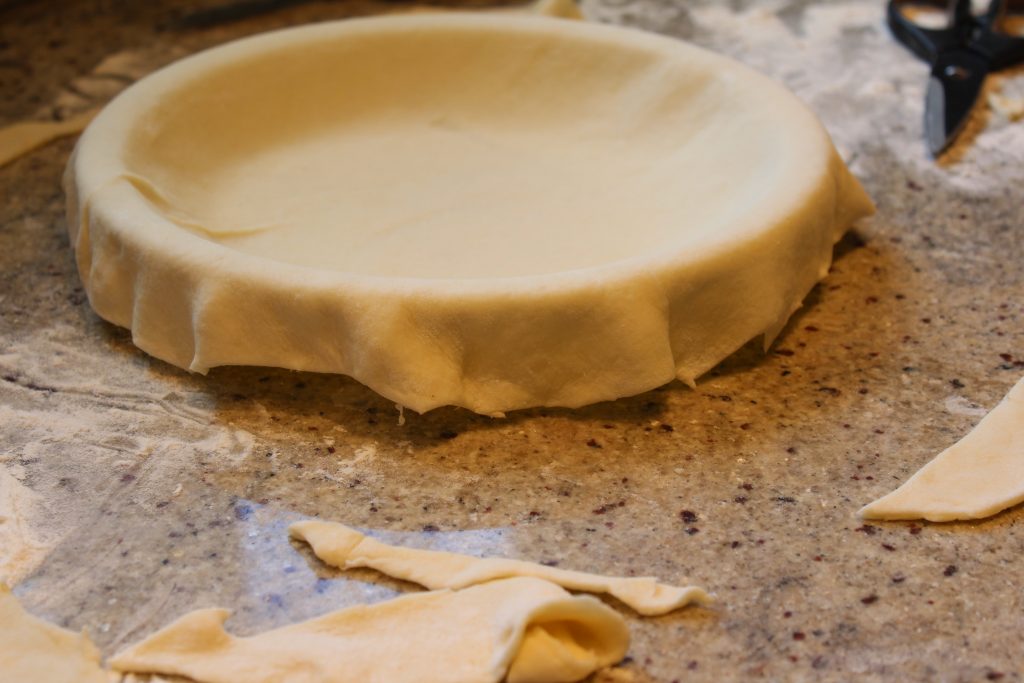
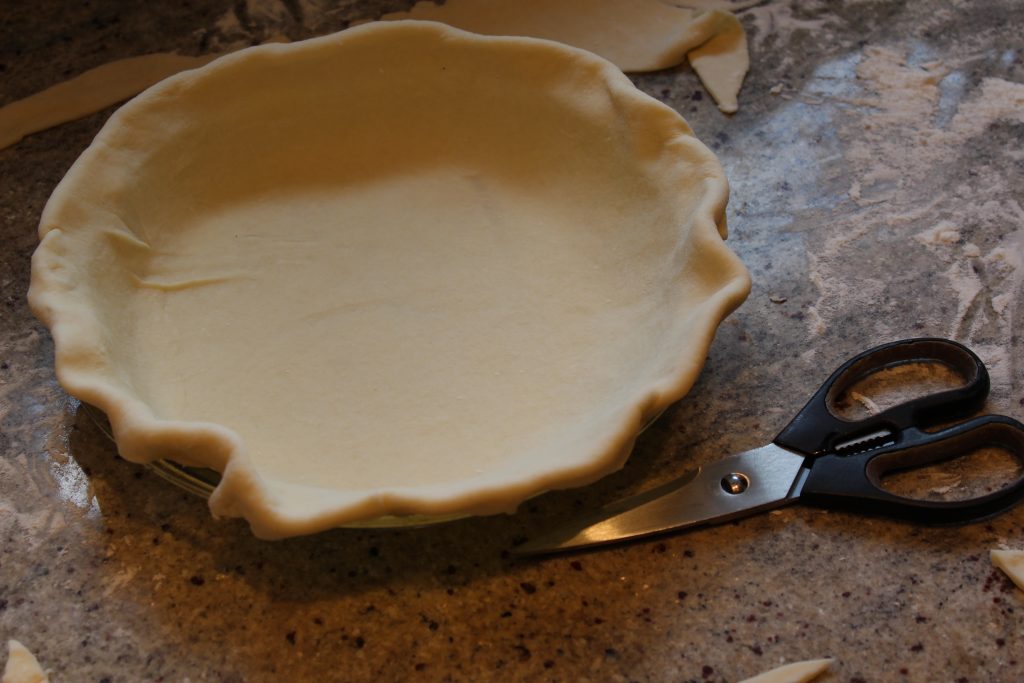
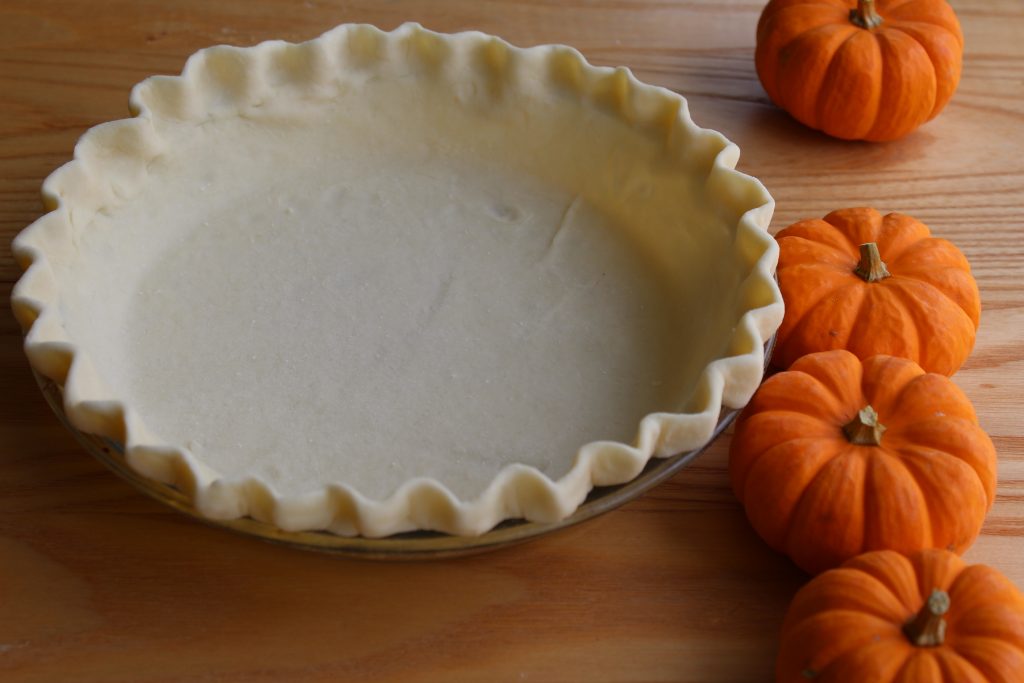
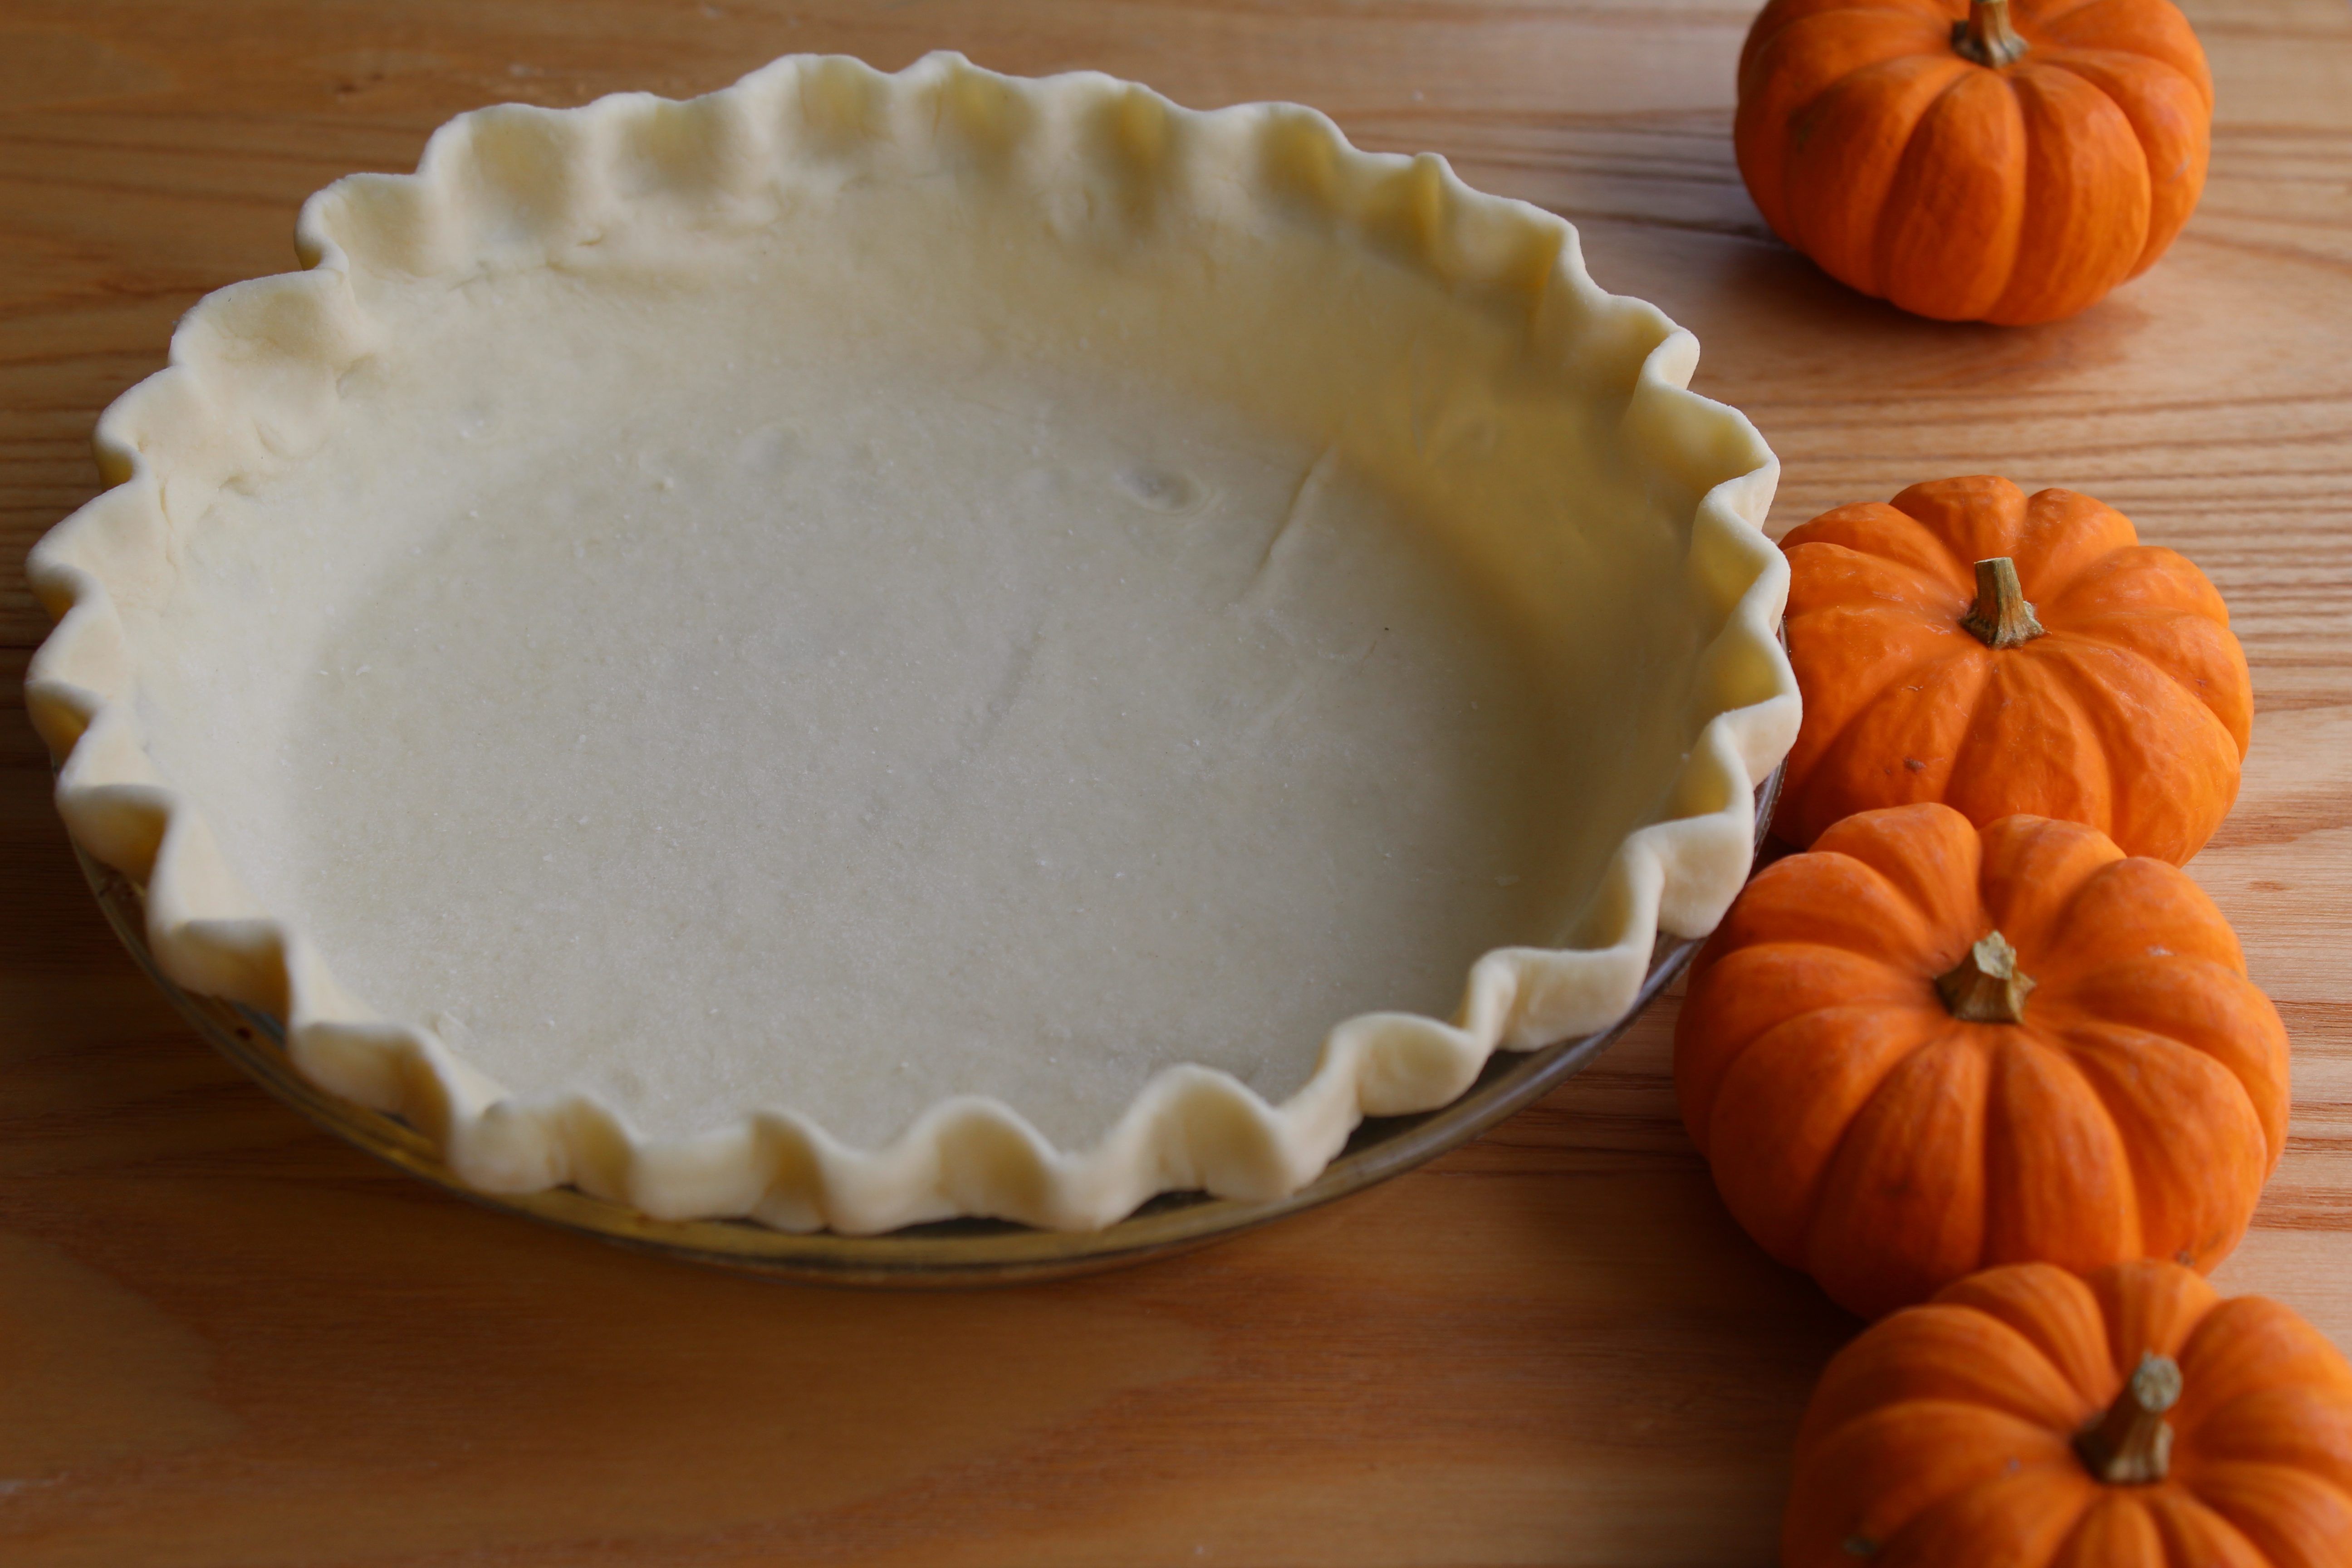
Here’s a quick tutorial on how to shape the crust. After you rolled it into 14″ circle, roll it over a rolling pin and transfer to your pie plate. Trim the edges off but allow 1-1 1/2 inches to overhand. Fold those edges together as in the second picture to make tall thick border. Then shape it and crimp the edges, by using thumb and index finger of one hand and the thumb of your other hand. After you shaped the crust – refrigerate it covered with plastic for at least 2 hours or overnight.
