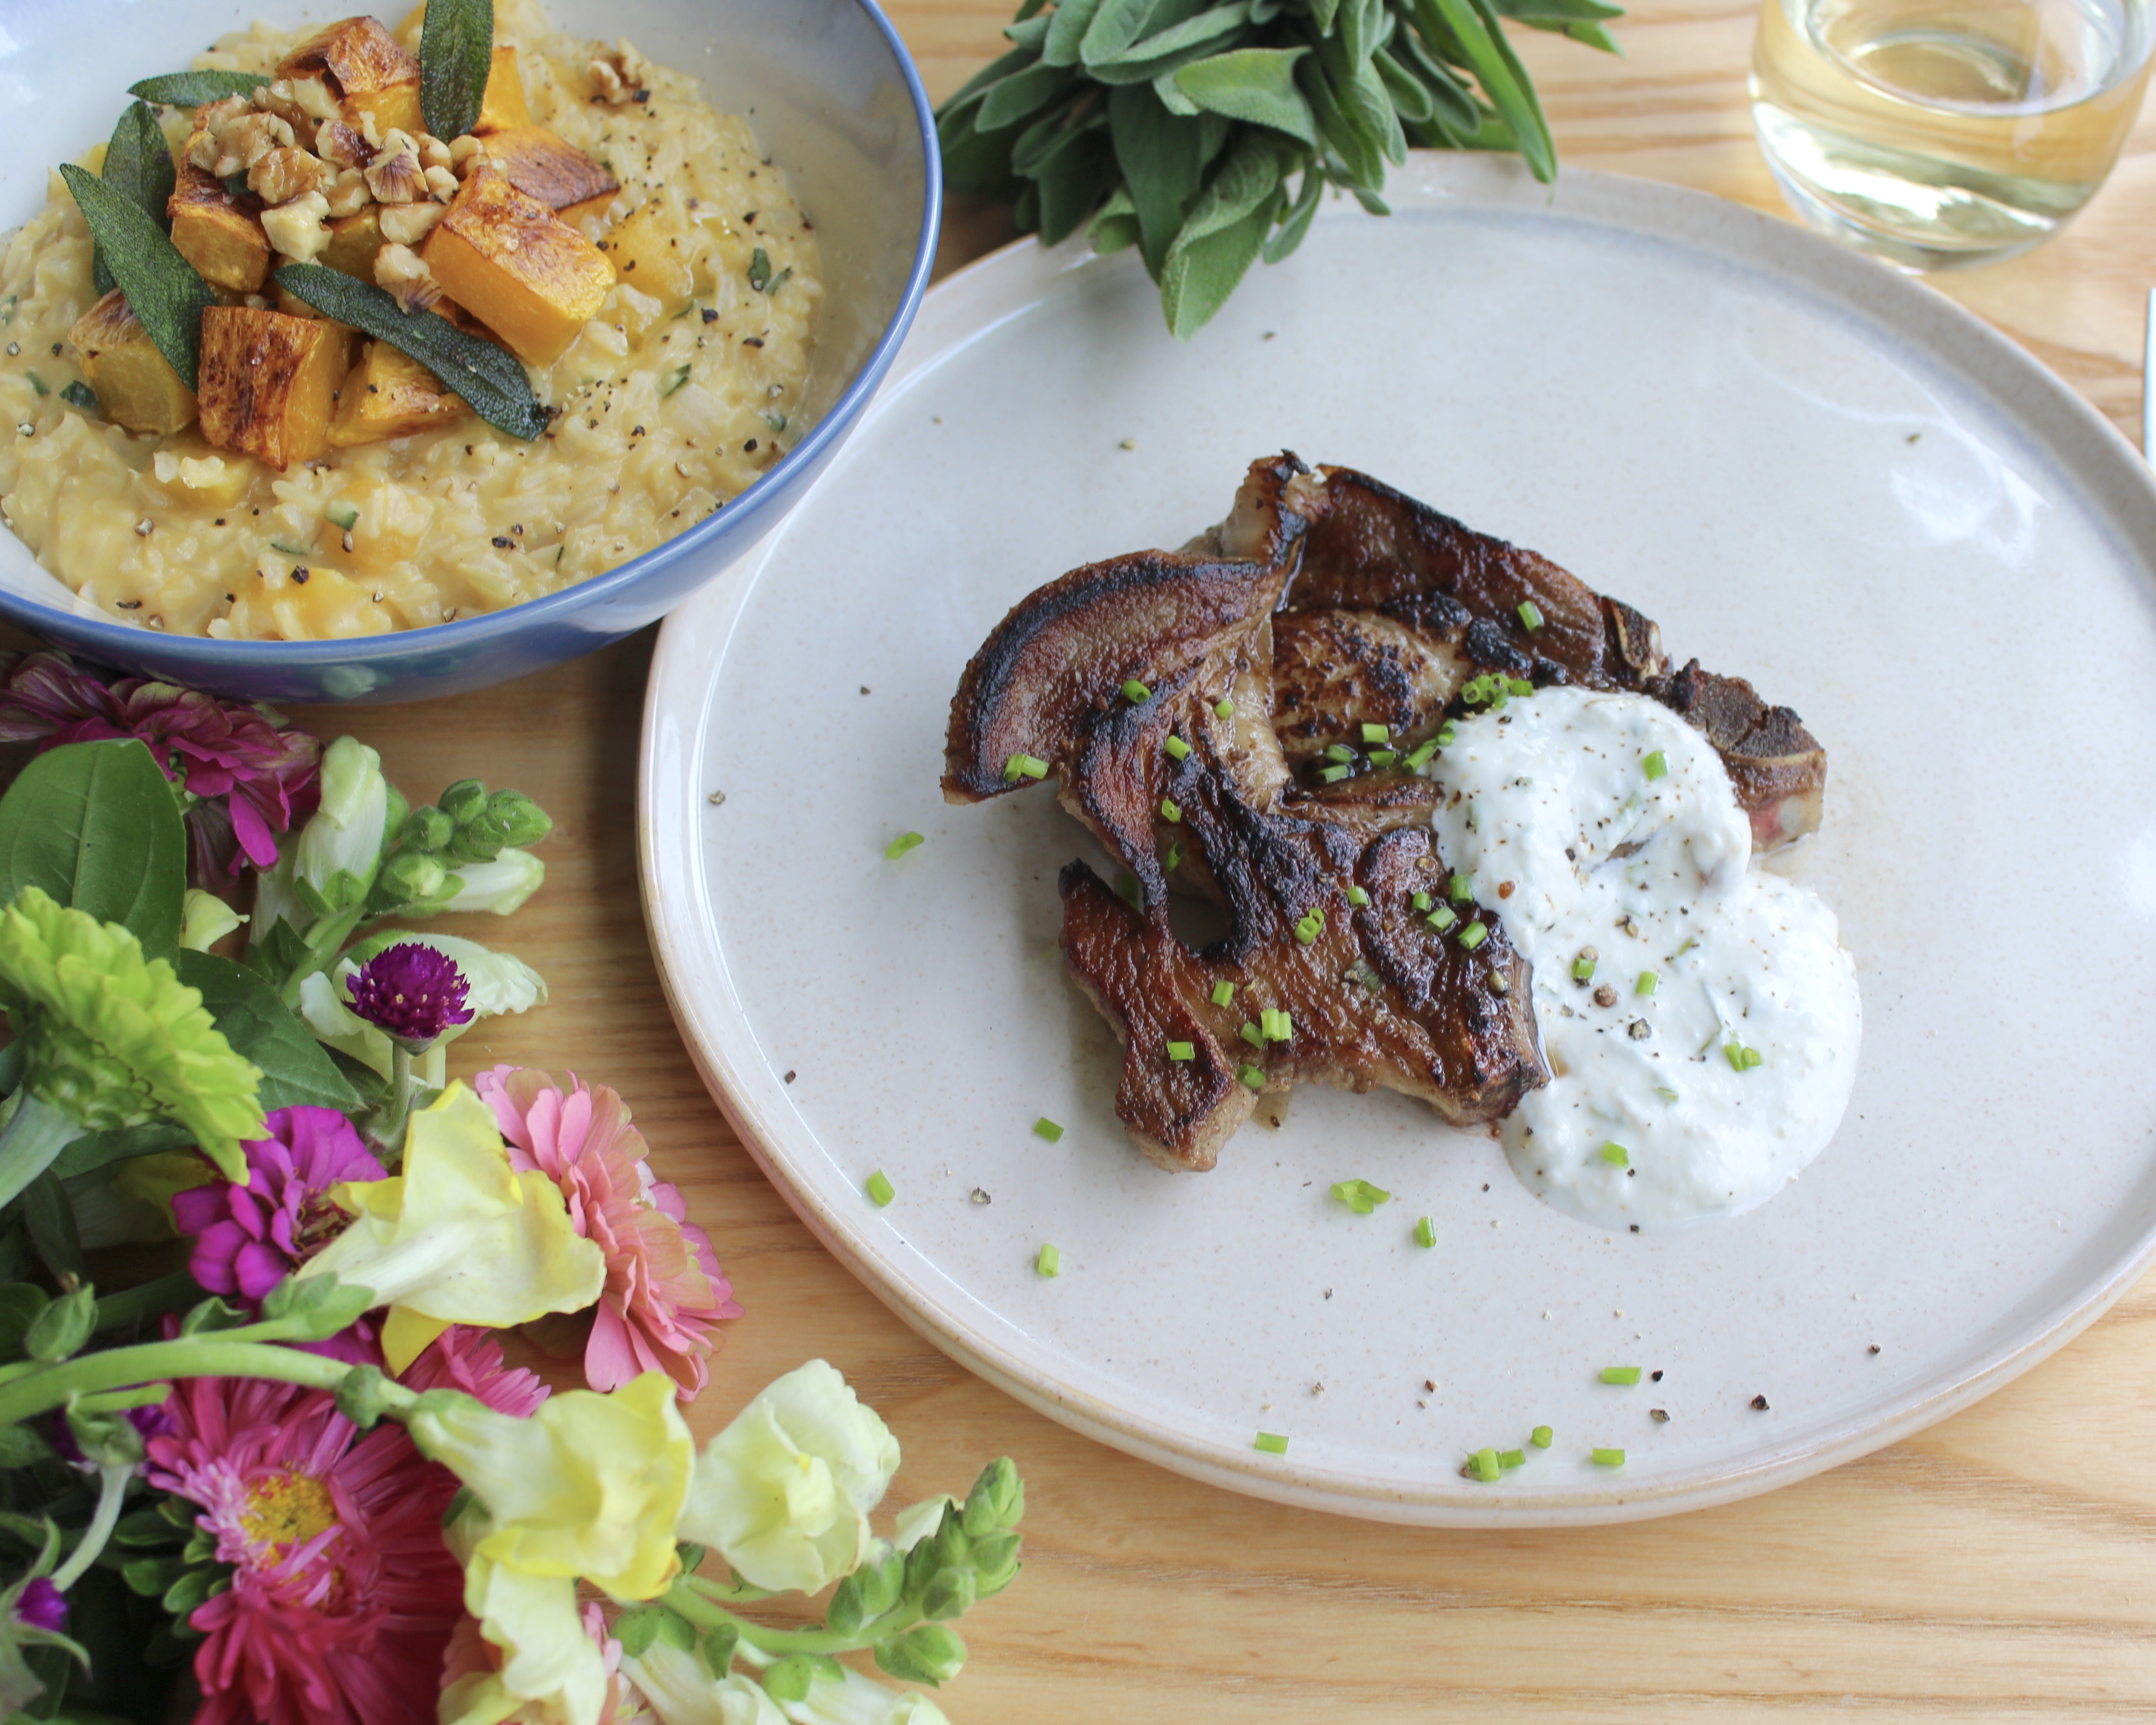
Let me tell you why I absolutely love thin, bone-in pork chops—they’re delicious, affordable, and cook up in minutes. The ideal thickness for this cut is around 1/2 inch (definitely under 3/4 inch). But while they’re quick and convenient, thin pork chops can be tricky to get just right.
One of the biggest challenges is achieving that perfect sear without overcooking the interior. More often than not, you either end up with an unappetizing grey piece of pork or a dry, overcooked chop. And sadly, sometimes you get both—overcooked and poorly seared. But with the right technique, you can turn this budget-friendly cut into a flavorful, juicy masterpiece every time.
I’m using local Manitoba hormone-free pork for this recipe, but the method works for any thin chop you have on hand. If you’re working with a thicker cut (around 1.5 inches), you’ll want to use a different technique that finishes the meat in the oven. But for these quick-cooking chops, it’s all about maximizing flavor in minimal time.
The Science Behind the Perfect Sear 🔬
Getting that beautiful golden-brown sear is all about understanding the Maillard reaction. This chemical reaction occurs when the amino acids in the meat interact with reducing sugars under high heat, resulting in a complex flavor profile and that rich, appealing browning on the surface. The Maillard reaction doesn’t just make your food look better—it also adds depth and complexity to the flavor by creating hundreds of new compounds that contribute to aroma and taste. A perfect sear can transform a simple pork chop into a dish that’s full of flavor!
Tips for Perfectly Cooked Pork Chops
- Brine for Juiciness
For added moisture and flavor, consider brining your pork chops overnight in a solution of water, salt, and a pinch of sugar. This step is optional but recommended—it helps the meat retain its juiciness during the high-heat cooking process. - Pat Dry Before Cooking
Always dry the exterior of the pork chops with paper towels before cooking. This step is crucial for achieving a proper sear. Excess moisture causes the meat to steam rather than brown, leading to a pale, grey appearance and less flavor development. - Preheat the Pan
Make sure your pan is very hot before adding the chops. Heating it for at least 3-4 minutes ensures the meat will sizzle and sear immediately upon contact, initiating the Maillard reaction for that perfect crust. - Start on High Heat
Begin cooking on high heat to create that beautiful golden-brown exterior. This step is essential for locking in flavor and ensuring the chop has an appealing texture. - Don’t Overcrowd the Pan
Cook no more than two chops at a time, giving each chop enough space for the heat to circulate. If needed, cook in batches. Overcrowding the pan leads to uneven cooking and a lack of proper browning. - Cook to the Right Temperature
Overcooking is the main reason pork chops turn out dry. Use an instant-read thermometer to ensure your chop reaches an internal temperature of 145°F (63°C), which is the perfect point for juicy, tender meat. Let the chops rest for a few minutes before serving to allow the juices to redistribute. - Optional: Serve with Horseradish Cream Sauce
A quick and easy horseradish cream sauce pairs beautifully with the savory pork, adding a hint of heat and tang that elevates the dish.
Final Thoughts
When it comes to cooking thin pork chops, mastering the basics can make all the difference. By focusing on proper technique and understanding the science behind the Maillard reaction, you can turn an ordinary cut into something truly special. With these tips, you’ll have perfectly seared, juicy pork chops that are as delicious as they are quick to make.
Happy cooking! 🌿
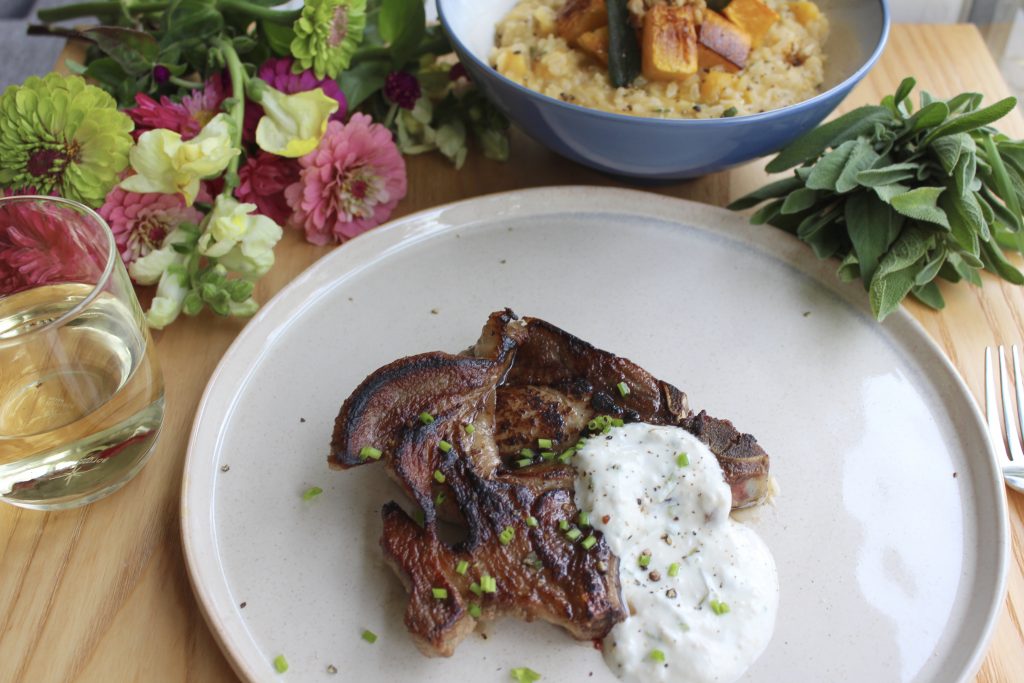
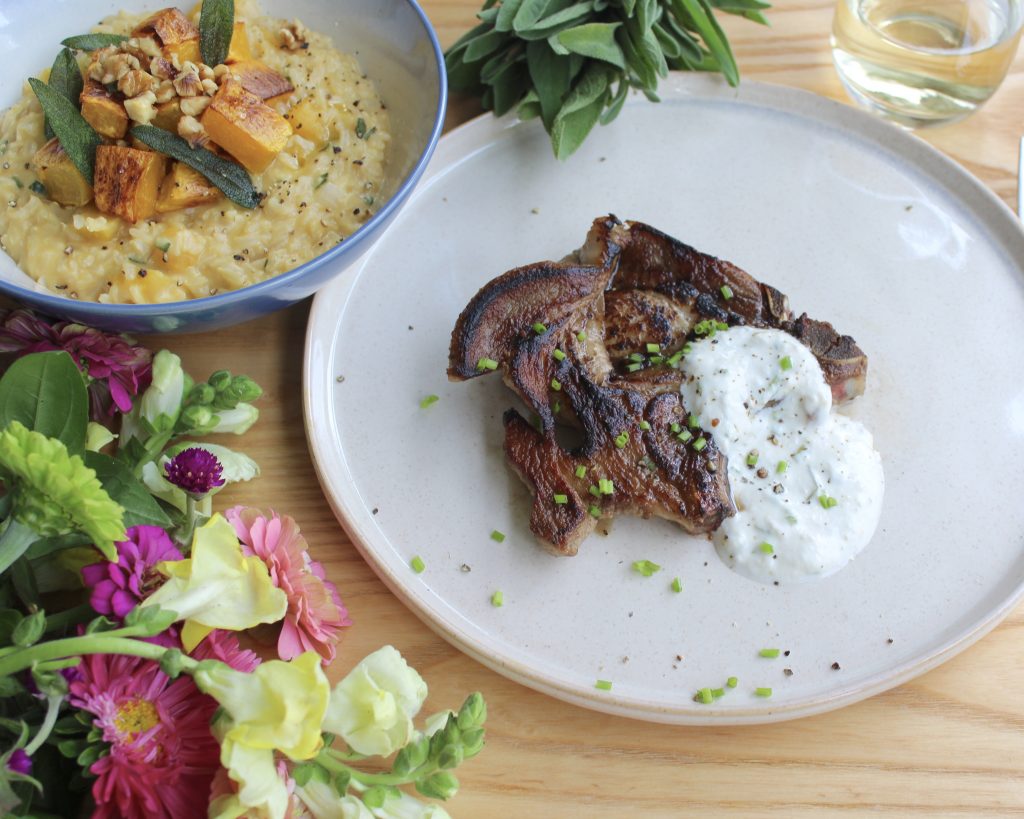
You can also grill these chops. Dry brining is very important for grilling, so don't skip that step. Instead of step 3, grill the pork chops on medium high for about 3-4 minutes to get those beautiful grill marks. Turn the heat down to medium, flip the pork chops and keep grilling, turning every 3 minutes or so until desired doneness. I prefer taking my chops out at about 150F or even a little bit more (I like my pork medium rather than medium rare) - this will take you about 10-13 minutes of total cooking time.
This is an optional step but it helps brine the pork, which helps the chops stay juicy.
Rub each pork chop with a good pinch of sugar and kosher salt. Place on wire racks on top of rimmed baking sheet; this way the air can circulate and dry out the exterior of the chop making it easier to brown. Store in the fridge, uncovered, between 1 and 24 hours.
For the horseradish sauce, mix all of the ingredients together, taste and adjust the flavour with any of the ingredients to fit your taste, I often end up adding more horseradish than called for. Refrigerate until ready to serve, ideally for at least 2 hours.
Coat a large heavy pan, ideally cast iron, with a bit of oil, over high heat until smoking - around 3-4 minutes.
In the meantime dry pork chops well with paper towels. Do not skip this step. If they are not dry - they will not brown; instead they will steam into unappealing grey coloured piece of meat.
Add the pork chops to the hot pan and cook undisturbed for about 1.5 minutes, watching closely not to burn. At that point, slide some butter under each chop and continue cooking until caramelized and golden brown, shaking the pan and ensuring the chop is browning evenly; maybe even gently press down on the meat to ensure it gets good contact with the hot pan. Turn the heat down to medium or medium high. Flip the chops and finish cooking on the other side, while basting the chops with the pan juices. Take a second to stand each chop on its side to cook the sides as well.
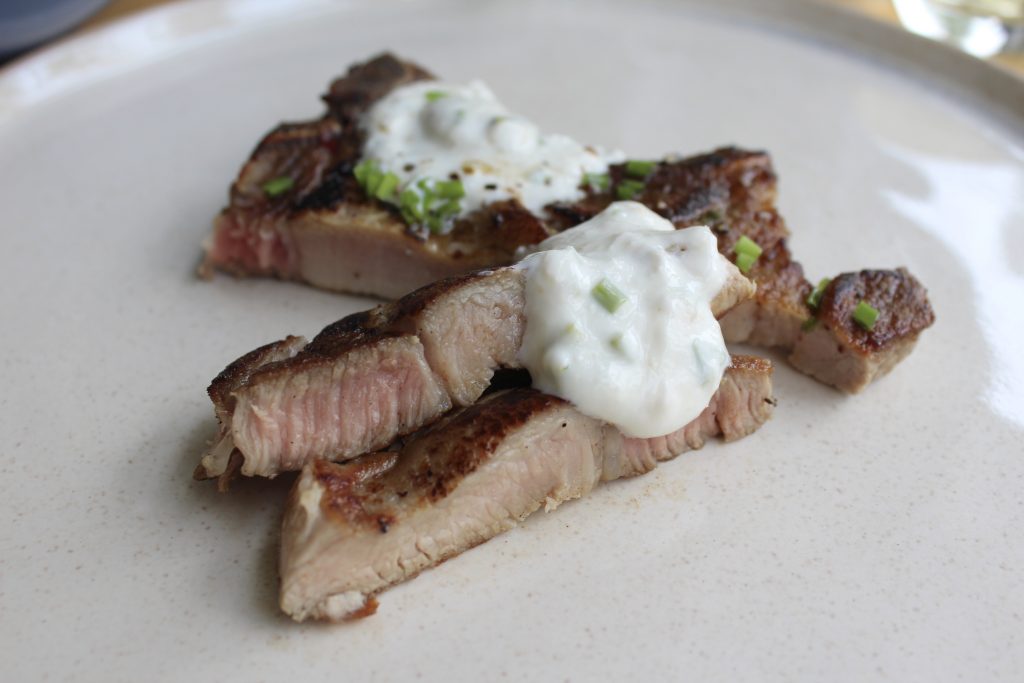
The total cooking time will be around 5 minutes, perhaps even less for a chop this thin. The internal temperature should register 145° and the chop should still be a bit pink on the inside, do not overcook!
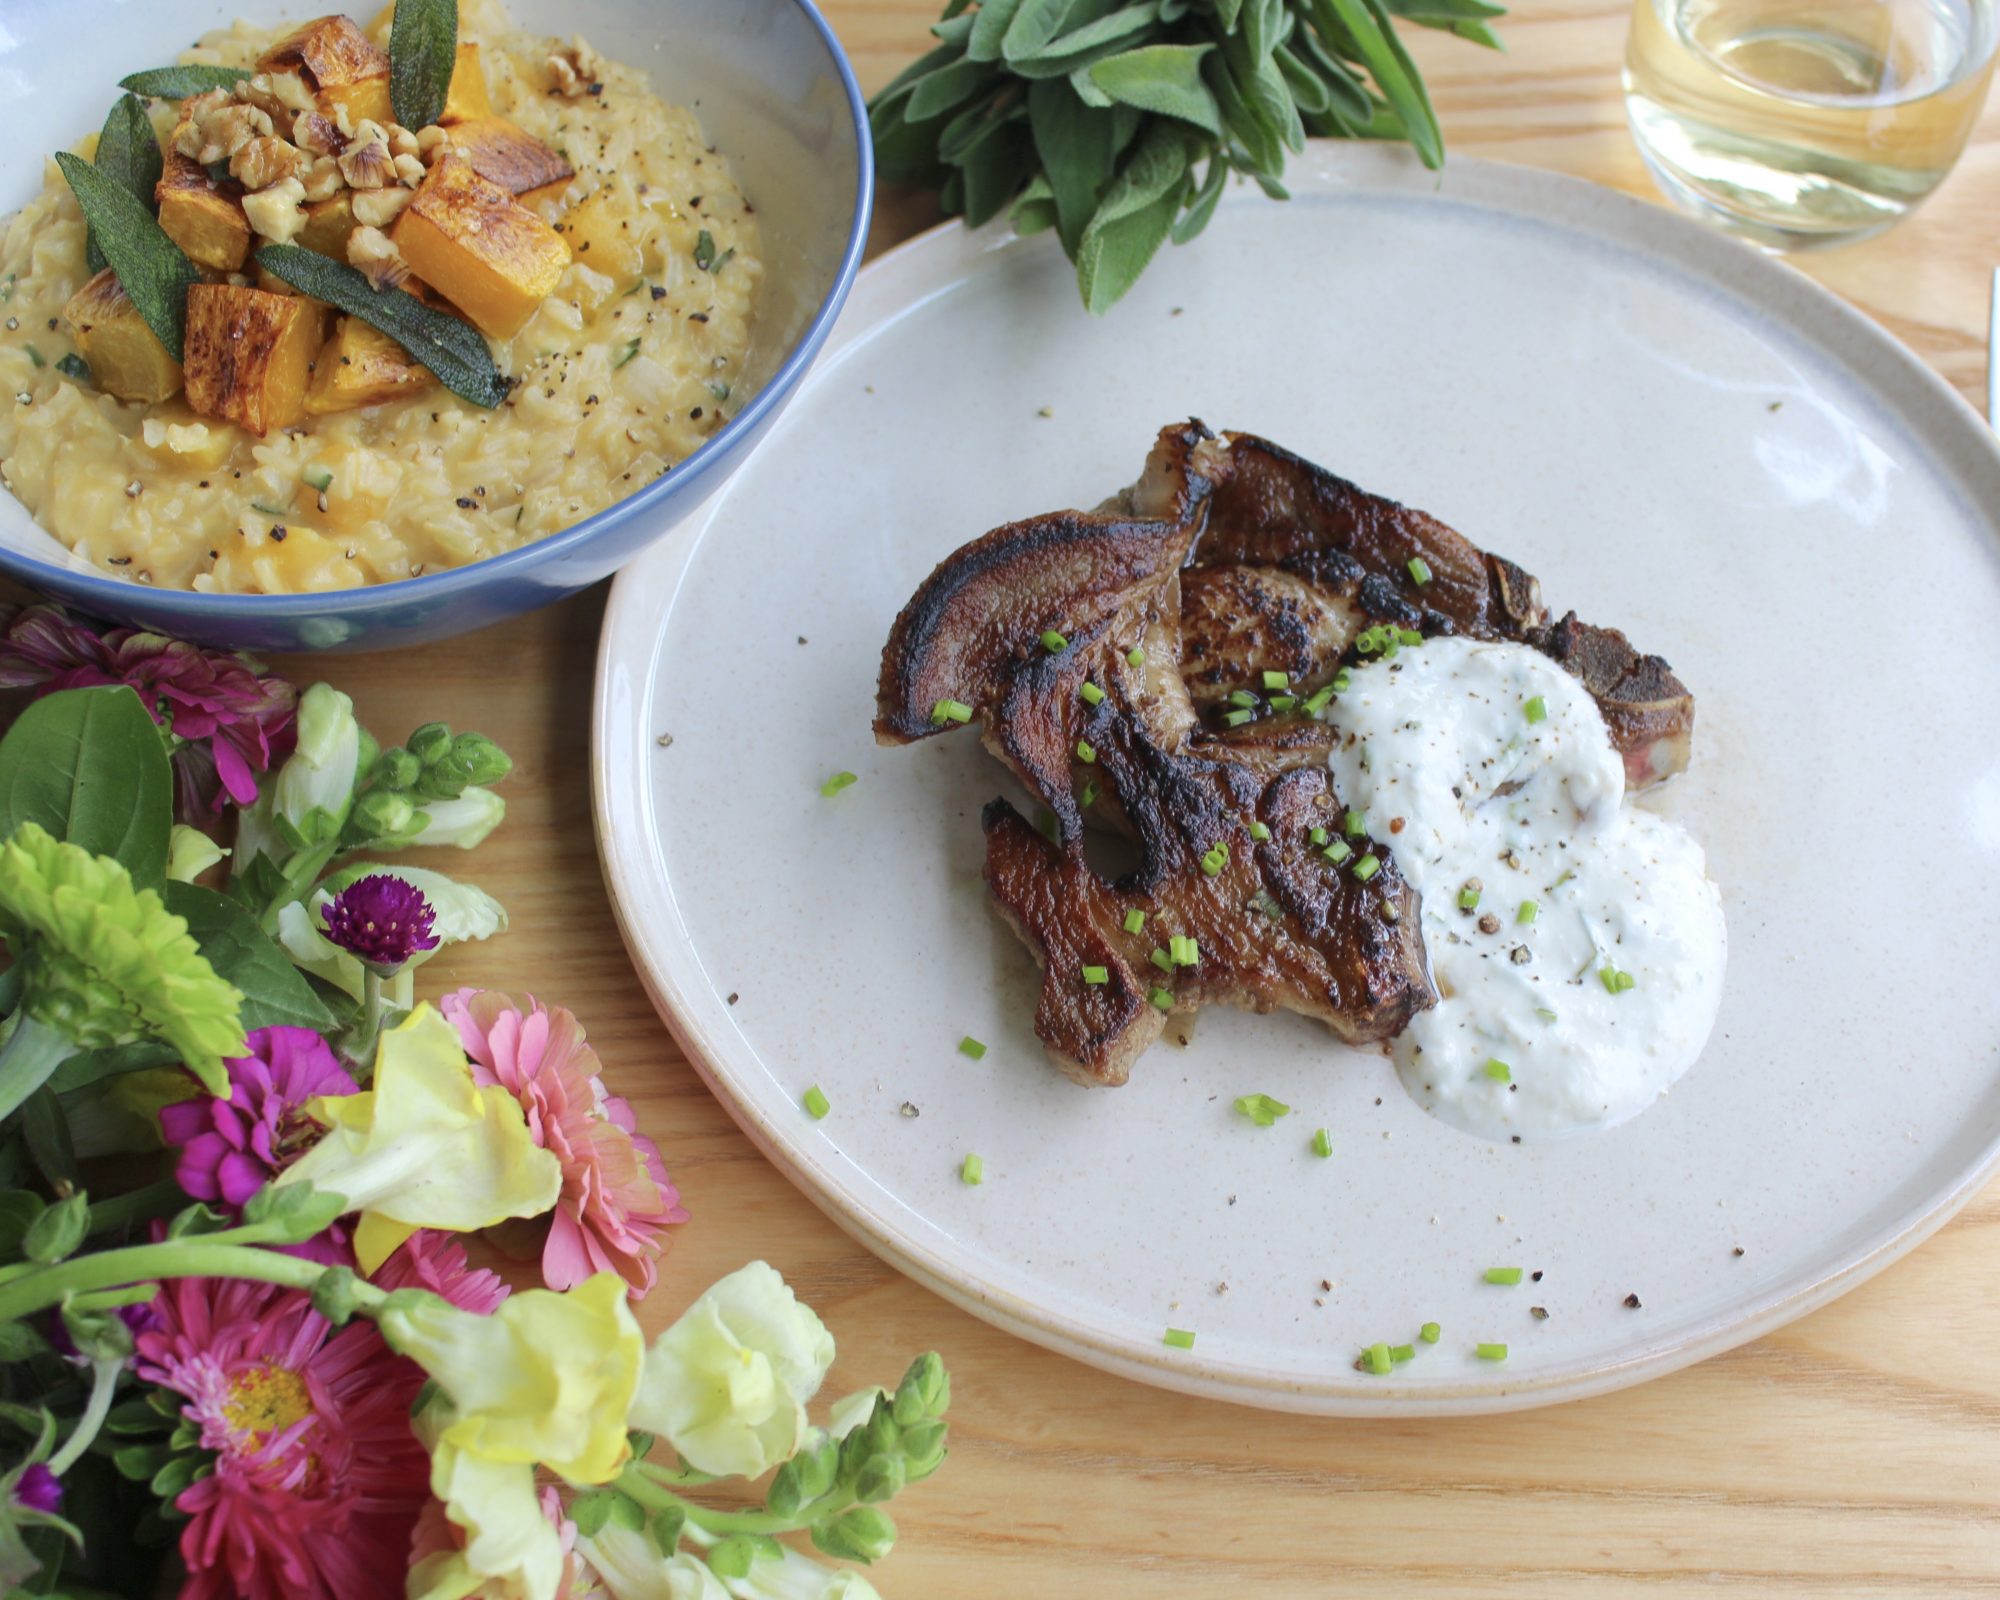
Remove to a plate, allow to rest for a couple of minutes, and serve with optional horseradish sauce, freshly ground black pepper and minced chives.
Ingredients
Directions
This is an optional step but it helps brine the pork, which helps the chops stay juicy.
Rub each pork chop with a good pinch of sugar and kosher salt. Place on wire racks on top of rimmed baking sheet; this way the air can circulate and dry out the exterior of the chop making it easier to brown. Store in the fridge, uncovered, between 1 and 24 hours.
For the horseradish sauce, mix all of the ingredients together, taste and adjust the flavour with any of the ingredients to fit your taste, I often end up adding more horseradish than called for. Refrigerate until ready to serve, ideally for at least 2 hours.
Coat a large heavy pan, ideally cast iron, with a bit of oil, over high heat until smoking - around 3-4 minutes.
In the meantime dry pork chops well with paper towels. Do not skip this step. If they are not dry - they will not brown; instead they will steam into unappealing grey coloured piece of meat.
Add the pork chops to the hot pan and cook undisturbed for about 1.5 minutes, watching closely not to burn. At that point, slide some butter under each chop and continue cooking until caramelized and golden brown, shaking the pan and ensuring the chop is browning evenly; maybe even gently press down on the meat to ensure it gets good contact with the hot pan. Turn the heat down to medium or medium high. Flip the chops and finish cooking on the other side, while basting the chops with the pan juices. Take a second to stand each chop on its side to cook the sides as well.
The total cooking time will be around 5 minutes, perhaps even less for a chop this thin. The internal temperature should register 145° and the chop should still be a bit pink on the inside, do not overcook!
Remove to a plate, allow to rest for a couple of minutes, and serve with optional horseradish sauce, freshly ground black pepper and minced chives.

