Inspired by Rocky Mountain Chocolate Factory’s Iconic Treat
Why This Recipe Means Everything to Me
I’ve never been more excited to share a recipe—ever. That’s a bold statement coming from a food blogger with hundreds of recipes, but this one holds a special place in my heart.
Unlike cakes or pies, candies have never been something I rushed to make. Why? Because if you want a great slice of carrot cake or a decadent chocolate cake, and you live in a small town – you may not be able to easily get it, and it makes sense for food bloggers to share those perfected recipes. But candies? They can be shipped across the country, and making them at home requires an entirely different level of patience and precision.
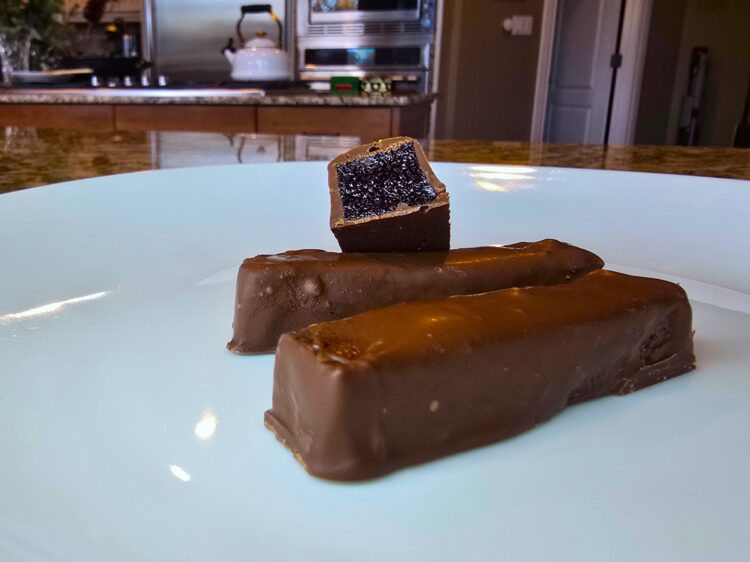
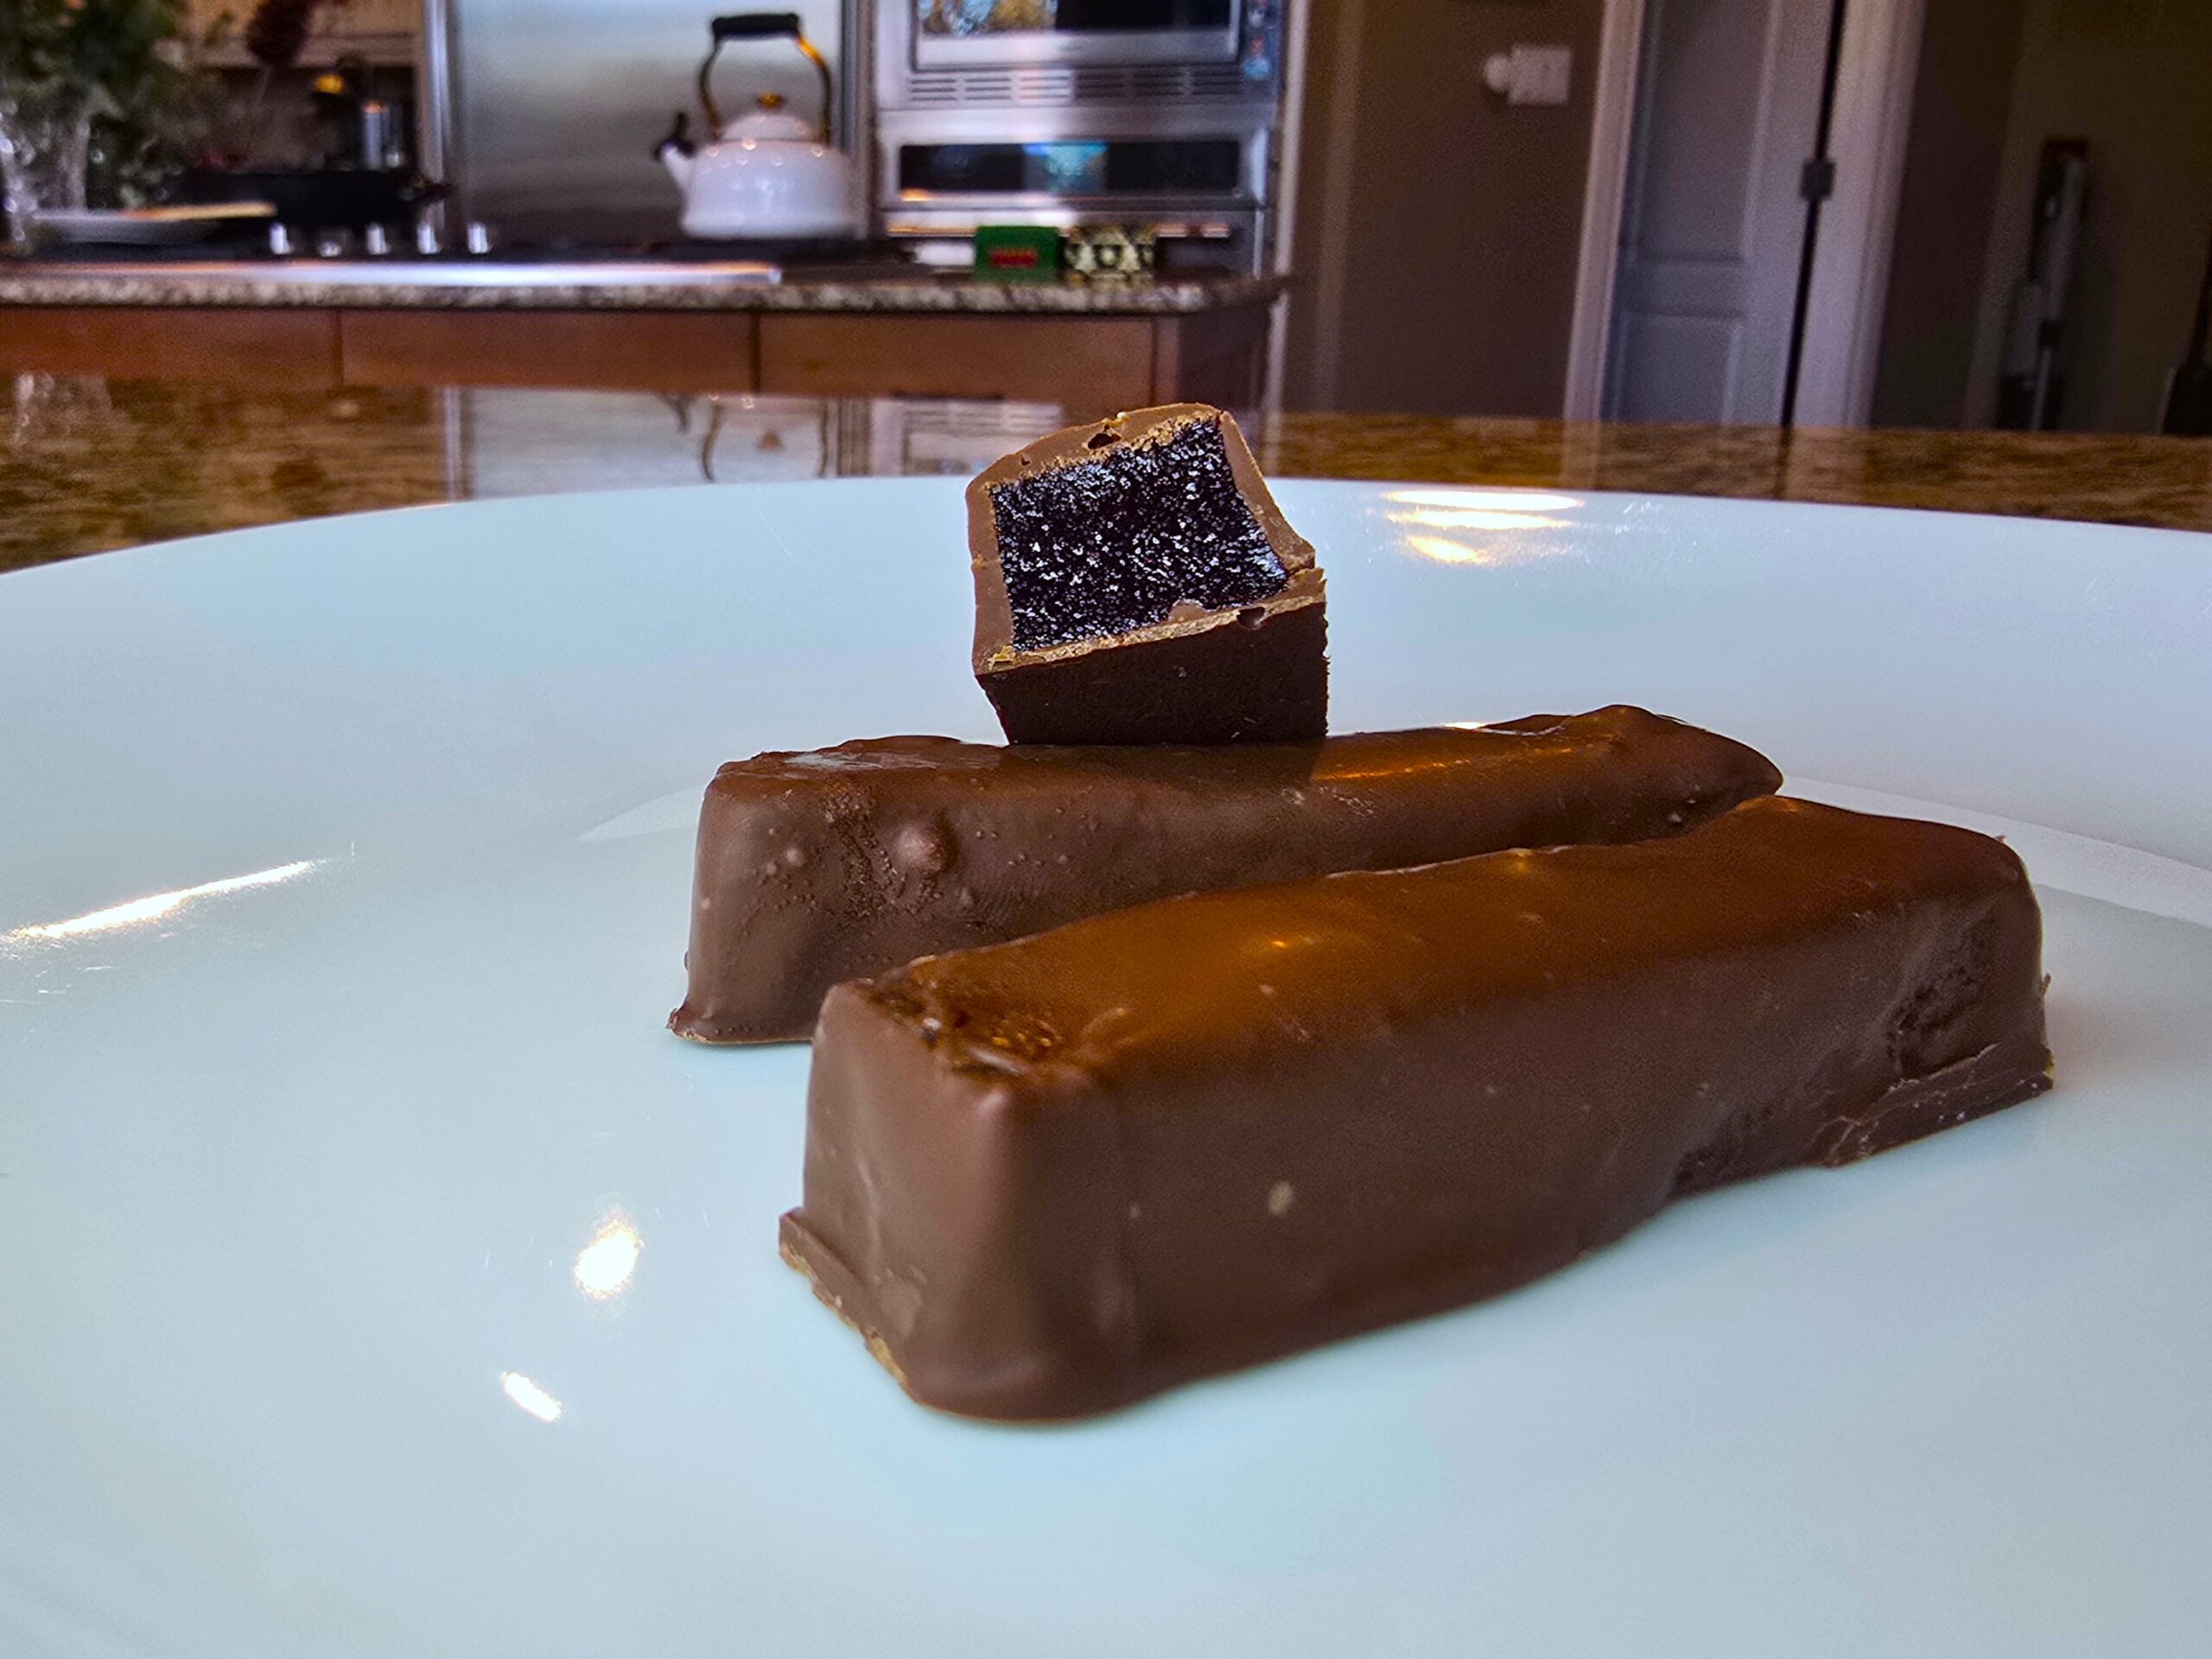
With confectionery, there’s no room for shortcuts. For these raspberry jellies, you must bring the mixture to an exact temperature—221°F to 223°F. Undercook it? It won’t set. Then, it needs time to rest, time to set, and even more time if you’re coating them in chocolate. And yes, the chocolate in my photos is tempered for that perfect, glossy snap (more on that below!).
The Candy That Started It All
My obsession started with the Chocolate-Covered Raspberry Jelly Sticks from Rocky Mountain Chocolate Factory. They were my all-time favorite candy—soft, rich raspberry jelly enrobed in smooth dark chocolate. Then, one day, they were gone. Discontinued.
I thought it was a mistake and waited for them to come back. But they never did. No other candy could replace them. They reminded me so much of the chocolate-covered raspberry Turkish delights I grew up eating abroad—flavors that were comforting and nostalgic.
So, I searched the internet for a copycat recipe. Nothing came close. Some recipes used Jell-O, which would make them rubbery and artificial. Others used pectin, but that’s just not right for this kind of candy. Rocky Mountain Chocolate Factory uses gelatin in all their jellies.
After lots of trial and error, I created a recipe that truly recreates this iconic candy. And let me tell you—it’s perfect. And I’m quite confident it’s one of a kind out of the recipes posted on the internet!
Tempered Chocolate Coating
Why Temper Chocolate?
Tempered chocolate has a smooth, glossy finish with a satisfying snap. Simply melted chocolate will look a bit dull and can develop white streaks (called bloom), caused by separated cocoa butter.
Tempering Instructions (Seed Method):
- Melt 14 oz of dark chocolate in a double boiler, heating to 113–122°F (45–50°C).
- Remove from heat and stir in the remaining 6 oz of finely chopped chocolate.
- Stir continuously until the chocolate cools to 82°F (28°C).
- Gently reheat over the double boiler to 88–90°F (31–32°C).
- Dip each jelly piece in the tempered chocolate, letting the excess drip off. Place on parchment to set.
I’m adding these instructions for those die hard bakers. But it’s not necessary. Simply melted chocolate will still look great and taste delicious! So the recipe itself skips the tempering part to make the recipe more doable!
Troubleshooting & Tips:
Jelly Not Setting?
- Ensure the mixture reaches 221–223°F.
- Fully dissolve the gelatin. If it’s still soft, add another ½ to 1 envelope of gelatin next time.
Chocolate Blooming?
- This happens when cocoa butter separates. Use the seed method to temper correctly.
Too Tart or Too Sweet?
- Adjust sugar based on the berries’ tartness. Add a pinch of citric acid for a sharper kick or vanilla extract for a deeper flavor.
Why This Recipe Matters
This recipe is more than just candy to me. It’s a return to the flavors I grew up with—a bridge between my childhood and today. Rocky Mountain Chocolate Factory Raspberry Jelly Sticks were something I thought I’d never enjoy again, but recreating them has been deeply rewarding.
And now, I’m sharing it with you.
Whether you’re here because you miss those candies as much as I do, or you’re just curious about making confections, I hope this recipe brings you joy.
Give It a Try and Share!
If you make this recipe, tag me on Instagram or leave a comment! I’d love to know how it turns out for you.
Enjoy every bite!
Raspberry Jellies
Ingredients
2 cups fresh raspberry purée (from about 600g of frozen or fresh raspberries) Note: you can use other berries; blackberry, raspberry and strawberry mix works wonderfully!
2 1/3 cups granulated sugar, divided (increase to 2 1/2 cups if your puree is tart)
1 tablespoon lemon juice (fresh or bottled)
4 envelopes unflavored powdered gelatin
½ cup cold water (for blooming gelatin)
2 tablespoons light corn syrup (helps prevent crystallization)
1 tablespoon unsalted butter (helps reduce foaming)
Healthy pinch of salt
1 teaspoon vanilla or raspberry extract (optional, added at the end)
granulated sugar, for coating the candies
- Chocolate Coating:
20 oz dark chocolate (60–70% cocoa), finely chopped
Directions
- Prepare the purée
If you’re using fresh raspberries, rinse and pat them dry. Purée them in a blender or food processor. Push the purée through a fine-mesh sieve. Measure out 2 cups of the smooth purée. - Bloom the Gelatin
In a small bowl, sprinkle 4 envelopes (1 oz) of gelatin over ½ cup cold water.
Let it sit for 5 minutes to fully absorb and bloom. - Cook the Jelly Base
In a heavy-bottomed saucepan, combine the raspberry purée, 2⅓ cups sugar, corn syrup, butter, lemon juice, and a healthy pinch of salt.
Stir over medium heat until the sugar dissolves and the mixture begins to simmer.
Stir in the bloomed gelatin until completely dissolved. - Cook to Setting Point (Critical Step)
Attach a candy thermometer to the side of the pan, ensuring the tip is fully submerged in the liquid and not touching the bottom of the pan—this can cause a false high reading.
Continue cooking at a steady boil for at least 5 minutes.
It’s normal for the temperature to hold around 218–219°F as water evaporates. Do not rush this step.
Keep boiling until the mixture steadily holds at 221°F, up to 223°F for a firmer jelly.
Important: Stir constantly to prevent burning. - Add Extract and Set the Jelly
Remove from heat and stir in ½ teaspoon vanilla or raspberry extract (optional).
Carefully pour the hot jelly into the prepared 8×8-inch pan.
Tilt the pan gently to level the mixture.
Let cool at room temperature for 4–6 hours or refrigerate overnight until fully set. - Cut the Jelly:
Line a large cutting board with parchment paper and sprinkle it with granulated sugar. Invert the jelly onto the board, peel off the parchment, and dust the top with more sugar. Using a sharp, lightly oiled knife, cut the jelly into squares, rectangles, or sticks, coating the edges in sugar as you go to prevent sticking. - Chocolate Coating Instructions:
- 1. Melt the Chocolate
Fill a medium saucepan with an inch or two of water and bring to a simmer.
Place the chopped chocolate in a heatproof bowl that fits snugly over the saucepan (but does not touch the water).
Stir occasionally until about two-thirds of the chocolate is melted.
Remove the bowl from heat and continue stirring until the rest of the chocolate is fully melted (this helps cool it down slightly, which can approximate tempering).
2. Dip the Jellies
Ensure the jelly pieces are completely set and dry.
Dip each piece in melted chocolate using a fork or dipping tool.
Let excess chocolate drip off and place on a parchment-lined tray.
3. Set the Chocolate
Let the chocolate set at room temperature for 30–60 minutes.
For quicker setting, chill in the fridge for 10–15 minutes (avoid over-chilling to prevent chocolate bloom).
Notes
- Next time, I’ll use 3 packets of gelatin instead of 4 to achieve a softer, more delicate jelly texture—closer to the raspberry jellies I loved from Rocky Mountain Chocolate Factory. It’s essential to cook the mixture to at least 221°F to ensure the sugar concentration is just right for a perfect, chewy set. Using real fruit purée instead of raspberry Jell-O gives a richer, more authentic berry flavor and avoids the artificial stabilizers and additives found in gelatin mixes (which also adversely affect the texture making it a bit more elastic or sticky), making the candy taste fresher and more natural.
