You’ve just picked up a beautifully marbled, high-quality ribeye steak—now the pressure’s on. How do you cook it perfectly without risking overcooking or under-seasoning? Don’t worry! This guide is packed with helpful tips and techniques to make sure you nail it every time.
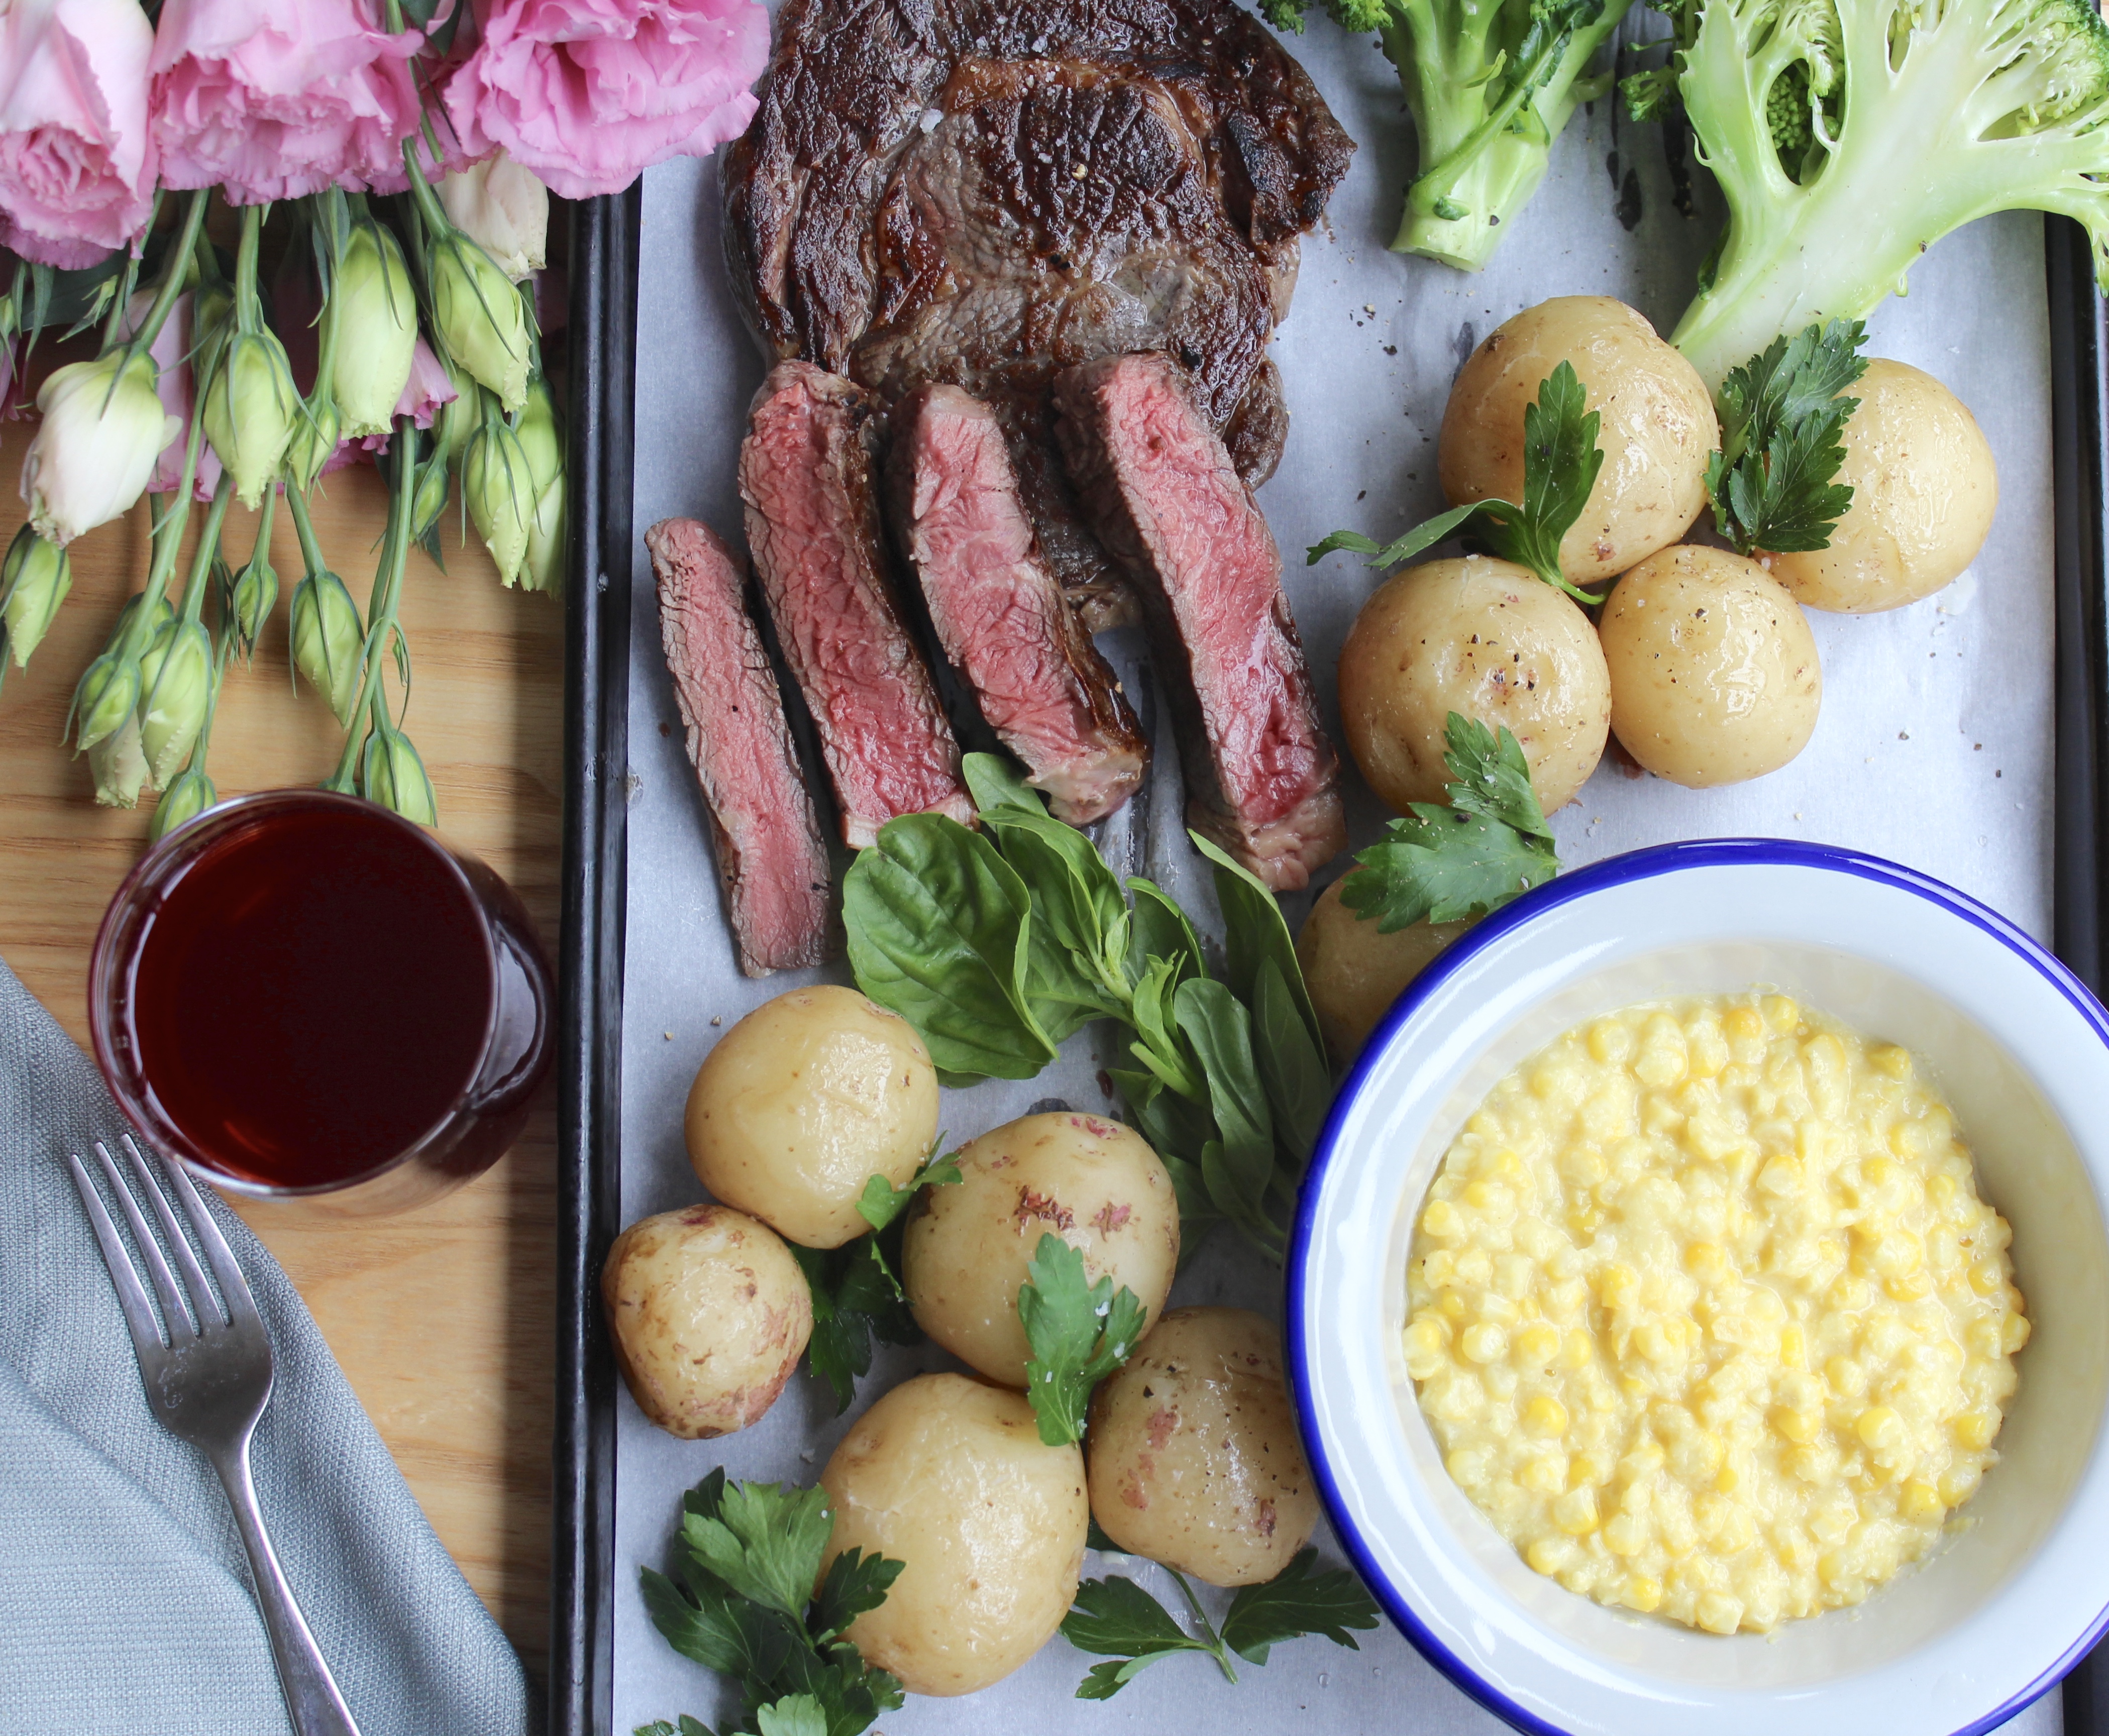
For today’s recipe, I used a grass-fed ribeye. Grass-fed beef has a distinct texture and a meatier, slightly gamier flavor compared to corn-fed beef. I personally love its robust taste, but if it’s not your preference, feel free to use any well-marbled ribeye you have on hand. The principles remain the same!
Key Tips for the Perfect Ribeye
- Dry the Steak Thoroughly
Before cooking, pat the steak dry with paper towels. This step is crucial for achieving that beautiful crust because browning only happens after the surface moisture has evaporated. If the steak is too wet, it will steam instead of searing, which means you’ll miss out on that delicious caramelized exterior. - Season and Refrigerate
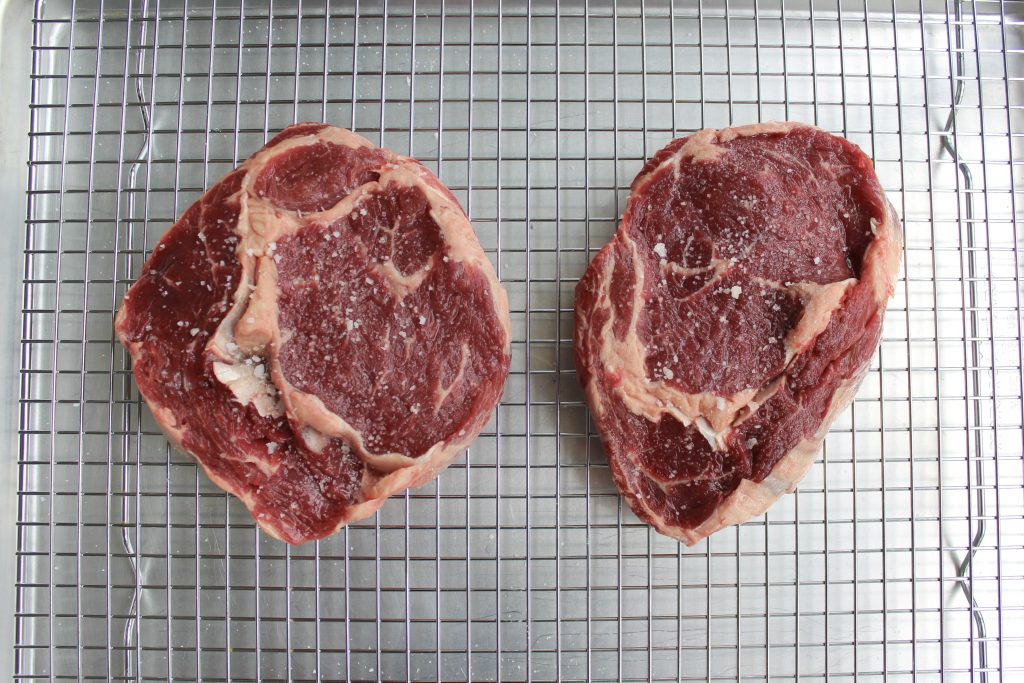
If you have time, season your steak with kosher salt and place it on a wire rack in the refrigerator, uncovered, for 1-24 hours. This process helps draw out excess moisture and concentrates the beefy flavor. It’s an optional step, but one that elevates the steak to a new level! - Preheat the Skillet Properly
Your skillet should be very hot before the steak goes in. Heat it for at least 3-4 minutes until it’s shimmering. A hot pan is essential for a quick, even sear that locks in flavor. - Don’t Overcrowd the Pan
Crowding the pan leads to steaming instead of searing. If you’re cooking multiple steaks, do it in batches to ensure that each steak gets that perfect, golden-brown crust. - Sear Without Disturbing
Once you place the steak in the pan, let it sear undisturbed for about 3 minutes. This will allow a delicious crust to form before flipping it over. - Finish in the Oven
After searing, transfer the steak to a low-temperature oven (around 250°F). This slow and gentle cooking method ensures the meat cooks evenly and prevents an overcooked gray ring around the edges. - Use a Thermometer
Invest in an instant-read digital thermometer and keep it handy. Cooking times vary based on the thickness of the steak, so the thermometer ensures precision. Remove the steak a couple of degrees before your desired doneness (residual heat will finish cooking it as it rests). - Let It Rest
Allow the steak to rest for a few minutes before slicing. This helps redistribute the juices, making each bite juicy and flavorful.
Final Thoughts
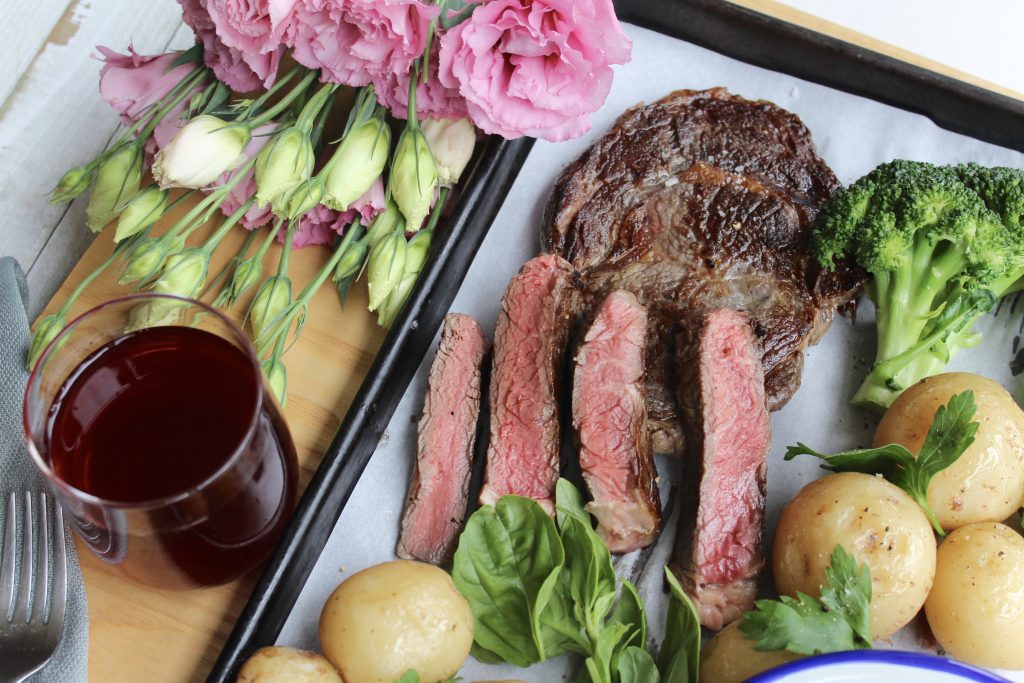
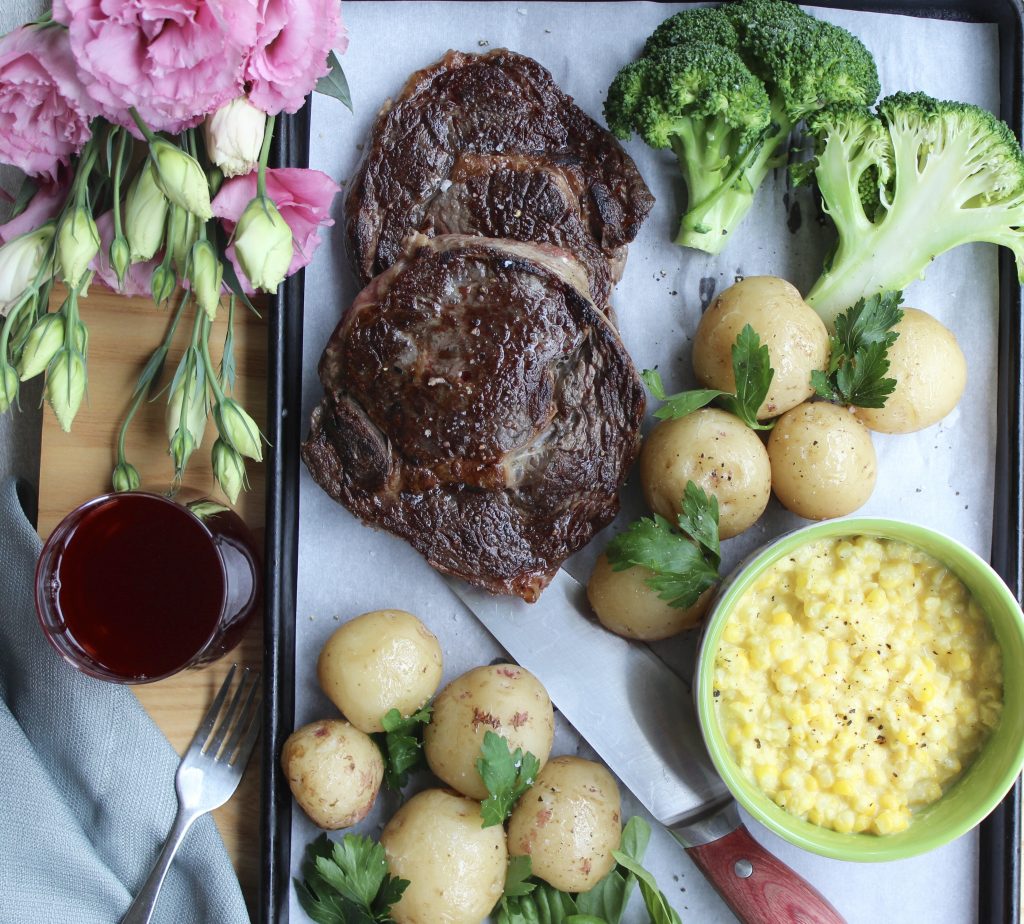
Following these guidelines will help you achieve a perfectly cooked ribeye with a golden crust and juicy, tender center every time. So don’t be intimidated—get your skillet hot, season that beautiful steak, and get ready to enjoy a restaurant-quality meal at home.
Let’s get cooking! 🔥
This step here is optional but will help add extra moisture and flavour to the steak:
Dry the surface of the steak with a paper towel, generously salt each steak with kosher salt, place on wire racks and refrigerate uncovered for 1-24 hours.
If you don't have time to do this, dry each steak with paper towels and salt right before proceeding to the next step.
Preheat the oven to 250°.
Heat a large heavy bottom skillet (ideally cast iron) over medium high heat for at least 3-4 minutes until very hot and shimmering. Add oil to the skillet. Place your steaks into the skillet and cook without disturbing them for around 3 minutes, until nice golden brown and crusty. Gently sear the sides of the steak also. Be sure not to overcrowd the pan, cook in batches if necessary.
Slide the butter under each steak until melted, then flip, baste the steak with melted butter so it's glistening and move the whole skillet into the oven.
Do not walk away. It won't take long. For my smaller steaks it was just under 3 minutes. Medium 1-1.5" steak may take around 5-6 minutes. But even for a large 2" tall ribeye- it should not take more than 12 minutes or so. Measure the temperature of the steak with an instant read thermometer to reach your desired doneness (I personally prefer to take my ribeye steaks out at 140° knowing that temperature will still go up a few degrees.) But follow your preference as well as pay attention to Government suggested guidelines.
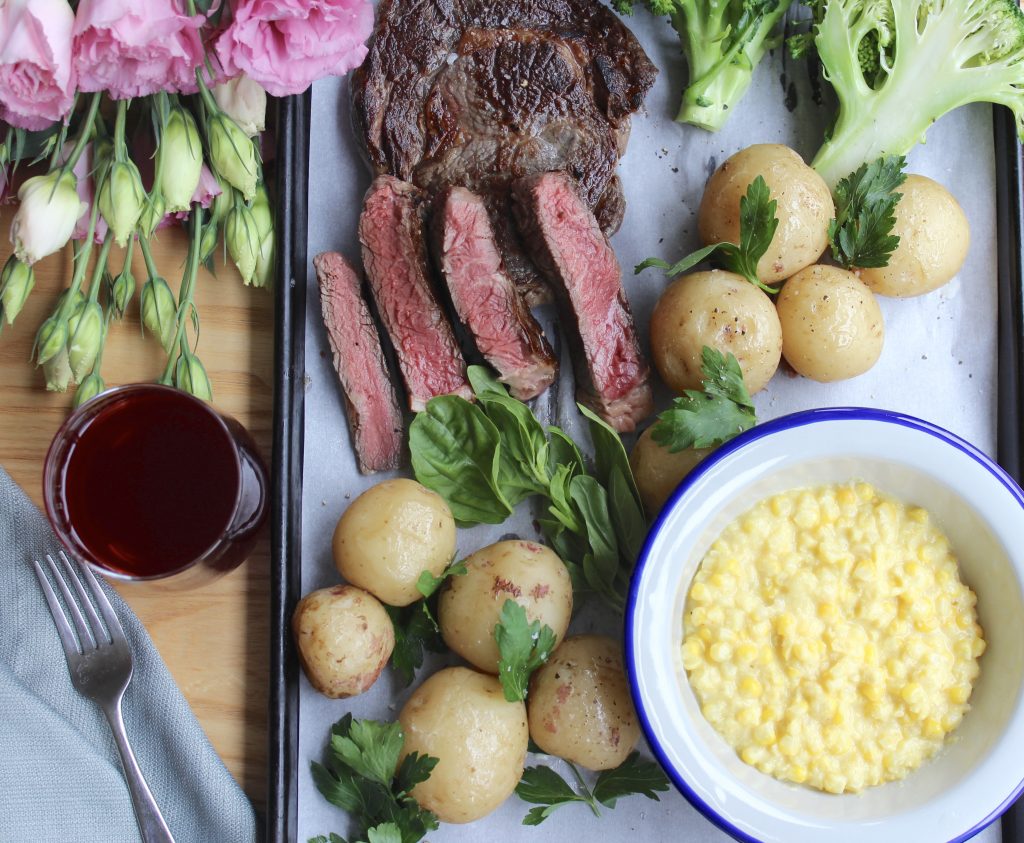
Remove the steaks from the oven, transfer to a cutting board, tent loosely with aluminum foil and rest for 5-7 minutes. Then slice and enjoy!
Ingredients
Directions
This step here is optional but will help add extra moisture and flavour to the steak:
Dry the surface of the steak with a paper towel, generously salt each steak with kosher salt, place on wire racks and refrigerate uncovered for 1-24 hours.
If you don't have time to do this, dry each steak with paper towels and salt right before proceeding to the next step.
Preheat the oven to 250°.
Heat a large heavy bottom skillet (ideally cast iron) over medium high heat for at least 3-4 minutes until very hot and shimmering. Add oil to the skillet. Place your steaks into the skillet and cook without disturbing them for around 3 minutes, until nice golden brown and crusty. Gently sear the sides of the steak also. Be sure not to overcrowd the pan, cook in batches if necessary.
Slide the butter under each steak until melted, then flip, baste the steak with melted butter so it's glistening and move the whole skillet into the oven.
Do not walk away. It won't take long. For my smaller steaks it was just under 3 minutes. Medium 1-1.5" steak may take around 5-6 minutes. But even for a large 2" tall ribeye- it should not take more than 12 minutes or so. Measure the temperature of the steak with an instant read thermometer to reach your desired doneness (I personally prefer to take my ribeye steaks out at 140° knowing that temperature will still go up a few degrees.) But follow your preference as well as pay attention to Government suggested guidelines.
Remove the steaks from the oven, transfer to a cutting board, tent loosely with aluminum foil and rest for 5-7 minutes. Then slice and enjoy!
Notes





Wow, this looks great! Now I’m hungry.
Thanks so much. It’s so yummy. Give it a try! 🙂
Thank you food400 for all your recipes. I love your website and your recipes. I find them really easy to use and delicious. My daughter and I enjoys them very much. Keep posting them. You’re one of my go to Sources.
Eric
Oh Eric you are so kind. Thanks so much. Lots more to come xoxo 🙂
Looks amazing! I feel like a steak all of a sudden!
Thanks Steve. Come over anytime, we’ll make them for ya xoxo
Just noticed my name comes up as iwgwm… hmm sorry i’ll have to look into it! Ellen
This looks fantastic. I never knew why I was instructed to “dry” the meat prior and usually skipped that step. Now I won’t skip it. Thanks!!
Ohh thx so much Stesha!!! Yep this makes such a huge difference. I even remember a line and a clip from Julia and Julia where she talks about how Joy of Cooking cookbook missed this step. Otherwise the meat just steams in its moisture preventing the crust/Maillard reaction from taking place and all those yummy flavours. I even do it for stews. Time consuming but pays off. Thx so much xoxo, Ellen