This recipe will make 16 large cookies. Increasing the size of the cookie is the best improvement to the original Nestle Toll House cookie I can think of.
Combine the dry ingredients in a bowl - flour, salt, baking soda, and whisk them well.
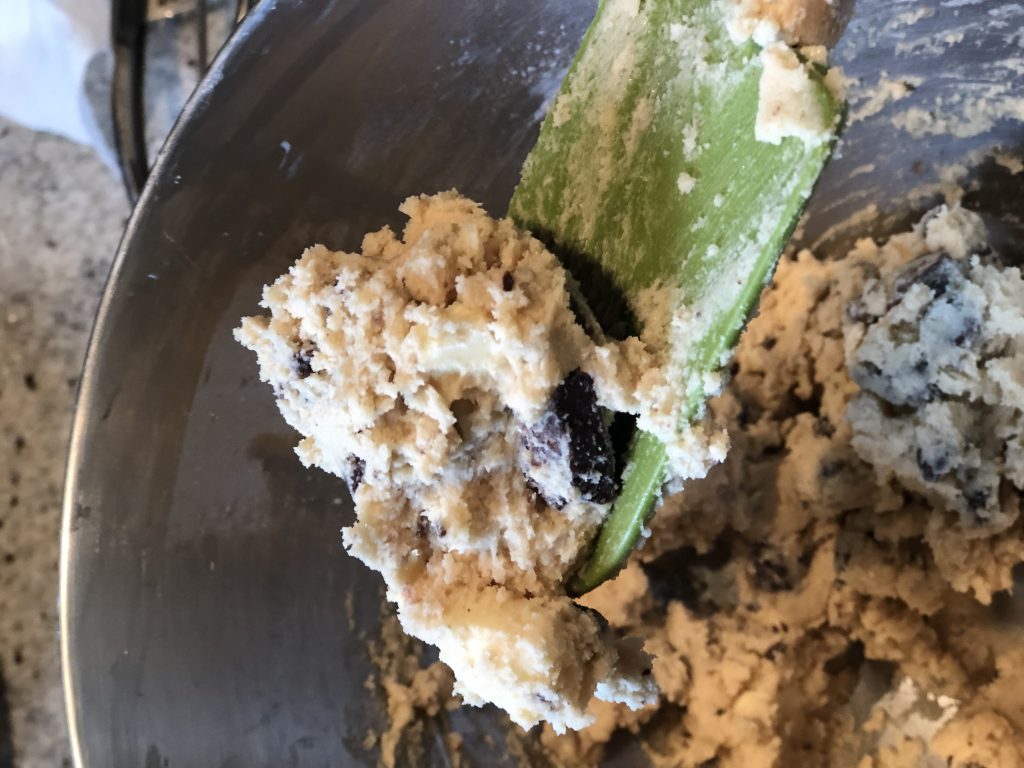
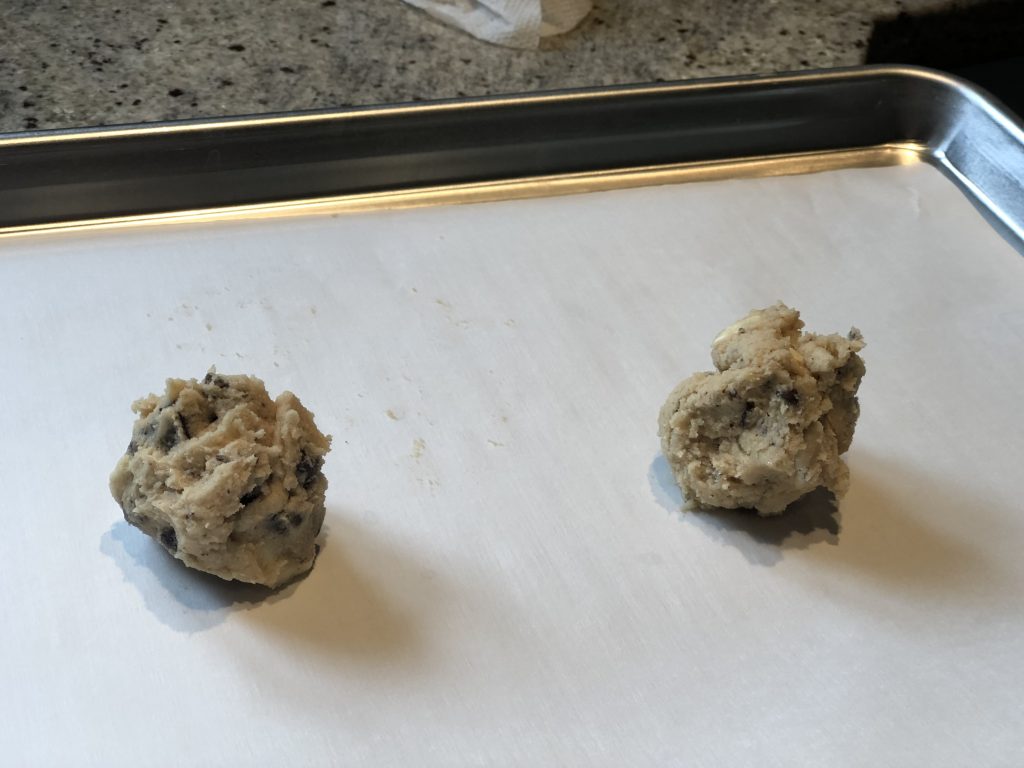
In anotehr bowl, cream butter, brown sugar and granulated sugar with a mixer OR EVEN a simple wooden spoon. Just keep squishing it with a back of your spoon until the mixture is homogenous, light, fluffy and well incorporated. The mixer, however, will work best. Add the egg, vanilla and milk and mix together until well incorporated. Next, add in your dry ingredients. Switch to a rubber spatula and start gently folidng and incorporating into wet ingredients. When about 80% incorporated, add the chocolate chips and keep folding until well-incorporated and no visible streaks of flour remain. With a heaping medium ice-cream scoop, portion your cookies into about 3 TBSP 1 tsp portions of dough and place on a parchment line baking sheet. Do not roll or compress the cookies, make sure the surface is quite rough. Only place 6-8 cookies on a tray leaving plenty of room in betweenthe cookies to accont for the spread.
Refrigerate your cookies for at least an hour. This will make the world of difference in the taste and texture of your final product.
Bake in the oven preheated to 350 for 11-14 minutes, until the cookies are golden brown around the edges but still very soft. Slide the cookies with the parchment onto the cooling rack and allow to cool for at least 5 minutes before devouring.
Use all or any of the tips from a more precise preparation method as described below to further perfect this delicious cookie:
If baking your cookies right away, preheat the oven to 350.
The flour in this cookie must be measured correctly otherwise the texture will not be achieved. Spoon your flour into your cup measure heaping above the rim. Take a butter knife and shave the flour off (don't compress it in) to get the most precise measure.
Chop your chocolate into various shapes and sizes - aim for somewhere in between 1/4 and 1/2 inches. I really like to mix different chocolates - 25% white, 25% dark, 25% semi-sweet and 25% regular chocolate chips. If you are going through all of the trouble of making a gourmet cookie - this takes it to the next level! Add your chopped chocolate to the bowl with the flour and whisk to combine well.
Put your egg and milk into a container and add vanilla. Return this to the fridge until it's needed. Have you heard to bring all your ingredients to room temperature? Well, it's only required for some recipes - like fluffy cakes. But for brownies, cookies, cheesecakes - where you don't want to introduce too much air and fluffiness which will lead to the final product being cake like - do not bring to eggs to room temperature.
In the bowl of your stand mixer combine butter, brown sugar, granulated sugar, baking soda, baking powder and kosher salt. Mix on low for a minute or so until incorporated then beat on high for 2 minutes. Stop the mixer, scrape the sides with the rubber spatula and beat for another 2 minutes. Stop the mixer and scrape the sides again. Turn the mixer to low and gently egg, milk and vanilla letting it incorporate. Increase the speed to medium for 15 seconds. Stop the mixer, scrape the sides of the bowl, and beat again for 10 seconds on medium until incorporated. (Do not overmix the eggs at this time.)

With the mixer running on low add all of the flour at once. Alternatively, you can stop the mixer add all the flour as it might be easier then return it to low. You will need to mix it on low until incorporated, 20-30 seconds. Stop the mixer, scrape with the rubber spatula and perhaps fold it with the spatula a few more times to ensure it's well incorporated. You don't want to overmix it, having said that, the mixture should be well incorporated.
You now have 3 choices:
- Shape the cookies (shaping is discussed in the next step) and bake (really really not recommended, refrigerating the cookies for even 15 minutes make the world of a difference, in both, texture and taste)
- Shape the cookies and refrigerate for exactly 15 minutes, then bake
- Transfer the batter to a large contaner or Ziplock bag and refrigerate for up to 3 days. This makes it perfect for make ahead cookies and significantly improves and intensifies the flavour.
With a medium-sized ice cream scoop, shape the cookies into uniform shapes. Alternatively, rip the portions with your hands. Each cookie should be 3 tablespoons plus one teaspoon of the dough (heaping medium-sized ice cream scoop.) Make sure all the cookies are uniform so they bake evenly. Do not roll into smooth balls. In fact, if the shaped dough is too smooth, rough up the surface a bit with a fork. Placed 6-8 shaped cookies on parchment-lined baking sheet, leaving plenty of room in between to account for spread.
Bake your cookies in preheated oven. The time will vary. 11-14 minutes is the general guideline. Mine are always ready in almost exactly 14 minutes. But that will depend on the exact size of your cookies (if you shaped yours smaller - you may need to bake for a lot less... BUT don't shape them smaller as they won't be as soft in the middle; conversely, if you shaped yours bigger - you will need more time.) Everyone's oven may run hotter or colder. So watch closely. The cookies should be puffed, still very soft, and slightly golden brown around the edges. Remember, your cookies will still cook on the baking sheet when you remove them and the sugars and butters will set and the cookies will firm up.
One trick I can suggest is to bake 1 cookie first. Take it out at around 14 minutes as per guidelines above, let it cool and see if you like that texture. I'm pretty sure at 14 minutes you will be happy with the texture, maybe even baking few seconds less next time. This additional trick really pays off as you will learn and adjust what works best for you before making the whole batch.
Now, let's make your cookie look like a professional cookie!
Take a round container about 1" bigger in diameter than your cookie (I use glass Tupper wear round 5" container.) Gently place on top of the cookie, rotating it counter-clockwise, letting the cookie bounce around in it (again, this must be done gently to avoid breaking the cookie.) When you lift your container, you will find that your cookie compresses in size a bit, becomes perfectly round and a bit taller than before you started rotating it. It will have that perfect bakery style look and texture. Allow the cookie to cool for at least 5 minutes - it will harden as it cools.
Another option for shaping - is to use the same container, but instead of rotating and spinning it - gently press to flatten your cookie. This creates round more dense cookie.
Or, combine both techniques! Practice and experimentation will lead to perfecting this step.

Allow the cookies to sit on the baking tray for about 5 minutes; do not lift them at this point as they will break. Then either devour or transfer to a cooking rack to cool.
Ingredients
Directions
This recipe will make 16 large cookies. Increasing the size of the cookie is the best improvement to the original Nestle Toll House cookie I can think of.
Combine the dry ingredients in a bowl - flour, salt, baking soda, and whisk them well.
In anotehr bowl, cream butter, brown sugar and granulated sugar with a mixer OR EVEN a simple wooden spoon. Just keep squishing it with a back of your spoon until the mixture is homogenous, light, fluffy and well incorporated. The mixer, however, will work best. Add the egg, vanilla and milk and mix together until well incorporated. Next, add in your dry ingredients. Switch to a rubber spatula and start gently folidng and incorporating into wet ingredients. When about 80% incorporated, add the chocolate chips and keep folding until well-incorporated and no visible streaks of flour remain. With a heaping medium ice-cream scoop, portion your cookies into about 3 TBSP 1 tsp portions of dough and place on a parchment line baking sheet. Do not roll or compress the cookies, make sure the surface is quite rough. Only place 6-8 cookies on a tray leaving plenty of room in betweenthe cookies to accont for the spread.
Refrigerate your cookies for at least an hour. This will make the world of difference in the taste and texture of your final product.
Bake in the oven preheated to 350 for 11-14 minutes, until the cookies are golden brown around the edges but still very soft. Slide the cookies with the parchment onto the cooling rack and allow to cool for at least 5 minutes before devouring.
Use all or any of the tips from a more precise preparation method as described below to further perfect this delicious cookie:
If baking your cookies right away, preheat the oven to 350.
The flour in this cookie must be measured correctly otherwise the texture will not be achieved. Spoon your flour into your cup measure heaping above the rim. Take a butter knife and shave the flour off (don't compress it in) to get the most precise measure.
Chop your chocolate into various shapes and sizes - aim for somewhere in between 1/4 and 1/2 inches. I really like to mix different chocolates - 25% white, 25% dark, 25% semi-sweet and 25% regular chocolate chips. If you are going through all of the trouble of making a gourmet cookie - this takes it to the next level! Add your chopped chocolate to the bowl with the flour and whisk to combine well.
Put your egg and milk into a container and add vanilla. Return this to the fridge until it's needed. Have you heard to bring all your ingredients to room temperature? Well, it's only required for some recipes - like fluffy cakes. But for brownies, cookies, cheesecakes - where you don't want to introduce too much air and fluffiness which will lead to the final product being cake like - do not bring to eggs to room temperature.
In the bowl of your stand mixer combine butter, brown sugar, granulated sugar, baking soda, baking powder and kosher salt. Mix on low for a minute or so until incorporated then beat on high for 2 minutes. Stop the mixer, scrape the sides with the rubber spatula and beat for another 2 minutes. Stop the mixer and scrape the sides again. Turn the mixer to low and gently egg, milk and vanilla letting it incorporate. Increase the speed to medium for 15 seconds. Stop the mixer, scrape the sides of the bowl, and beat again for 10 seconds on medium until incorporated. (Do not overmix the eggs at this time.)
With the mixer running on low add all of the flour at once. Alternatively, you can stop the mixer add all the flour as it might be easier then return it to low. You will need to mix it on low until incorporated, 20-30 seconds. Stop the mixer, scrape with the rubber spatula and perhaps fold it with the spatula a few more times to ensure it's well incorporated. You don't want to overmix it, having said that, the mixture should be well incorporated.
You now have 3 choices:
- Shape the cookies (shaping is discussed in the next step) and bake (really really not recommended, refrigerating the cookies for even 15 minutes make the world of a difference, in both, texture and taste)
- Shape the cookies and refrigerate for exactly 15 minutes, then bake
- Transfer the batter to a large contaner or Ziplock bag and refrigerate for up to 3 days. This makes it perfect for make ahead cookies and significantly improves and intensifies the flavour.
With a medium-sized ice cream scoop, shape the cookies into uniform shapes. Alternatively, rip the portions with your hands. Each cookie should be 3 tablespoons plus one teaspoon of the dough (heaping medium-sized ice cream scoop.) Make sure all the cookies are uniform so they bake evenly. Do not roll into smooth balls. In fact, if the shaped dough is too smooth, rough up the surface a bit with a fork. Placed 6-8 shaped cookies on parchment-lined baking sheet, leaving plenty of room in between to account for spread.
Bake your cookies in preheated oven. The time will vary. 11-14 minutes is the general guideline. Mine are always ready in almost exactly 14 minutes. But that will depend on the exact size of your cookies (if you shaped yours smaller - you may need to bake for a lot less... BUT don't shape them smaller as they won't be as soft in the middle; conversely, if you shaped yours bigger - you will need more time.) Everyone's oven may run hotter or colder. So watch closely. The cookies should be puffed, still very soft, and slightly golden brown around the edges. Remember, your cookies will still cook on the baking sheet when you remove them and the sugars and butters will set and the cookies will firm up.
One trick I can suggest is to bake 1 cookie first. Take it out at around 14 minutes as per guidelines above, let it cool and see if you like that texture. I'm pretty sure at 14 minutes you will be happy with the texture, maybe even baking few seconds less next time. This additional trick really pays off as you will learn and adjust what works best for you before making the whole batch.
Now, let's make your cookie look like a professional cookie!
Take a round container about 1" bigger in diameter than your cookie (I use glass Tupper wear round 5" container.) Gently place on top of the cookie, rotating it counter-clockwise, letting the cookie bounce around in it (again, this must be done gently to avoid breaking the cookie.) When you lift your container, you will find that your cookie compresses in size a bit, becomes perfectly round and a bit taller than before you started rotating it. It will have that perfect bakery style look and texture. Allow the cookie to cool for at least 5 minutes - it will harden as it cools.
Another option for shaping - is to use the same container, but instead of rotating and spinning it - gently press to flatten your cookie. This creates round more dense cookie.
Or, combine both techniques! Practice and experimentation will lead to perfecting this step.
Allow the cookies to sit on the baking tray for about 5 minutes; do not lift them at this point as they will break. Then either devour or transfer to a cooking rack to cool.