Note: The original recipe calls for lemon and orange rind for a sunkissed finish. It certainly gives it je ne sais quoi. Personally, i prefer to replace this tablespoon of rind with lemon juice, as it provides a more smooth texture. But this is simply a personal preference so I encourage you to try both ways.
For crust:
Preheat the oven to 325. Combine graham cracker crumbs, melted butter, 3TBSP sugar and a pinch of salt and mix until blended with a fork. Press into the bottom of lightly greased 9" springform pan. Bake for 10 minutes. Remove from the oven and let cool completely before filling.
Increase the oven temperature to 450. Set the rack where your cheesecake will bake on to the lower third of the oven. Set another rack under it and place a large baking sheet/pan filled with water; this will be your "cheater" water bath that will ensure the top of your cheesecake doesn't crack.
I found this "cheater" water bath is just as effective as a more traditional and riskier water bath (that sometimes tends to seep into your cheesecake.)
In the bowl of your stand mixer, add room temperature cream cheese and beat on medium (start on low) for 3 minutes. Stop to scrape the sides of the bowl and at that point add vanilla, salt, lemon and orange rind (or lemon juice, see note.) Mix on low and when mixed turn the speed up to medium and beat for another 3 minutes.
Add sugar all at once and beat on medium for 2 minutes. Again, ensure to scrape the sides of your bowl.
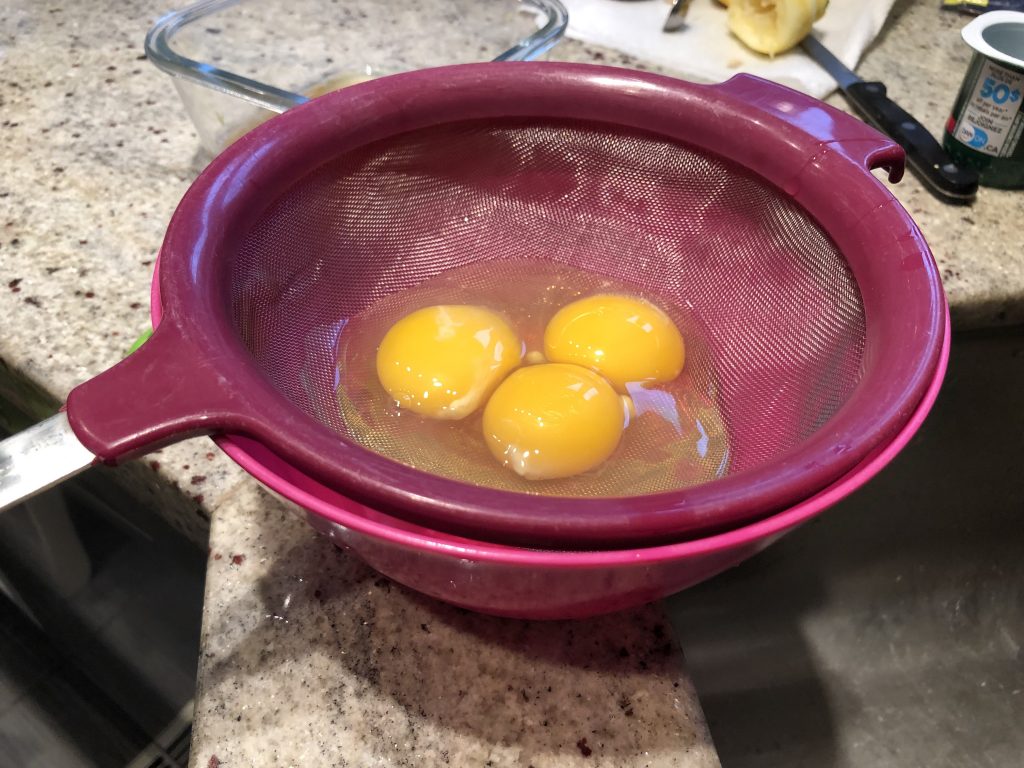
This next step is used by pastry chefs to achieve the flawless texture of the cheesecake. Place a fine-mesh sieve over your cheesecake bowl and place your eggs and egg yolks in it. With the rubber spatula, press and whisk the eggs until they pass through the sieve; discard clot-like bits that remain. It may seem impossible at first and that the eggs will never pass through, but trust the process with a bit of patience, and they will! It's important to mix the batter on low for a minute or two, as mixing it on higher speed would aerate the batter too much, and these air bubbles may contribute to cracks.
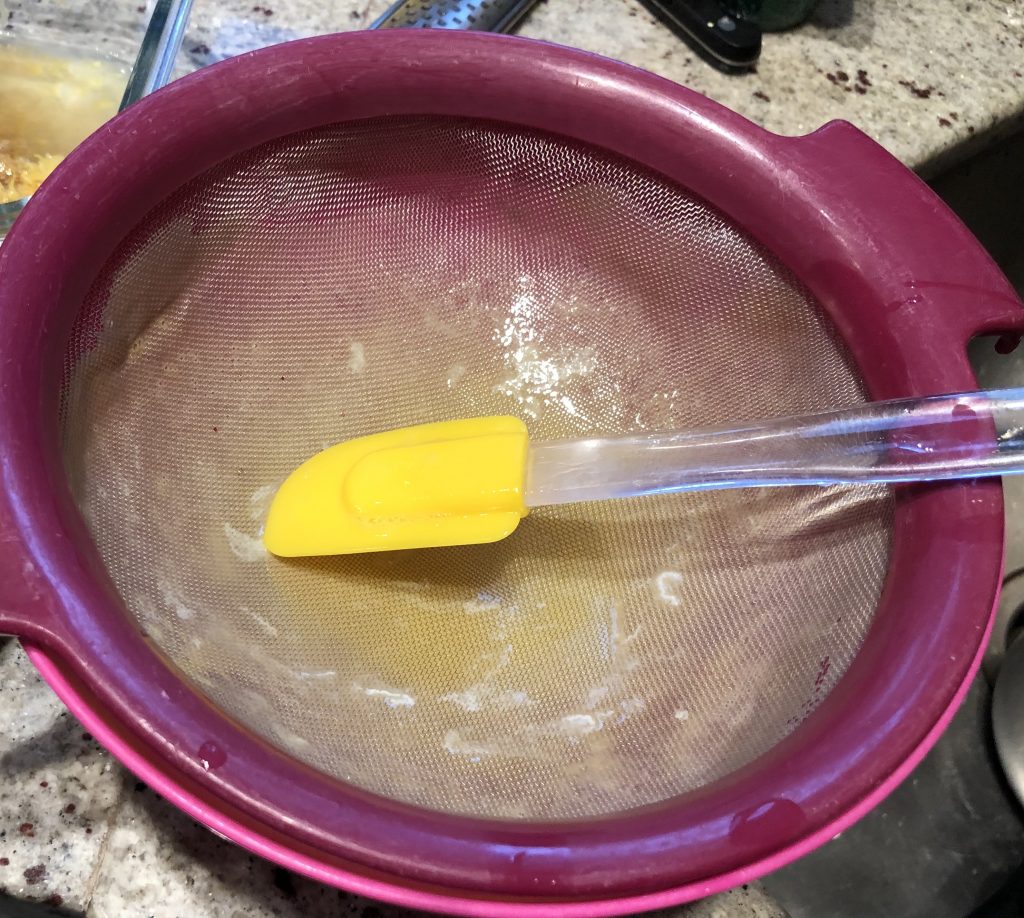
I've attached a picture of what's left behind in a fine-mesh sieve. Doesn't look appetizing, does it? This step ensures all of those "clots" with the unpleasant textures, don't make it into your cheesecake.
Again, stop and scrape down the sides of your bowl with a rubber spatula. Add cream and mix on low for just another minute until combined. Pour the batter into prepared cooled crust and place in the oven for 15 minutes. You are looking for the cheesecake to puff and brown. If the cheesecake did not brown similar to my picture, give it another 5 minutes. Then reduce the oven temperature to 250 and continue baking for another 55-70 minutes (65 for me.)
Friends, this next note is very important. This is such a technical cheesecake using the temperature extremes to create the certain texture. The digital instant-read thermometer is an absolute must for this recipe. Testing for doneness by jiggling and touching just won't work to produce consistently reliable results... The cheesecake is very similar in appearance and feel at 30, 45, 60 minutes of baking time... You are looking to get to in between 148 and 152° temperature measured in the middle of your cheesecake. The cake in the picture registered 150 and I found it perfect. At anywhere over 155, in my opinion, the texture suffers.
When baked, turn the oven off, leave the door of the oven wide open, pull out the racks gently so the cheesecake is almost on the outside of the oven. This will facilitate the cooling process while the residual heat from the oven will make the process more gradual, which will prevent cracks. After about 20 minutes run a clean thin butter knife between the cheesecake and the springform pan. This will help your cheesecake settle nicely and be easier to remove later. After an hour at room temperature, cover your cooled cheesecake with the plastic wrap and place into the fridge to chill.
Now comes the hardest part. Wait. And wait a while. My suggestion is overnight. Ideally 16 hours. But at least 8-12 hours. We are not just looking to cool the cheesecake. We are looking to give this delicate cheesecake sufficient time to set!
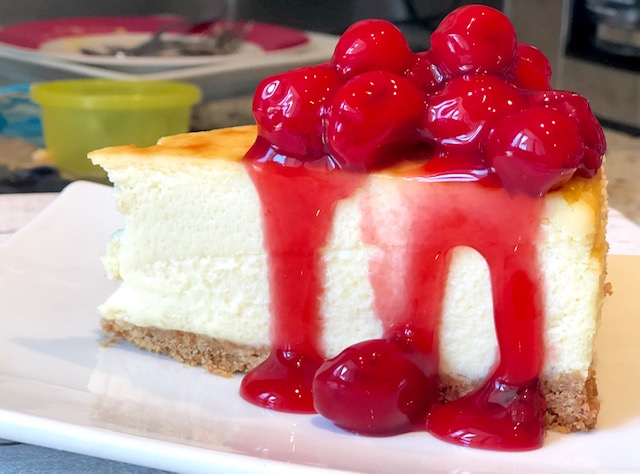
When ready to serve, run a thin sharp knife under hot water, wipe it with a paper towel (do so after each cut) and slice your cheesecake. Top with the toping of choice and enjoy! I suggest canned cherry pie filling. As much as I don't like pre-made canned things - it just works here!
Ingredients
Directions
For crust:
Preheat the oven to 325. Combine graham cracker crumbs, melted butter, 3TBSP sugar and a pinch of salt and mix until blended with a fork. Press into the bottom of lightly greased 9" springform pan. Bake for 10 minutes. Remove from the oven and let cool completely before filling.
Increase the oven temperature to 450. Set the rack where your cheesecake will bake on to the lower third of the oven. Set another rack under it and place a large baking sheet/pan filled with water; this will be your "cheater" water bath that will ensure the top of your cheesecake doesn't crack.
I found this "cheater" water bath is just as effective as a more traditional and riskier water bath (that sometimes tends to seep into your cheesecake.)
In the bowl of your stand mixer, add room temperature cream cheese and beat on medium (start on low) for 3 minutes. Stop to scrape the sides of the bowl and at that point add vanilla, salt, lemon and orange rind (or lemon juice, see note.) Mix on low and when mixed turn the speed up to medium and beat for another 3 minutes.
Add sugar all at once and beat on medium for 2 minutes. Again, ensure to scrape the sides of your bowl.
This next step is used by pastry chefs to achieve the flawless texture of the cheesecake. Place a fine-mesh sieve over your cheesecake bowl and place your eggs and egg yolks in it. With the rubber spatula, press and whisk the eggs until they pass through the sieve; discard clot-like bits that remain. It may seem impossible at first and that the eggs will never pass through, but trust the process with a bit of patience, and they will! It's important to mix the batter on low for a minute or two, as mixing it on higher speed would aerate the batter too much, and these air bubbles may contribute to cracks.
I've attached a picture of what's left behind in a fine-mesh sieve. Doesn't look appetizing, does it? This step ensures all of those "clots" with the unpleasant textures, don't make it into your cheesecake.
Again, stop and scrape down the sides of your bowl with a rubber spatula. Add cream and mix on low for just another minute until combined. Pour the batter into prepared cooled crust and place in the oven for 15 minutes. You are looking for the cheesecake to puff and brown. If the cheesecake did not brown similar to my picture, give it another 5 minutes. Then reduce the oven temperature to 250 and continue baking for another 55-70 minutes (65 for me.)
Friends, this next note is very important. This is such a technical cheesecake using the temperature extremes to create the certain texture. The digital instant-read thermometer is an absolute must for this recipe. Testing for doneness by jiggling and touching just won't work to produce consistently reliable results... The cheesecake is very similar in appearance and feel at 30, 45, 60 minutes of baking time... You are looking to get to in between 148 and 152° temperature measured in the middle of your cheesecake. The cake in the picture registered 150 and I found it perfect. At anywhere over 155, in my opinion, the texture suffers.
When baked, turn the oven off, leave the door of the oven wide open, pull out the racks gently so the cheesecake is almost on the outside of the oven. This will facilitate the cooling process while the residual heat from the oven will make the process more gradual, which will prevent cracks. After about 20 minutes run a clean thin butter knife between the cheesecake and the springform pan. This will help your cheesecake settle nicely and be easier to remove later. After an hour at room temperature, cover your cooled cheesecake with the plastic wrap and place into the fridge to chill.
Now comes the hardest part. Wait. And wait a while. My suggestion is overnight. Ideally 16 hours. But at least 8-12 hours. We are not just looking to cool the cheesecake. We are looking to give this delicate cheesecake sufficient time to set!
When ready to serve, run a thin sharp knife under hot water, wipe it with a paper towel (do so after each cut) and slice your cheesecake. Top with the toping of choice and enjoy! I suggest canned cherry pie filling. As much as I don't like pre-made canned things - it just works here!
Dear,
Which temperature degrees do you use in recipe?
Regards,