
You can make this chili with the proportions and techniques provided and skip whiskey, cocoa, coffee, sugar, etc. You will get very good, tender chili of the consistency preferred by you. However, if you add coffee, whiskey, cocoa, chocolate, sugar, raisins, tasting your chili and ensuring that those bitter, sweet and salty ingredients are well-balanced - you will make simply out of this world chili; that chili will keep getting more and more flavourful sitting in the refrigerator day after day, with all of those rich flavours melding together (very unlikely, it's hard to have leftovers with this chili.) Remember, you won't actually taste the coffee or chocolate - they will simply enhance your chili. Garnish your chili with all the fixins you like!
Shape your ground beef into patties, as you would with a burger. Heat oil in a large pot or a Dutch oven over medium high heat until shimmering. Add your beef patties and cook on just one side until nicely seared, about 3 minutes. The middle should be raw. Browning all of your beef and turning it gray does nothing for the flavour profile of your chili - instead it overcooks the beef. However, when you sear your beef shaped like patties, you are able to get a nice sear on some of the meat, while leaving the rest of the meat nice and tender. Towards the end of cooking, break the beef into smaller pieces. Remove the beef to a plate and set aside.
Add your onions, turn the heat down to low and cook for about 5 minutes until softened and just beginning to brown; be sure to scrape up any of the flavourful bits left on the bottom of the pan from searing the meat. Add the tomato paste and cook for about 3 minutes to cook off the raw taste. Add your spices and toast for a minute or so. Add the garlic and cook for about 30 seconds until fragrant. If using whiskey, add at this time and cook until most of the liquid is reduced and evaporated. Alternatively, if you like whiskey flavour - don't reduce it too much. If you don't want to use alcohol, just use stock or water instead - this liquid is needed to scrape up the flavourful bits of fond left on the bottom of the pan.
Please note - we are browning so many things here. The goal is to get nice flavourful fond on the bottom of the pan, but not burn it, not burn your ingredients. Adjust heat as necessary. And if at any point the fond is close to burning, add a splash of water to dissolve it. We want deep developed flavour in this dish - not burnt flavour!
Add your beef and any juices that accumulated on the plate, tomatoes, coffee, cocoa powder and bay leafs. Bring to simmer, cover, reduce to low (be sure to maintain a gentle simmer) and allow to cook for 45 minutes to an hour. Cook longer if you have the time; I try to cook it at least for 1.5 hours.
Add brown sugar to your chili. Add drained beans. Add masa/cornmeal, if using. Continue simmering the chili with the lid slightly ajar to thicken it, for about 20-30 minutes.
Please note, sugar is so very crucial to this dish. We are not asking for a large amount. Even reduce it if you must, but try not to omit it. It offsets the sourness of the tomatoes.
Add golden raisins, if using. Taste your chili and adjust the seasoning with soy sauce, honey/maple syrup, salt, pepper and any of the spices for more heat. If you don't want to use all of these optional flavour enhancing ingredients - simply use salt, pepper and sugar to get the right flavour balance. Remove bay leaves.
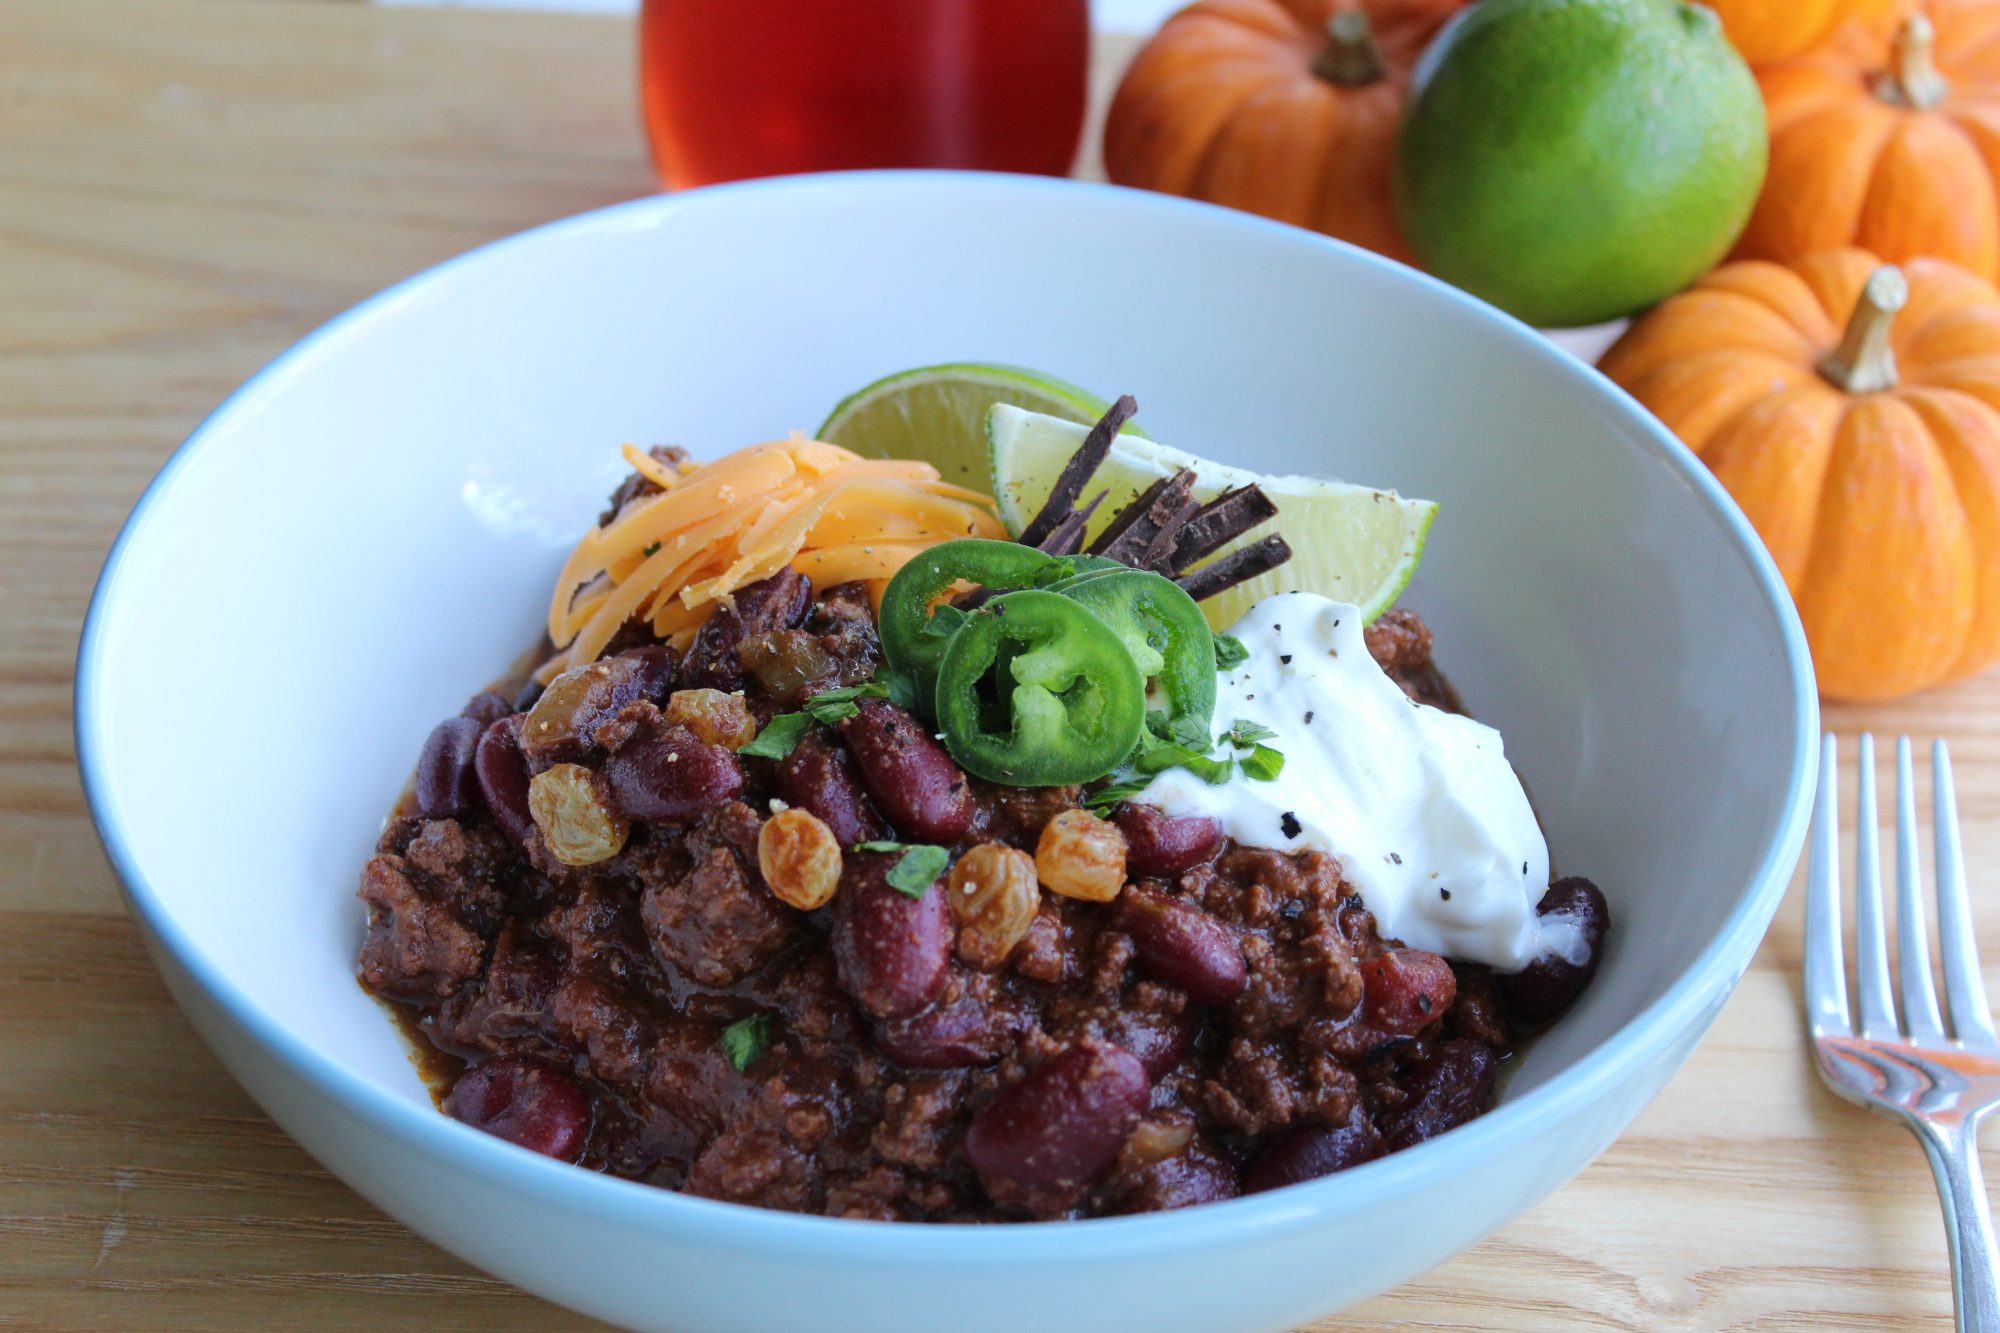
If using, shave some chocolate into the chili. I absolutely love love love it in my chili! Serve garnished with lime wedges (for the acidic element,) sour cream, shredded cheese, cilantro and/or any other fixings of choice.
Remember, the taste of the chili can easily be adjusted according to taste. 20 minutes after adding cornmeal/masa (this is a good time because chili has thickened and you are not running a risk of over seasoning,) taste your chili and add soy sauce/salt for savoury taste, maple syrup/brown sugar for sweet taste and/or more chili and other spices for an extra kick.
Proportions will change depending on which ingredients you use. Using regular tomatoes and beans results in the need for more sugar and less salt, however, using salt reduced tomatoes decreases the need for sugar.
Ingredients
Directions
Shape your ground beef into patties, as you would with a burger. Heat oil in a large pot or a Dutch oven over medium high heat until shimmering. Add your beef patties and cook on just one side until nicely seared, about 3 minutes. The middle should be raw. Browning all of your beef and turning it gray does nothing for the flavour profile of your chili - instead it overcooks the beef. However, when you sear your beef shaped like patties, you are able to get a nice sear on some of the meat, while leaving the rest of the meat nice and tender. Towards the end of cooking, break the beef into smaller pieces. Remove the beef to a plate and set aside.
Add your onions, turn the heat down to low and cook for about 5 minutes until softened and just beginning to brown; be sure to scrape up any of the flavourful bits left on the bottom of the pan from searing the meat. Add the tomato paste and cook for about 3 minutes to cook off the raw taste. Add your spices and toast for a minute or so. Add the garlic and cook for about 30 seconds until fragrant. If using whiskey, add at this time and cook until most of the liquid is reduced and evaporated. Alternatively, if you like whiskey flavour - don't reduce it too much. If you don't want to use alcohol, just use stock or water instead - this liquid is needed to scrape up the flavourful bits of fond left on the bottom of the pan.
Please note - we are browning so many things here. The goal is to get nice flavourful fond on the bottom of the pan, but not burn it, not burn your ingredients. Adjust heat as necessary. And if at any point the fond is close to burning, add a splash of water to dissolve it. We want deep developed flavour in this dish - not burnt flavour!
Add your beef and any juices that accumulated on the plate, tomatoes, coffee, cocoa powder and bay leafs. Bring to simmer, cover, reduce to low (be sure to maintain a gentle simmer) and allow to cook for 45 minutes to an hour. Cook longer if you have the time; I try to cook it at least for 1.5 hours.
Add brown sugar to your chili. Add drained beans. Add masa/cornmeal, if using. Continue simmering the chili with the lid slightly ajar to thicken it, for about 20-30 minutes.
Please note, sugar is so very crucial to this dish. We are not asking for a large amount. Even reduce it if you must, but try not to omit it. It offsets the sourness of the tomatoes.
Add golden raisins, if using. Taste your chili and adjust the seasoning with soy sauce, honey/maple syrup, salt, pepper and any of the spices for more heat. If you don't want to use all of these optional flavour enhancing ingredients - simply use salt, pepper and sugar to get the right flavour balance. Remove bay leaves.
If using, shave some chocolate into the chili. I absolutely love love love it in my chili! Serve garnished with lime wedges (for the acidic element,) sour cream, shredded cheese, cilantro and/or any other fixings of choice.
Remember, the taste of the chili can easily be adjusted according to taste. 20 minutes after adding cornmeal/masa (this is a good time because chili has thickened and you are not running a risk of over seasoning,) taste your chili and add soy sauce/salt for savoury taste, maple syrup/brown sugar for sweet taste and/or more chili and other spices for an extra kick.
Proportions will change depending on which ingredients you use. Using regular tomatoes and beans results in the need for more sugar and less salt, however, using salt reduced tomatoes decreases the need for sugar.