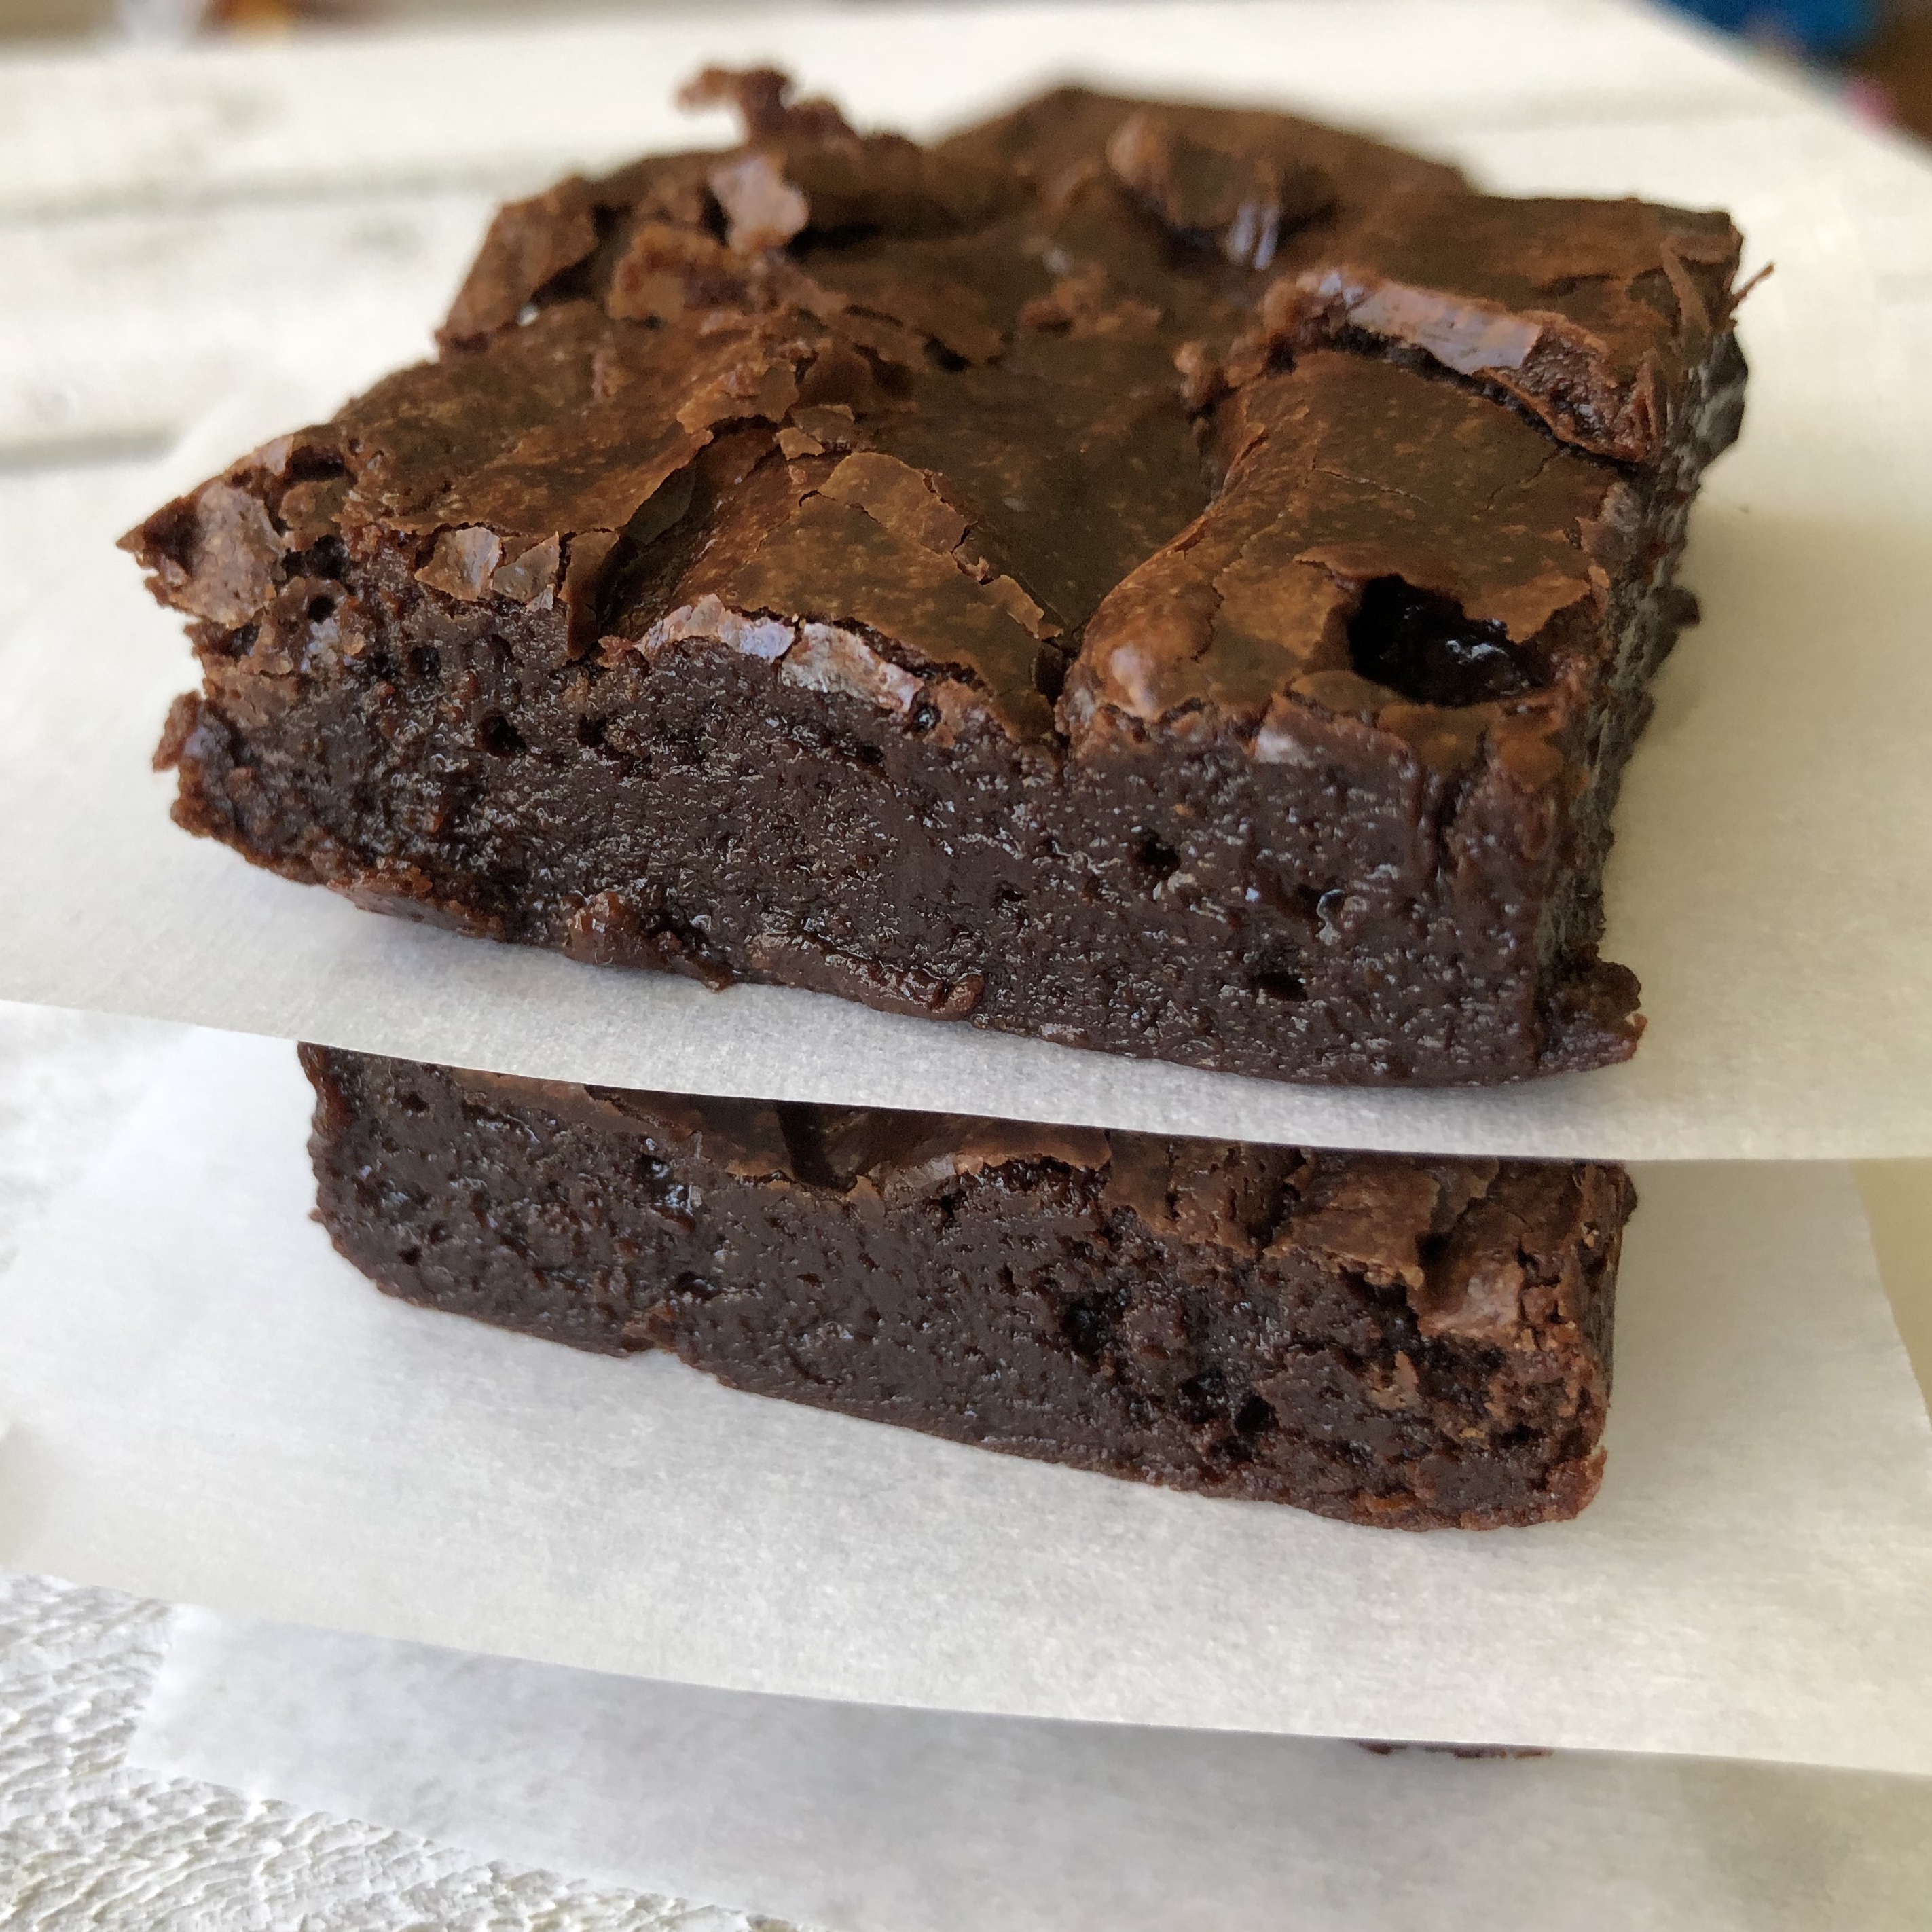
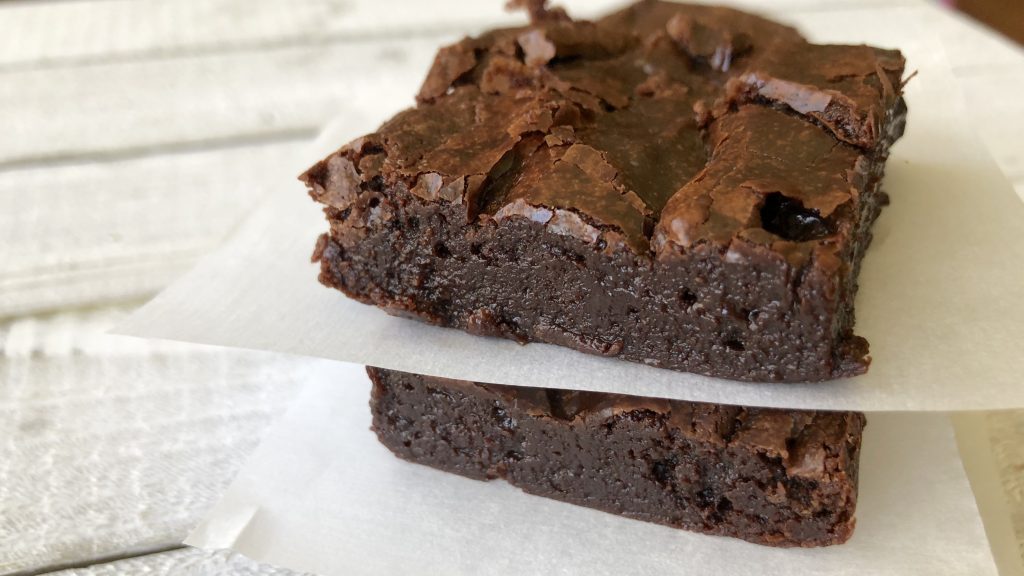
These are delicious! So chocolatey, so stunningly beautiful. Rich chocolate ganache is reminiscent of a rich chocolate truffle but firm enough to hold and handle like a typical brownie. Shiny paper-thin crust provides a nice textural contrast. This brownie seamlessly melts in your mouth. I know everyone has their own preference when it comes to a perfect brownie – but to me, this one is undeniably a winner!
Here’s the story behind the creation of this recipe:
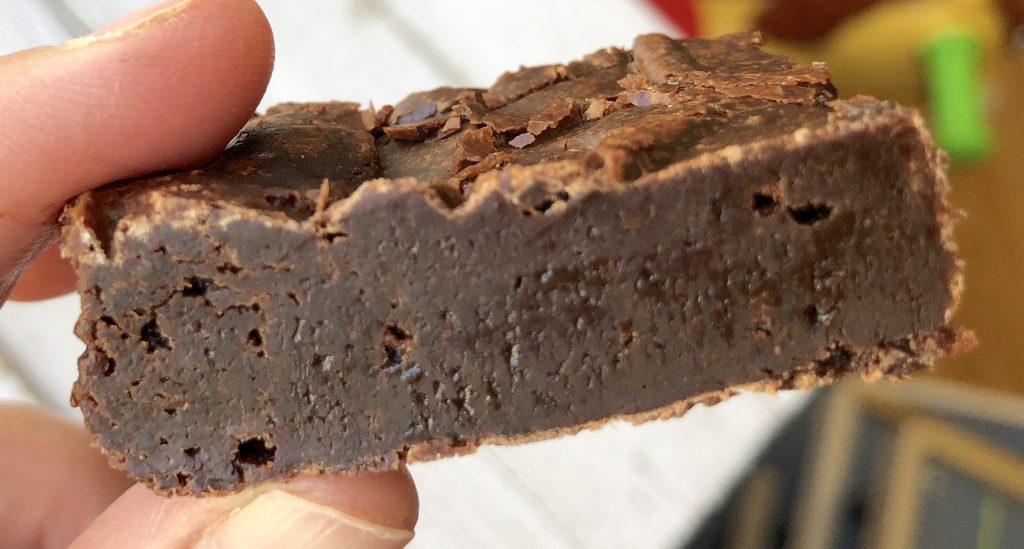
Here’s the brownie my husband brought home and asked me to recreate
I don’t like brownies. I never did. So you can only imagine my surprise when my husband brought me a brownie from a function he attended and I finished the whole thing! I loved it. I had to recreate it. But even for a pastry nerd like myself, that is not an easy task. A recipe is not just a list of ingredients – it’s also a set of techniques. How much sugar will I use, will it be all granulated or will I add some brown sugar? Will I simply mix in the eggs or whip them until thick? Will I use a water bath when making the brownies or not…
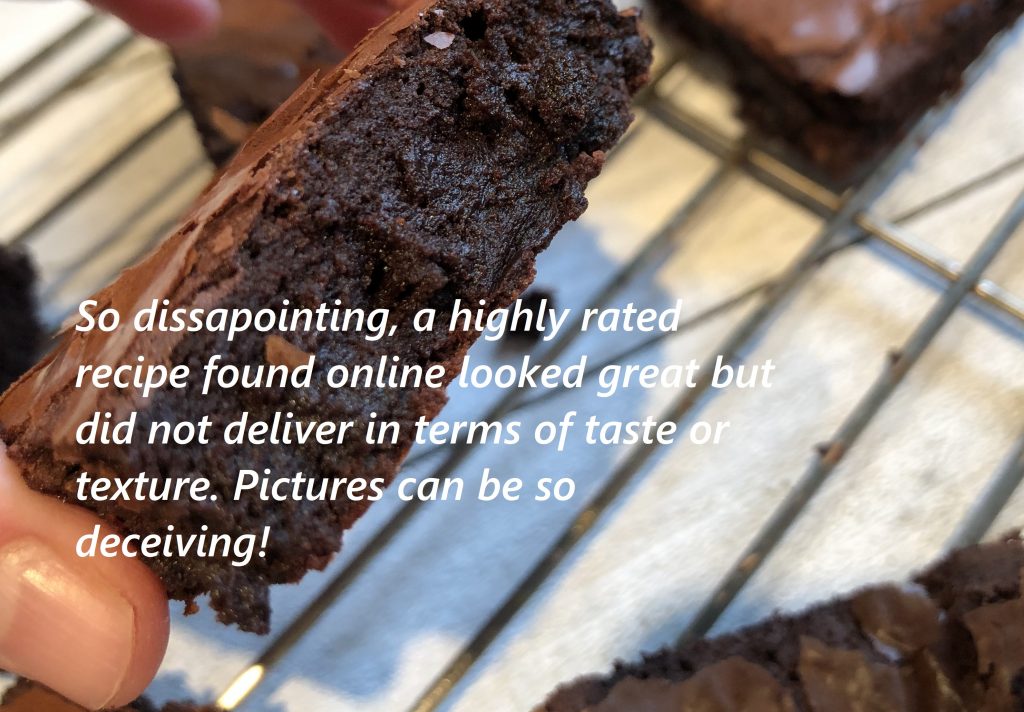
I thought that maybe a good place to start would be to browse the internet. I found a recipe that had the highest reviews, insane amount of shares and in pictures, looked very similar to what I was trying to make. See pictures below – they can be deceiving. As lovely as they looked, those brownies were not good! Not at all!
Such a disappointment. I mean it’s chocolate, butter and sugar, so I guess it’s eatable – but it wasn’t anything like what I was trying to recreate. It wasn’t even that good. It was okay at best. I’m not about eating things that are just okay. If I make something, it better be its best possible version.
Not to worry! The brownie recipe I’m sharing with you doesn’t just look good! It’s absolutely delicious!
The next day I proceeded with making a chocolate oblivion cake as in texture it seemed similar to the brownies I tried to recreate. And it was delightful. But it was missing the shiny top and the crunchy texture it provided for a nice textural contrast.
So I proceeded to try again. I decided to use some cornstarch because the brownie I was trying to recreate was basically thickened chocolate ganache but it didn’t have the texture that the flour provides, so I knew it wasn’t thickened with flour and I needed some other thickener. I figured it was likely thickened with starch. I threw in some cocoa powder, mostly just for colour, it probably isn’t even necessary. And guess what – success at last! The brownie recipe I wanted to recreate was done! And it’s a keeper!
I’m already thinking about pairing this brownie with some cheesecake for cream cheese brownie variation. Maybe even a bit of raspberry jam for a beautiful multi-colour swirl!
These are extremely rich melt-in-your mouth brownies. Slice them smaller than your typical brownies as a small bite goes a long way!
Preheat the oven to 350. Lightly grease an 8x8 pan and line it with parchment paper.
Place butter in a stainless steel bowl over a pot of simmering water. We are creating a double-boiler. Allow the butter to melt. Stir in sugar and salt. Keep stirring for a couple of minutes. The goal here is to try to dissolve the sugar, at least partially. Remove from heat but leave it on top of the pot of hot water. Add the chocolate and allow the mixture to sit for one minute. Then stir with a rubber spatula gently until melted. If for any reason the chocolate hasn't melted, you may place the pot of simmering water with the bowl of chocolate on top back on the heat and continue stirring the chocolate until melted.
Allow the mixture to cool slightly. Add vanilla. Add eggs one at a time, beating them well with a wooden spoon after each addition until well-incorporated. You do not need to cool the chocolate mixture completely - if you gradually add eggs while whisking them in, you will avoid scrambling the eggs/separating the batter
Sift cornstarch and cocoa powder into your chocolate mixture and whisk it well. Take a wooden spoon and beat the batter for 40 strokes. I'm borrowing this technique from Alice Medrich, but her description is perfect and leaves no room for interpretation, guaranteeing consistently successful results. By mixing the brownies with the wooden spoon - you are incorporating them, aerating them lightly, without incorporating too much air which will result in a cake like texture. Pour the batter into the baking dish. Gently tap the pan on the counter 3 times to allow the air to escape.
Bake in preheated oven for 28-34 minutes (likely 31 minutes will be ideal but everyone's oven is slightly different.) Bake until the edges are firm, the top is shiny and the centre is just set. The internal temperature should be about 204-205. Unlike a traditional flour brownie, toothpick test will not work as well here. Allow to cool in the pan completely. Then, for best texture, I refrigerate these brownies for at least an hour, before slicing. Slice the brownies with a sharp knife (that you held under hot water and wiped with a towel between each slice for precise cuts.) I suggest slicing these into 16 pieces maybe even more. These brownies are exceptionally rich and a small slice goes a long way.
Do not use chocolate chips in this recipe or any other recipe unless it specifically calls for chocolate chips. Chocolate chips have plenty of glucose and wax in them and are specifically designed for a purpose of holding their shape. They are not suitable for this recipe and most baking recipes that call for melting/baking chocolate.
Ingredients
Directions
Preheat the oven to 350. Lightly grease an 8x8 pan and line it with parchment paper.
Place butter in a stainless steel bowl over a pot of simmering water. We are creating a double-boiler. Allow the butter to melt. Stir in sugar and salt. Keep stirring for a couple of minutes. The goal here is to try to dissolve the sugar, at least partially. Remove from heat but leave it on top of the pot of hot water. Add the chocolate and allow the mixture to sit for one minute. Then stir with a rubber spatula gently until melted. If for any reason the chocolate hasn't melted, you may place the pot of simmering water with the bowl of chocolate on top back on the heat and continue stirring the chocolate until melted.
Allow the mixture to cool slightly. Add vanilla. Add eggs one at a time, beating them well with a wooden spoon after each addition until well-incorporated. You do not need to cool the chocolate mixture completely - if you gradually add eggs while whisking them in, you will avoid scrambling the eggs/separating the batter
Sift cornstarch and cocoa powder into your chocolate mixture and whisk it well. Take a wooden spoon and beat the batter for 40 strokes. I'm borrowing this technique from Alice Medrich, but her description is perfect and leaves no room for interpretation, guaranteeing consistently successful results. By mixing the brownies with the wooden spoon - you are incorporating them, aerating them lightly, without incorporating too much air which will result in a cake like texture. Pour the batter into the baking dish. Gently tap the pan on the counter 3 times to allow the air to escape.
Bake in preheated oven for 28-34 minutes (likely 31 minutes will be ideal but everyone's oven is slightly different.) Bake until the edges are firm, the top is shiny and the centre is just set. The internal temperature should be about 204-205. Unlike a traditional flour brownie, toothpick test will not work as well here. Allow to cool in the pan completely. Then, for best texture, I refrigerate these brownies for at least an hour, before slicing. Slice the brownies with a sharp knife (that you held under hot water and wiped with a towel between each slice for precise cuts.) I suggest slicing these into 16 pieces maybe even more. These brownies are exceptionally rich and a small slice goes a long way.
Do not use chocolate chips in this recipe or any other recipe unless it specifically calls for chocolate chips. Chocolate chips have plenty of glucose and wax in them and are specifically designed for a purpose of holding their shape. They are not suitable for this recipe and most baking recipes that call for melting/baking chocolate.
Happens to be Gluten-Free: Pay close attention to the chocolate used, read the label and the list of ingredients – ensure it’s completely Gluten-free. As with all gluten-free recipes, ensure all your ingredients are gluten free and not cross-contaminated.